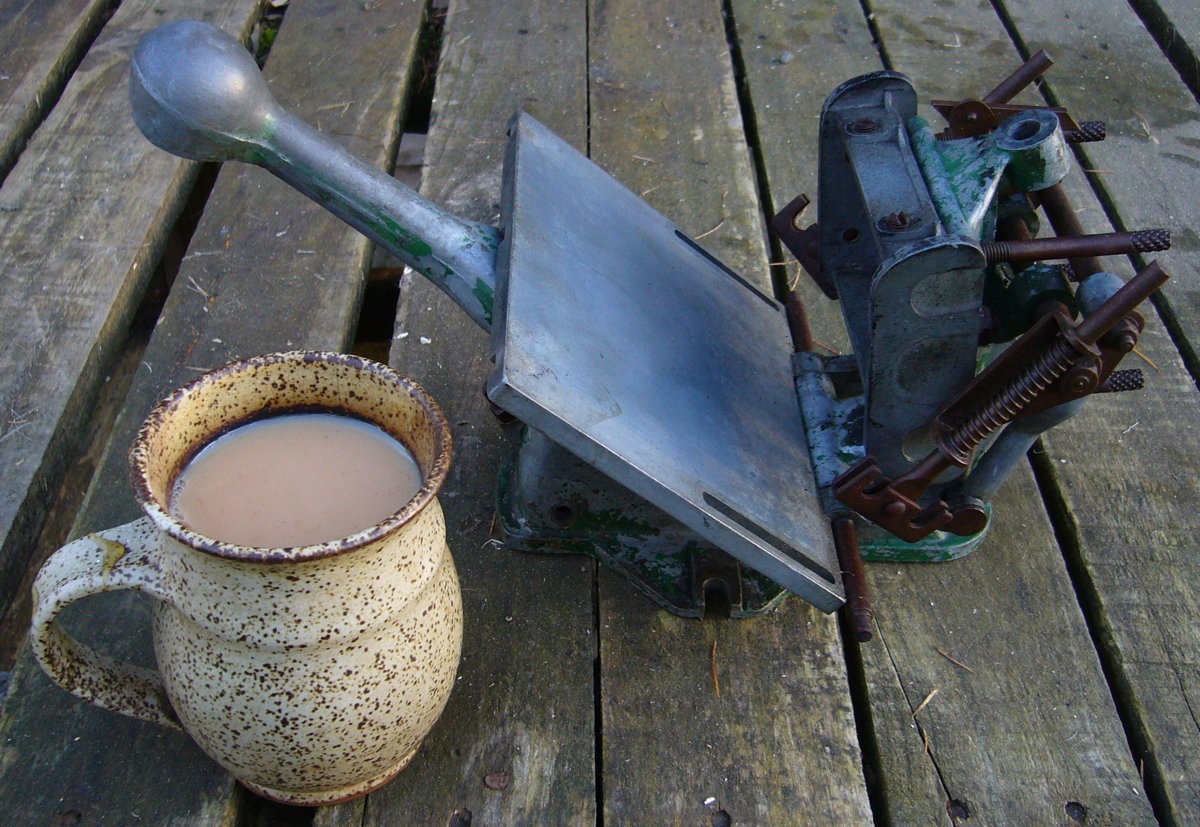
Here is my new toy essential concertina-making workshop tool (mug of tea is for scale):

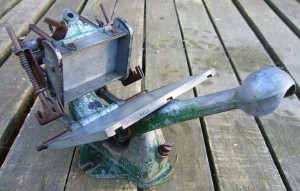
It’s a little Adana High-Speed No.1 (also known as a HS1 or 3×2) self-inking platen printing press, possibly dating back to the 1930s. I plan to use it to print decorative bellows papers and maker’s labels, and possibly also stationery and marketing materials – compliments slips, business cards, bookmarks, beer mats, etc. I could perhaps even take a few small commissions as a sideline (wedding invitations and the like!). The maximum size of forme you can fit in the bed is 3 3/4″ x 2 5/16″ (95 x 59mm), though obviously the paper can be a little bigger than that if the design has margins around the edge. I got it cheap because it looks a bit tatty and it’s missing several parts, many of which are no longer made.
Some of you are probably wondering at this point, “why bother?” I much prefer the appearance of Letterpress printing over modern laser or offset printing because the type makes a 3D impression in the paper (you can also use proper metallic gold or silver ink, which you can’t do with a laser). It’s almost certainly also the method that was used on original Victorian concertinas. Although there are still a handful of commercial letterpress printers around who would probably be willing to print my designs for a fee, I want to do the printing myself on a machine in my own workshop with plates I’ve designed and made myself, for the same reasons that I’m planning to make all the other parts of the concertina myself.
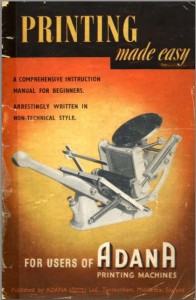
Luckily you can download the original user manual for free. It is ‘arrestingly written in a non-technical style.’
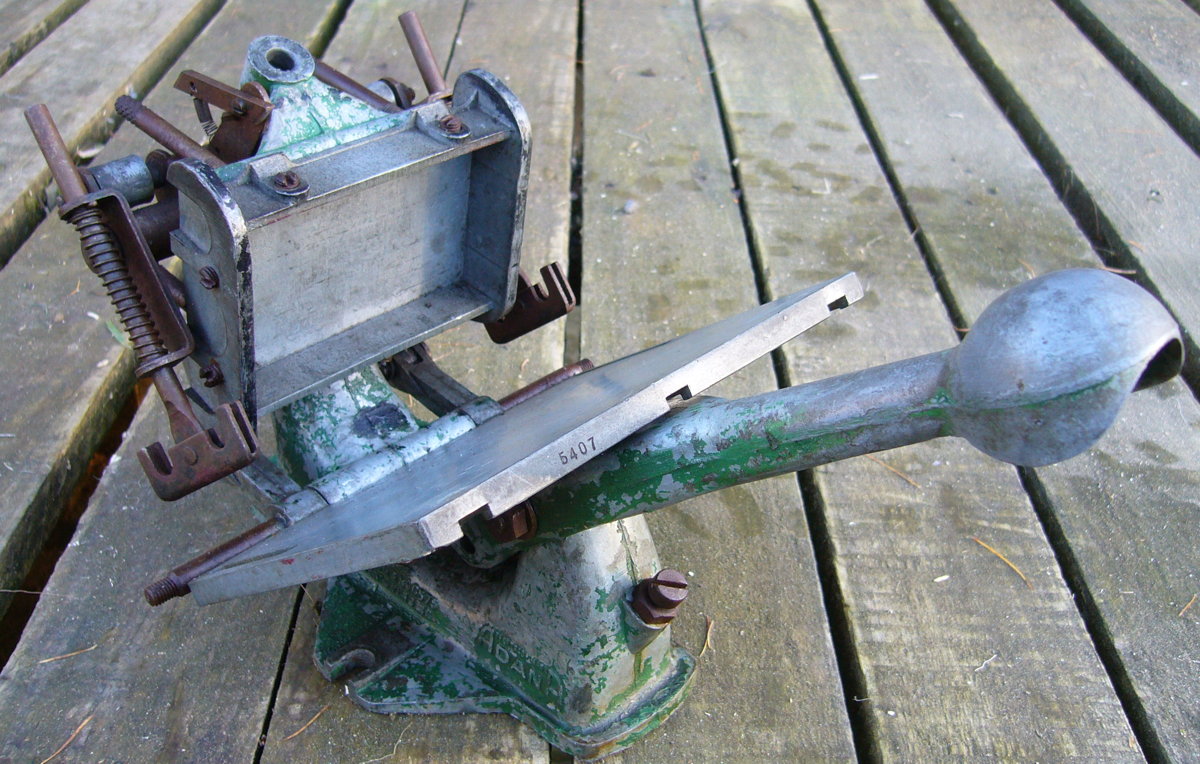
From these instructions I gather the way you use it is to place an arrangement of (missing) movable metal type and furniture called a forme in a (missing) chase or clamp it directly into the bed, use a (missing) hand roller to transfer some ink onto the (missing) inking disk, then move the handle most of the way down and back up to pick up some ink on the (missing) pair of inking rollers and transfer it onto the face of the type. Next you place your piece of paper or card on the (missing) tympan (which is held to the platen by the (missing) tympan clips), lining the bottom edge up against the (missing) lay gauge. Finally you push the handle all the way down to press the paper onto the type. When you release the handle the (missing) spring-loaded gripper finger pulls the paper off the type.

I’m not bothered about the fact that it didn’t come with any metal type, furniture, chases, quoins, etc. because I’m instead planning to make my own printing plates after designing them on a computer. I have a few different ideas for ways to make the plates. The most obvious one is to use sheets of photo-sensitive polymer that are designed for the purpose (I already have a UV exposure box for PCB photo-etching); the main drawback with them seems to be that they aren’t super robust and they have a limited shelf life; perhaps a few years at best. For one-off print runs that would be fine. I suppose it wouldn’t be too much of a hardship to make new polymer plates every couple of years.
Alternatively I could use the same techniques that I use for PCB etching to make etched brass printing plates (using spray-on photo-resist). If I can get that to work and produce clean sharp edges, brass is hard enough that the plates ought to last pretty much forever as long as I don’t abuse them. Another idea I’m considering is to cut brass or aluminium plates on the CNC milling machine with a small vee engraving bit. That ought to produce excellent clean results, although it would probably be quite a slow process and any sharp internal corners might require cutting by hand with a fine graver. It might not be trivial to convert the design into G-code either. I’ve even considered using the mill to engrave a positive “matrix” into a piece of aluminium and use that to cast plates in type metal. One potential advantage of this method is I could mill a single matrix for a bellows paper or logo design and then cast as many copies of it as will fit into the bed of the press.
I’ve had to buy a new pair of inking rollers because, although I probably could have made the mechanical parts, I don’t have any practical way of casting the special soft rubber compound onto them. Luckily they are still made, though a pair cost me more than I paid for the entire machine!
I’ve also ordered a cheap soft rubber hand roller made by “Speedball” (isn’t that slang for an illegal substance?) to ‘mill’ the ink (work it until it’s totally smooth) on a sheet of glass and transfer it to the inking disk.
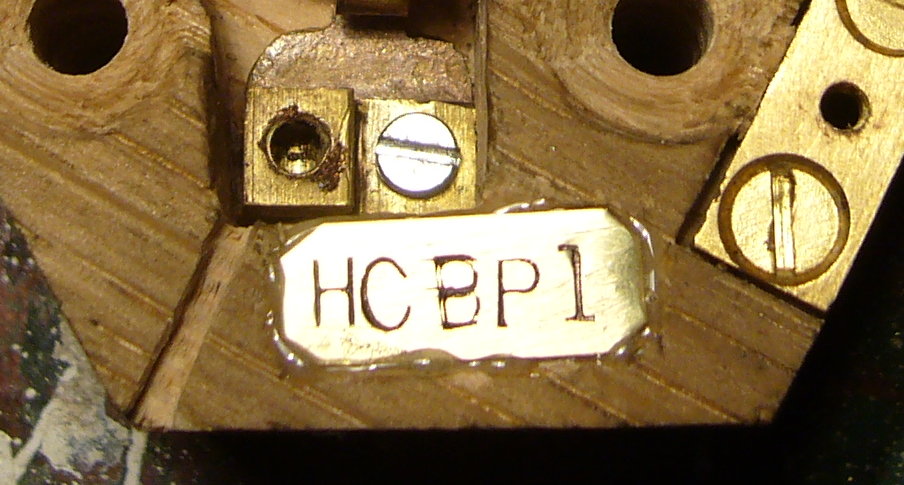
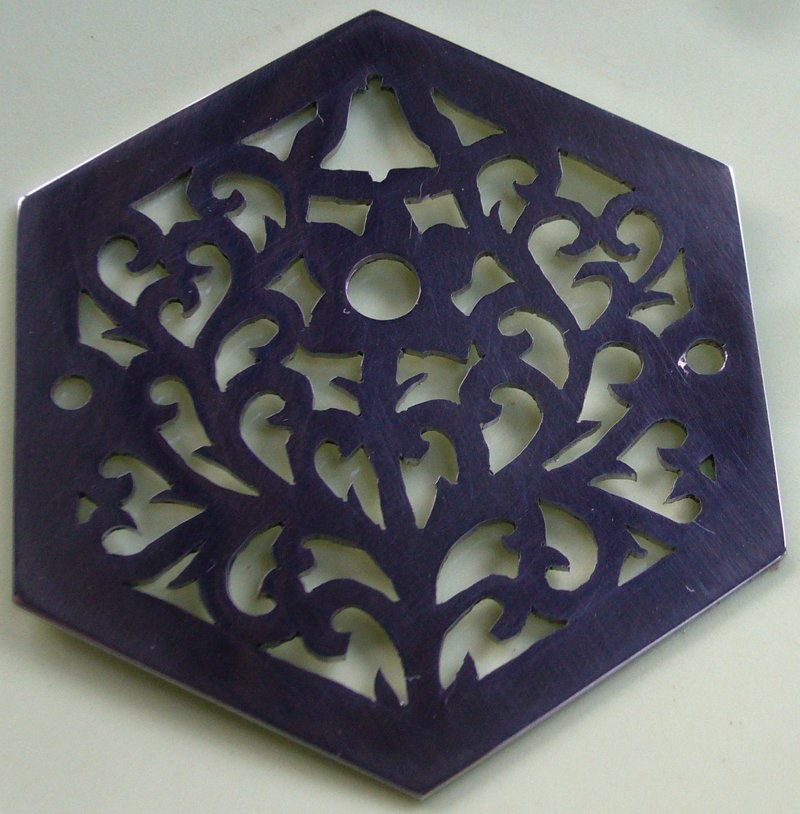
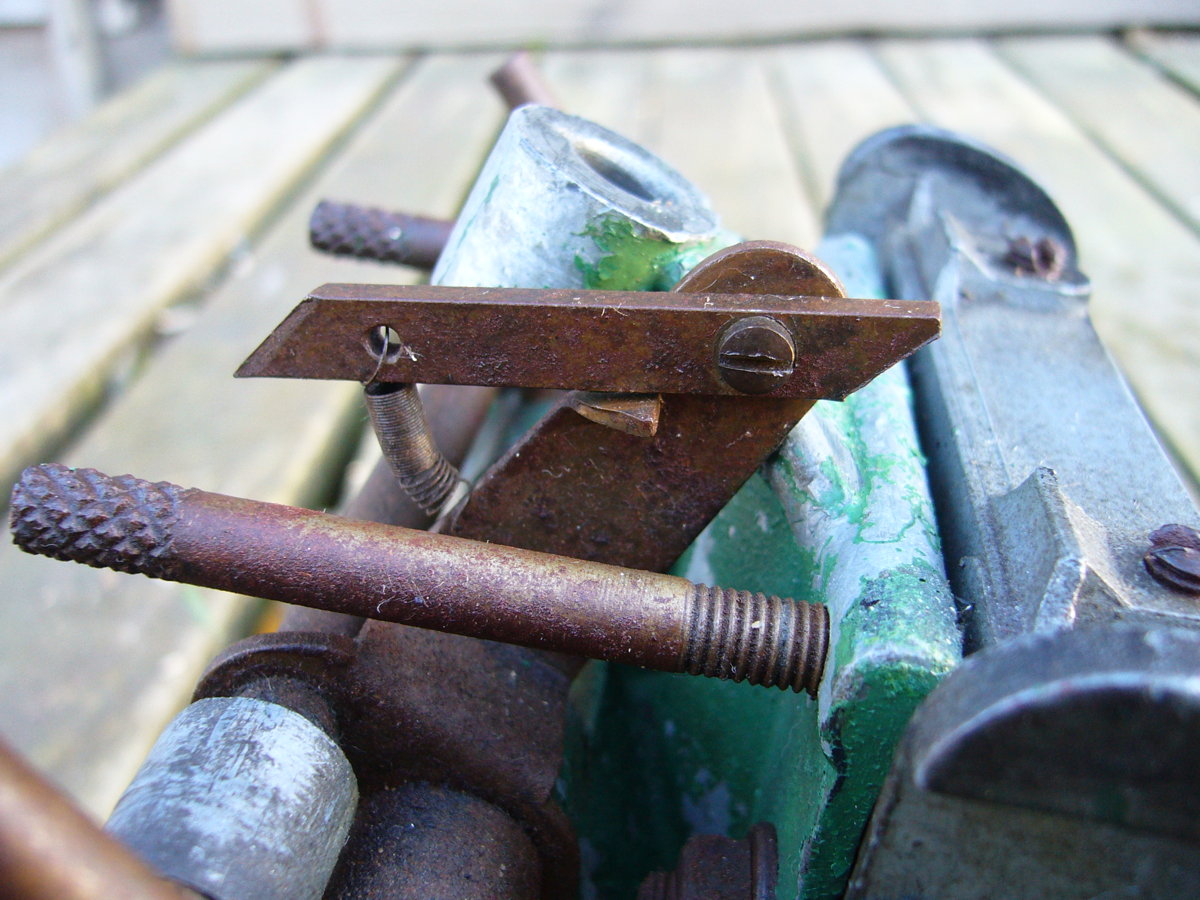
The inking disk shouldn’t be too hard to make. I’m planning to cut it from 3mm engraver’s brass sheet with a scroll saw, round off the edges, and braze a steel hub to the bottom. I haven’t yet decided how to make the ratchet on the bottom that rotates it to evenly distribute the ink, but I have a couple of ideas. The simplest way seems to be a circle of holes drilled in another disk soldered/glued to the bottom. The point of the pawl is a bit worn, but interestingly it looks like it was made to be reversible when the first point wears out:

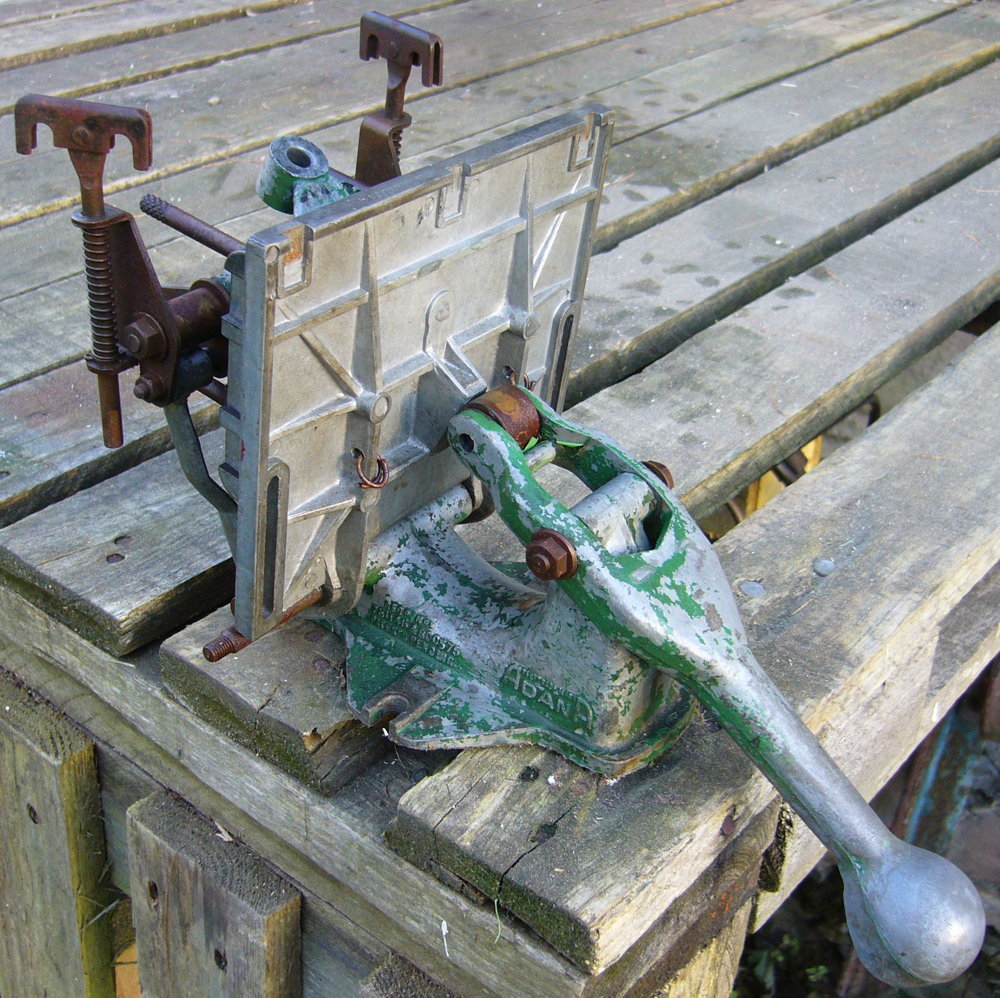
The tympan clips will be trivial to make from stainless steel sheet. The tympan/packing is a bit of mystery to me – it would probably be easy to make if I knew exactly what to make it from (it seems to be some combination of card and paper). The purpose of it is to provide a soft surface between the paper and the platen so that the type makes a visible impression in the paper and isn’t damaged by being forced hard against the metal platen. More research and probably experimentation needed.
The lay gauge will probably not be too difficult to make from a strip of brass or aluminium and some small screws and wing nuts, though I don’t fully understand the illustrations of it in the manual – it has various cutouts and holes in it that I haven’t yet worked out the purpose of.
The most difficult replacement part to make looks like being the gripper arm and gripper finger. This is the part that holds the paper against the tympan so that when you release the handle the paper doesn’t remain stuck to the type (if it did, the inking rollers would probably run over the back of it before you had a chance to manually remove it). It needs to be adjustable for different sizes and thicknesses of paper and there needs to be a long spring so it can easily be lifted up to replace the paper. I’ll also need to track down a nut that fits the shaft so that I can attach it to the machine (almost certainly won’t be metric; possibly 2BA or similar).