Jewellery

Octagonal English Earrings

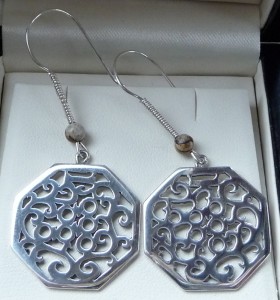
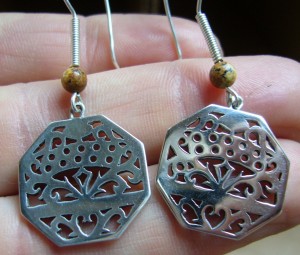
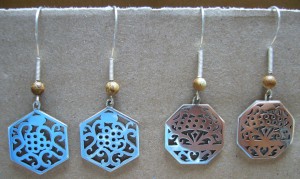
I made a new design of silver concertina earrings; an octagonal 12-button English layout, slightly larger than the previous two at 25mm across flats. The reason I reduced the number of buttons and also increased the overall size a little was so that I could fit in a more complex fretwork design than on my earlier hexagonal English design:

octagonal_english_earrings
(Don’t try to make sense of the layout from the picture; I accidentally posed them the wrong way round.)

The pair in the picture was a birthday present for my mother. If anyone wants to commission a pair, I’ll do them for £75 + postage. Drop me an email via the contact address to reserve some time in my schedule, the sooner the better because I’m very busy with other projects.

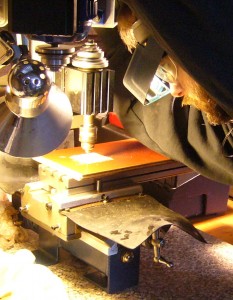
As you might have spotted from the video in my previous post, this is the first design where I drilled the pilot and button holes using CNC. I still cut all the piercings by hand with a very fine jeweller’s saw because the details are extremely small with lots of sharp corners. Obviously all the soldering, polishing, and making the ear-wires are done by hand too.

Octagonal English Earrings Read More »

More Earrings

I just finished off some more earring orders. It was nice to get an order for the octagonal Anglo design; it is a more intricate design than the English and I don’t think I entirely did justice to it when I made the prototype. My tools, processes and skill with the piercing saw have all improved in the past few months and I’m pretty pleased with how the new pair turned out.

The inkjet-printable self-adhesive vinyl templates are working out great, particularly after fiddling with the printer settings to get them as sharp as possible. I’ve also tweaked the designs a bit to improve the drill targets.
earrings1

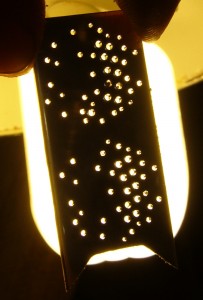
Lots of holes to drill in the Anglo design. Quite a few of them need to be 0.7mm diameter because the piercing isn’t wide enough for a 0.9mm drill (I avoid using the smaller size for everything because they are extremely delicate):
earrings2

earrings3

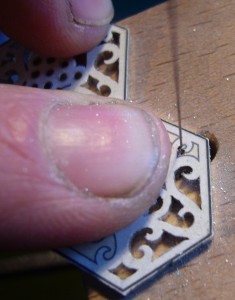
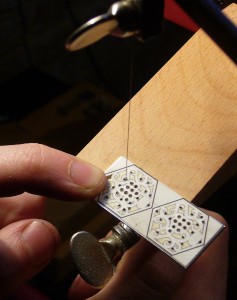
Nice sharp lines on the template really help you to get accurate saw cuts. I do all the piercing with Vallorbe 8/0 blades, the smallest size I can easily obtain.
earrings4

The finished Anglo earrings:
earrings5

Somebody commented recently that the pictures on the earlier post make the Anglo design look much bigger than the English. In fact they are very similar in size, though perhaps the Anglo looks more substantial because the piercings are mostly smaller:
earrings6

More Earrings Read More »

Star Punch

I made an eight-pointed star punch today for decorating an item of silver jewellery that I have been commissioned to make. Although it is not directly related to concertina-making, I thought it might make an interesting article for the blog anyway.

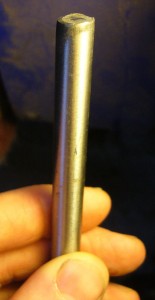
I made the punch from silver steel, which is a high-carbon tool steel with some chromium in it that comes as precisely-ground round bar stock in a range of standard diameters. It’s pre-annealed so it’s pretty easy to work with hand tools and machines before hardening. The bar I happened to have in stock was 3/8″ diameter.
starpunch1

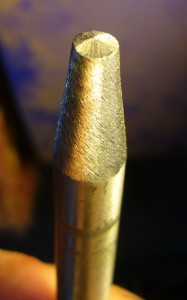
I started by grinding a double-angled cone on the end:
starpunch2

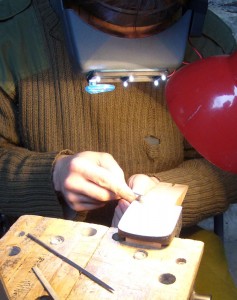
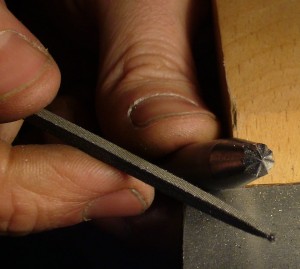
Then I filed the facets of the punch using square and triangular jewellers’ files under magnification and plenty of light, resting the punch in a corner of my bench peg.
starpunch3

I must admit this took me two attempts. The first time I completely messed up the relief angles (it produced a circle of eight triangles with no centre), so I had to file it back to a blank cone and start again!
starpunch4

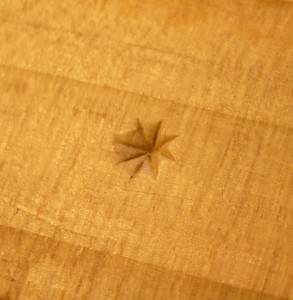
I lightly punched  a piece of softwood to check how it looked prior to hardening:
starpunch5

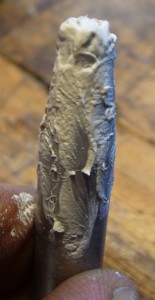
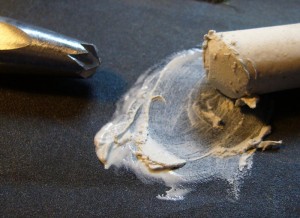
I didn’t want to have to try to grind firescale off the working end of the punch after hardening, so I coated it in a thick paste made from a stick of chalk mixed with a drop of water. The idea is that it prevents oxygen getting to the surface of the steel so it doesn’t corrode despite the extreme heat. My research on what substance to use for this purpose turned up a wide range of possibilities from specially-formulated industrial coatings through cockroach poison (boric acid) to something that sounded like a recipe for white bread. I had some chalk on hand and I saw it recommended in more than one place, so I thought it was worth a try.
starpunch6

starpunch7

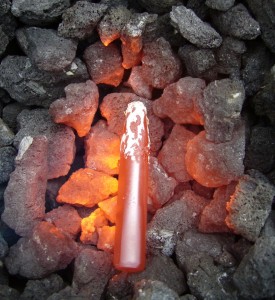
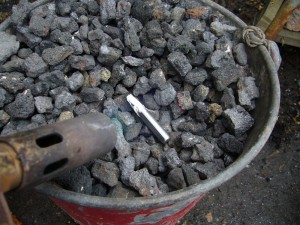
It wasn’t worth firing up the forge for such a small job, so I simply placed the punch in a (metal) bucket of dry coke and hit it with a propane torch. The coke quickly heats up and reflects heat back at the work.
starpunch8

starpunch9

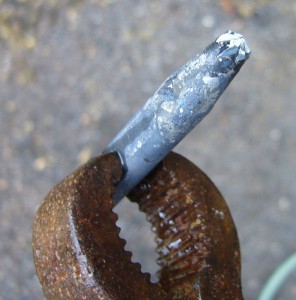
Here’s where I made my second mistake. In the heat of the moment (literally) I forgot that you are supposed to quench the tool by lowering it gently into the water tip-first so as to minimise stress and risk of cracking. Instead I thought “must cool it as quickly as possible,” grabbed it with the tongs, and randomly dunked it into the bucket side-on. This resulted in a crack along the length of the shank, luckily not reaching all the way to either end.
starpunch10

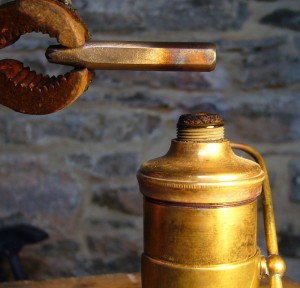
I tempered it by heating the shank in a spirit flame until the straw colour reached the sharp end. This differential tempering makes the end you hit with a hammer much softer and tougher than the end that cuts into the work, which is a desirable quality in a punch.
starpunch11

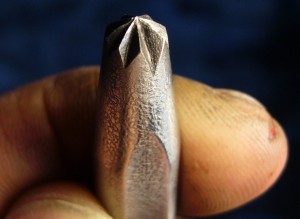
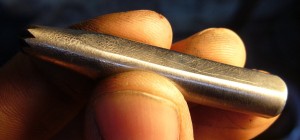
The finished punch. The anti-scale chalk paste did a reasonable job I think; all I did after hardening was to clean it off with a wire brush:
starpunch12

Here you can see the crack most of the way along the shank. The tool seems to be working OK regardless though:
starpunch13

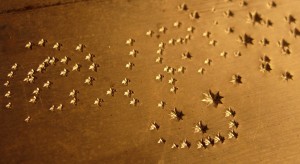
Finally, the proof of the punch is in the marks it makes. I haven’t tried it on silver yet, this is a piece of scrap aluminium. I rather like the slight unevenness of the points, and it’s nice how you can vary the size of the star by the strength of the hammer blow:
starpunch14

Star Punch Read More »

More Earrings

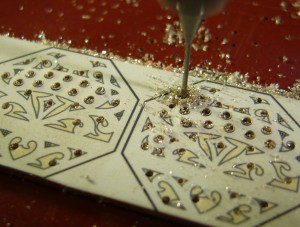
I’ve been commissioned to make another couple of pairs of the hexagonal English earrings. Here are some photos from this afternoon’s work drilling and cutting.

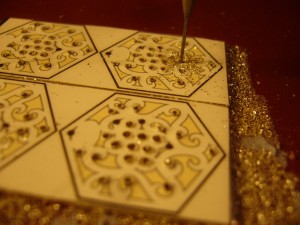
I’m still drilling manually using the Taig mill. I used a 1.2mm bit for the button holes, a 0.9mm bit for most of the piercings, and a 0.7mm bit for the tiniest piercings. All re-sharpened PCB drilling solid carbide bits, and for a change I didn’t break any!

earring_making_1

Lots of silver swarf. Unfortunately it’s not very practical to collect it, though I do keep the scrap from the piercings. One day I may have enough to melt down and cast them into something useful!earring_making_2

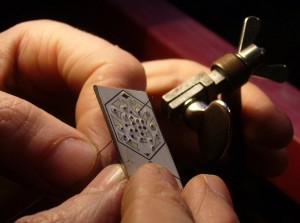
The saw blade has to be unclamped and threaded into each piercing in turn. The teeth are too fine to easily see so you have to figure out which way to put it in the frame by running your finger along it. The wing nut is used to set the tension.earring_making_3

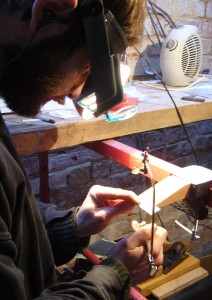
In this picture you can see my new bench peg clamped to the crossbar of a builder’s trestle stand. I like to work standing up with the saw table quite high so that I can get my eyes close to the template without needing to bend over, which would hurt my back after a while.earring_making_4

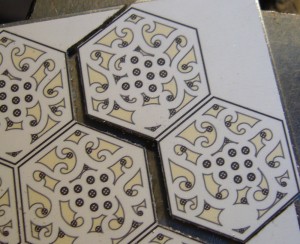
After a lot of frustration with paper templates that inevitably came unstuck or became illegible, I think I’ve finally found a template material that works reasonably well for very fine metal piercing: inkjet-printable matte white self-adhesive vinyl film. It’s not cheap but then you don’t need much of it for a pair of earrings, and if it enables me to produce a better end product with fewer headaches then it was well worth it!earring_making_5

Thanks to Juliet for the photos of me working. 🙂


More Earrings Read More »