Small Roubo-inspired Pine Workbench
I’ve just finished building a new workbench for my concertina-making workshop. 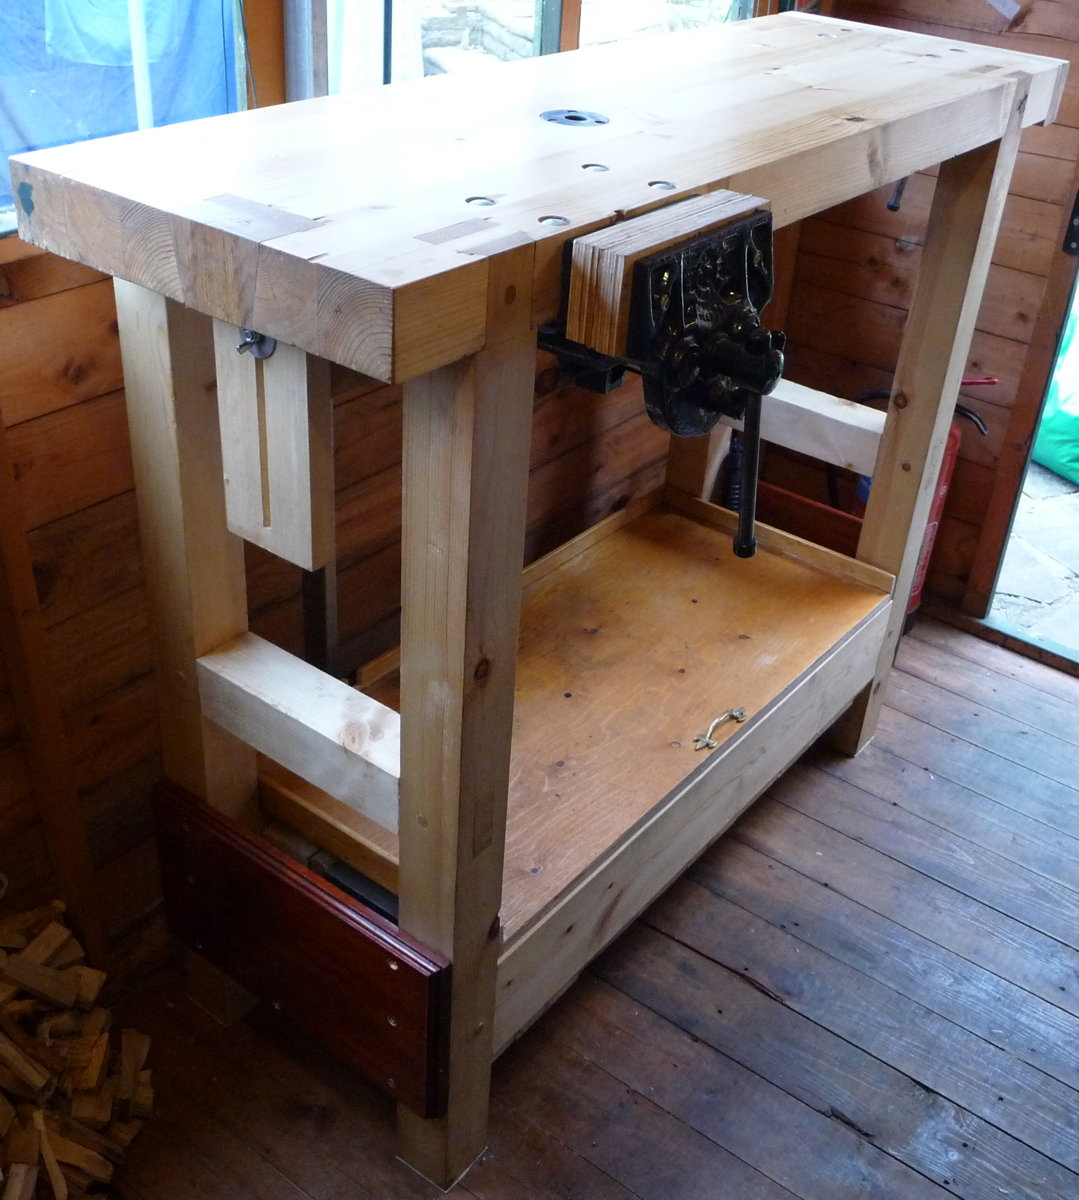
I designed it myself, loosely based on an 18th century French design described by Andre Roubo. Although mine is much smaller, made from construction-grade pine, and has modern (ish: they are probably older than I am) cast iron quick release vices instead of a wooden leg vice, they do have several important elements in common. The joinery is very similar, particularly the unusual dovetailed tenons that allow the legs to come flush with the edge of the top. It has a planing stop, a front vice, a holdfast, and a tool tray between the stretchers.
I made it 1m tall, which is on the high side for workbenches, because I mostly do fine detail work on small components, often under magnification, and in these circumstances a high bench reduces back ache from constantly bending over. The top is 400mm deep by about 1.2m long, which I felt was the biggest I could comfortably fit in my small garden shed workshop while also fitting in a coal stove to the left of the bench and two machine tool stands along the back wall.
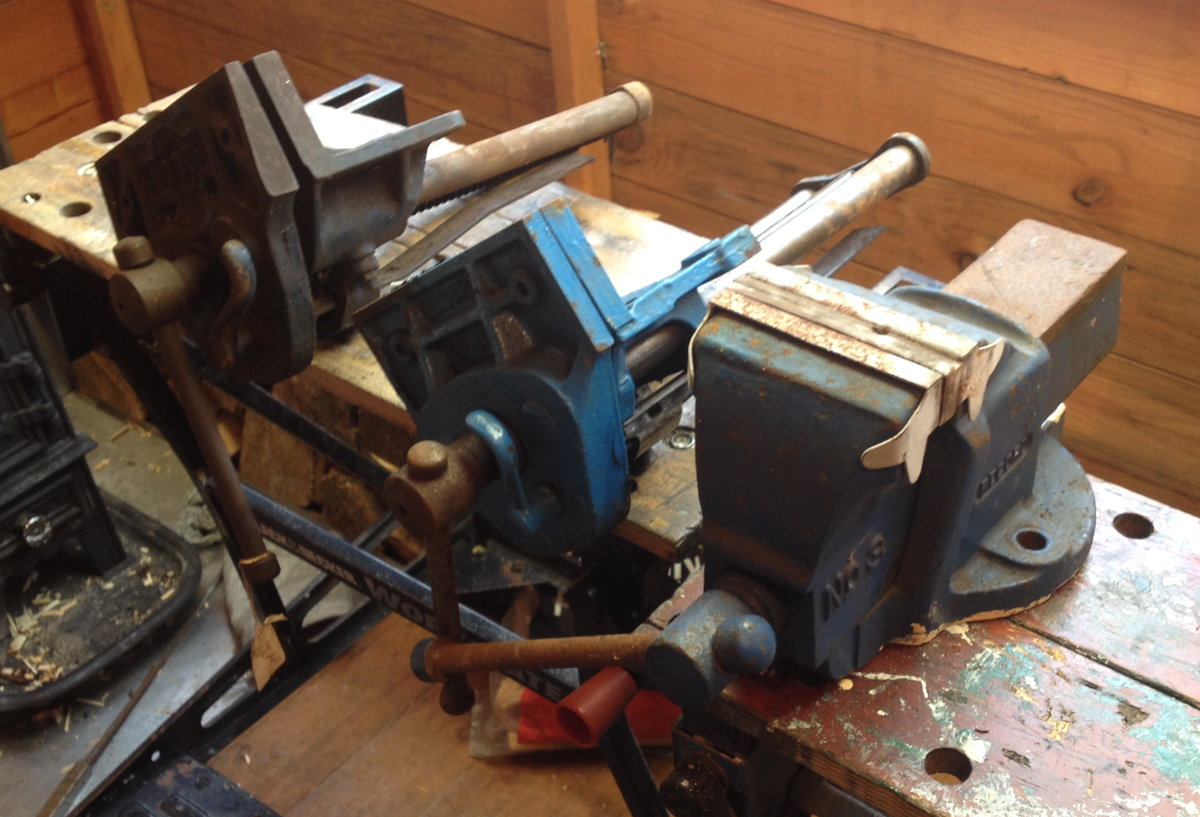
The next few pictures show a few of the many workholding options available to me on this bench. The Woden quick-release front vice with leather-lined jaws is likely to be my main workhorse: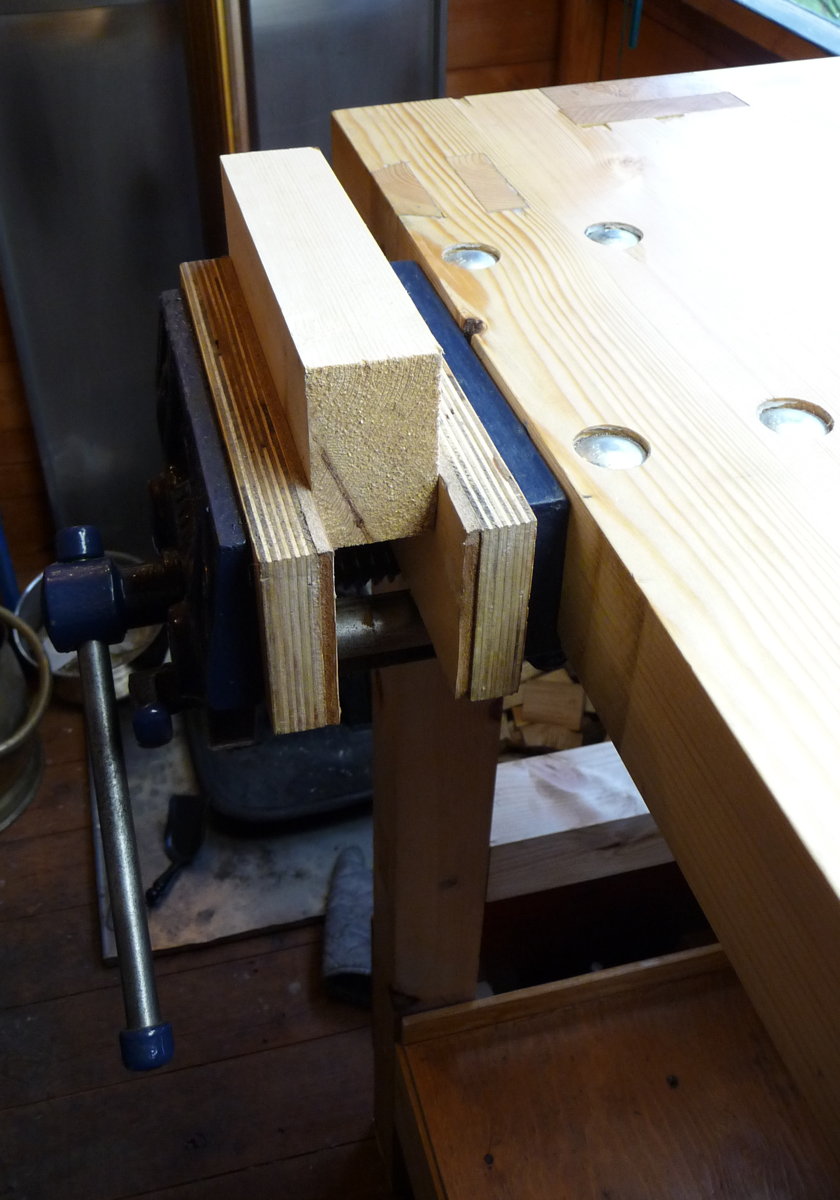
I also have a very similar Record quick-release vice, which I installed as a central tail vice with leather-lined wooden jaws that span the full width of the end of the bench. This idea is a bit of an experiment on my part, but I have a feeling it is going to come in handy (obviously I will have to be careful to avoid clamping things too far off-centre as excessive racking force could damage the vice).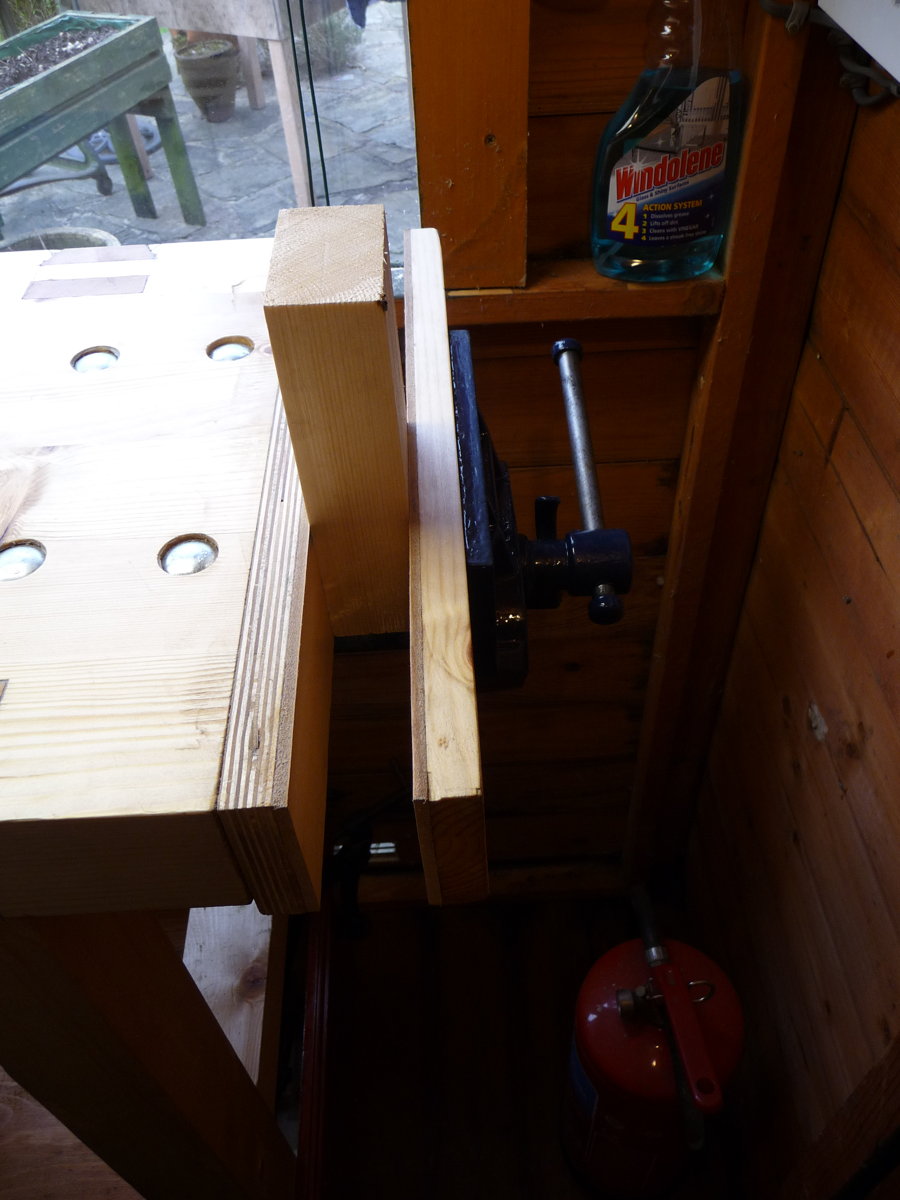
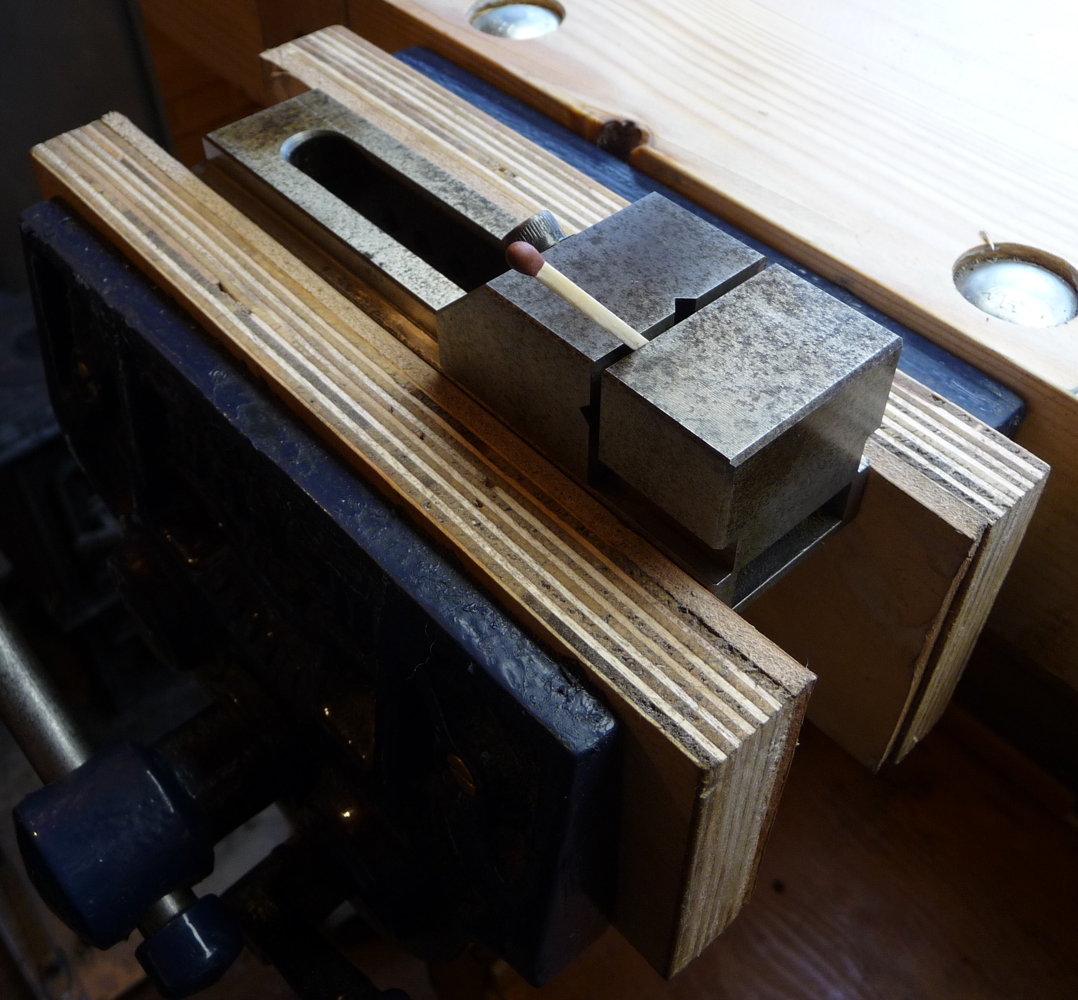
For light metalwork, I welded up a steel bracket that allows me to hold a Record No. 3 in the jaws of one of the woodworking vices (I’ve since painted the bracket the same colour as the vices):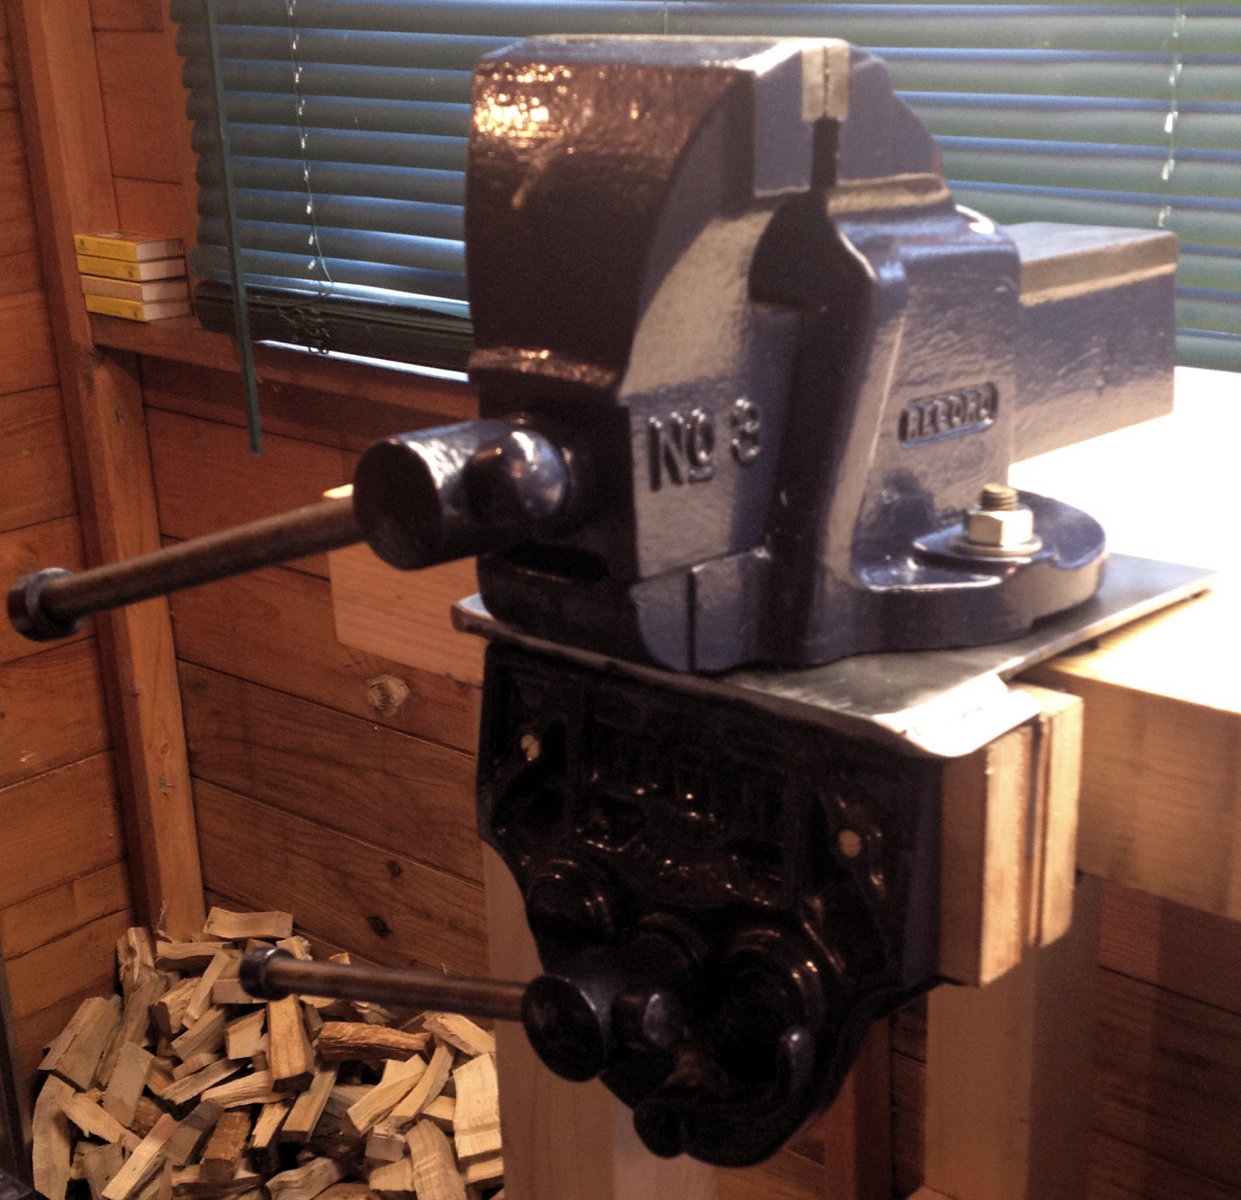
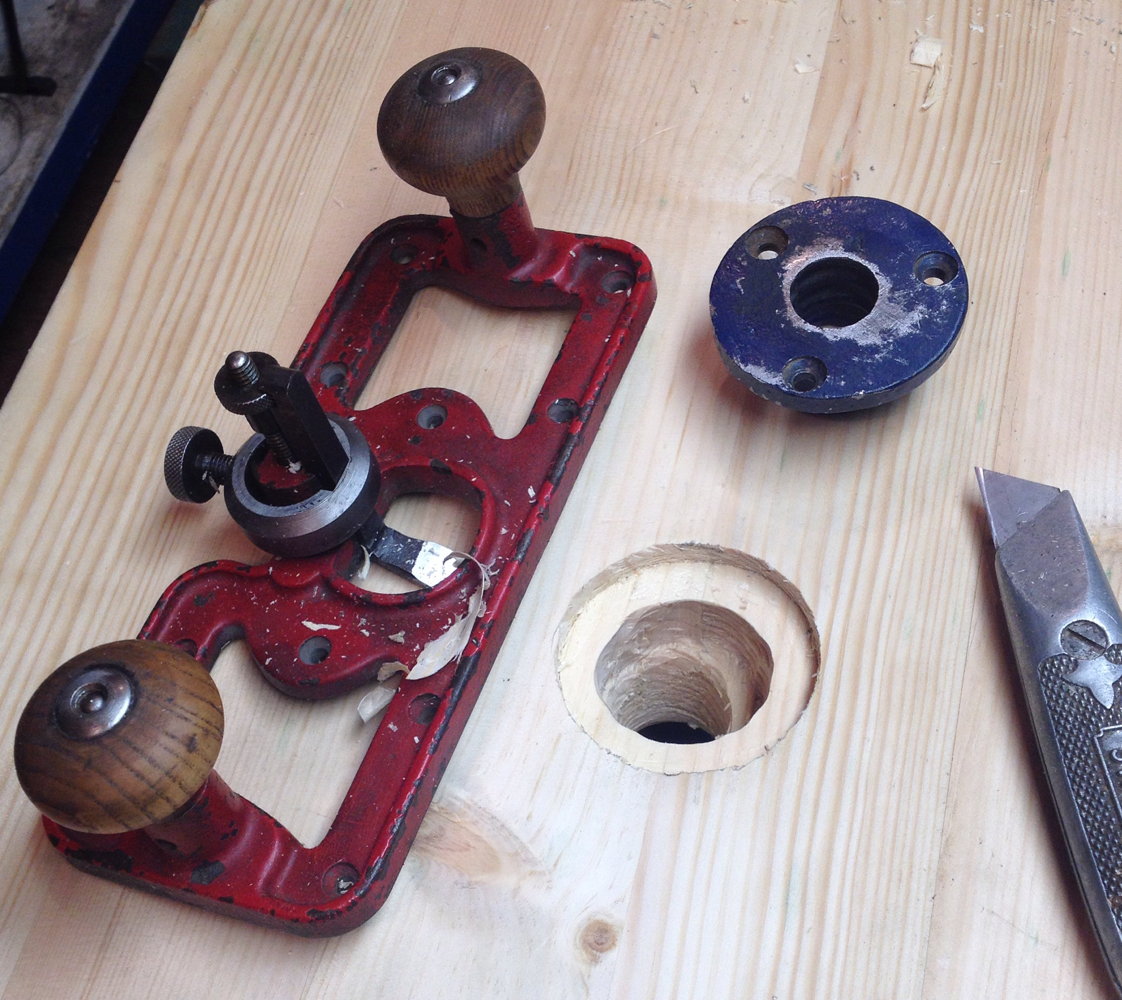
The holdfast is an important feature of Roubo’s workbench. Instead of the traditional forged iron bar that wedges into a hole when you hit it with a mallet, I went for a Woden hold-down clamp that performs pretty much the same function but with a screw to control the clamping force. It fits into a special tall cast iron collar with ridges inside that mate with notches on the back of the vertical rod, and it only came with one collar, so I put a lot of thought into the most versatile place for it to go on the bench.
Another important feature of Roubo’s bench is the adjustable-height planing stop. Mine is a significantly different design, though it performs the same function. I made it from a limewood board without any metal teeth on the top, partly to avoid marring the work but mainly because I don’t want to risk accidentally running into it and damaging the plane, particularly when planing very thin stock. There is a wing nut under the bench that allows it to be clamped at the desired height.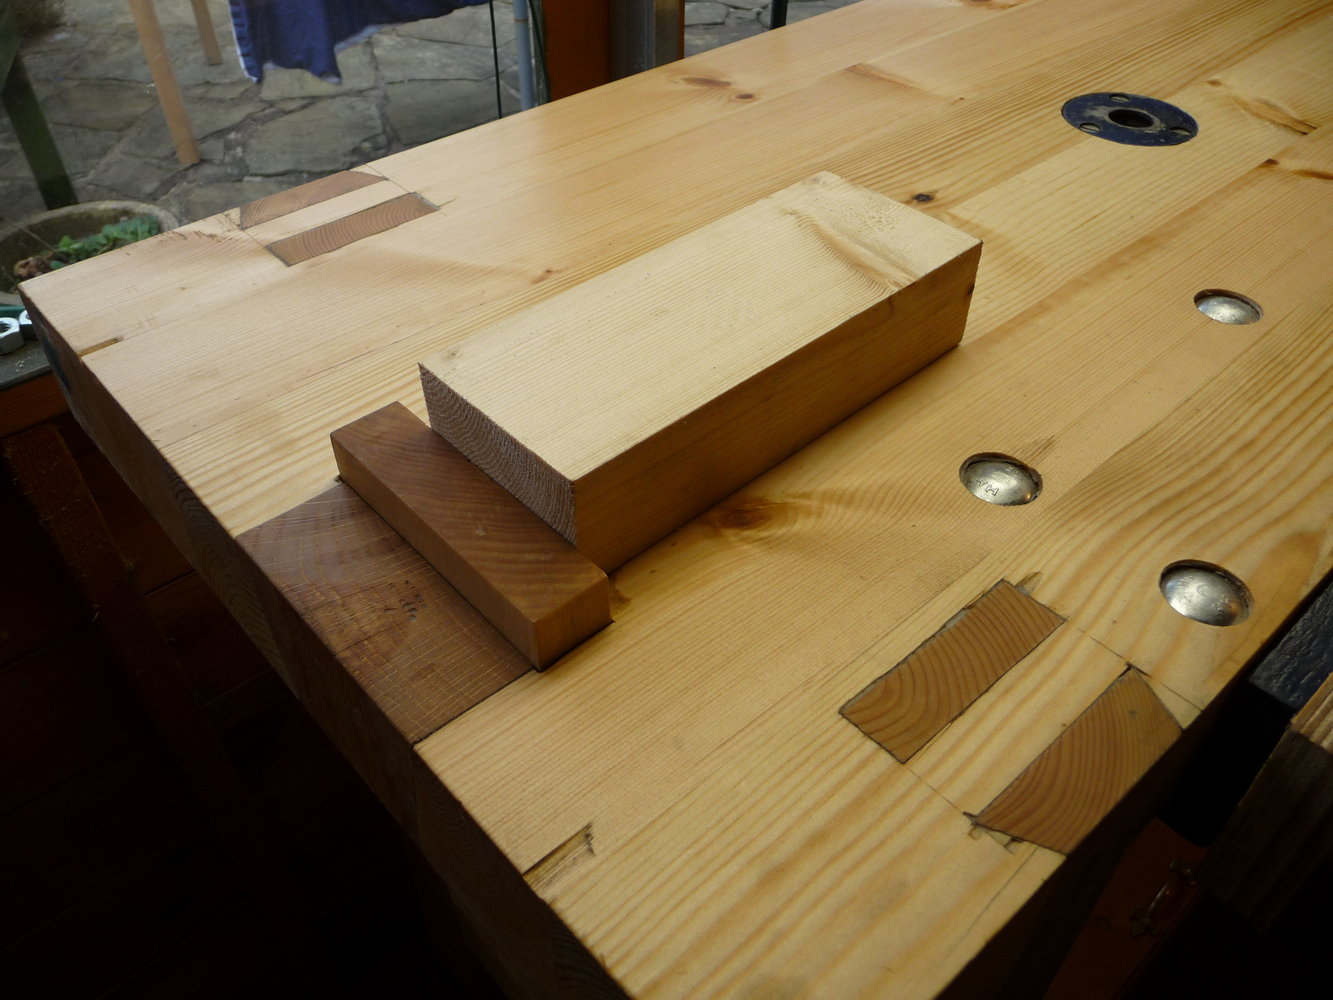
A feature of Roubo’s bench that I didn’t copy is the crochet; the hook on the front that you would use to wedge the end of a long board when jointing. It didn’t really make any sense given the fact that I can’t easily remove my front vice, which in any case can easily be used to clamp the end of a long board.
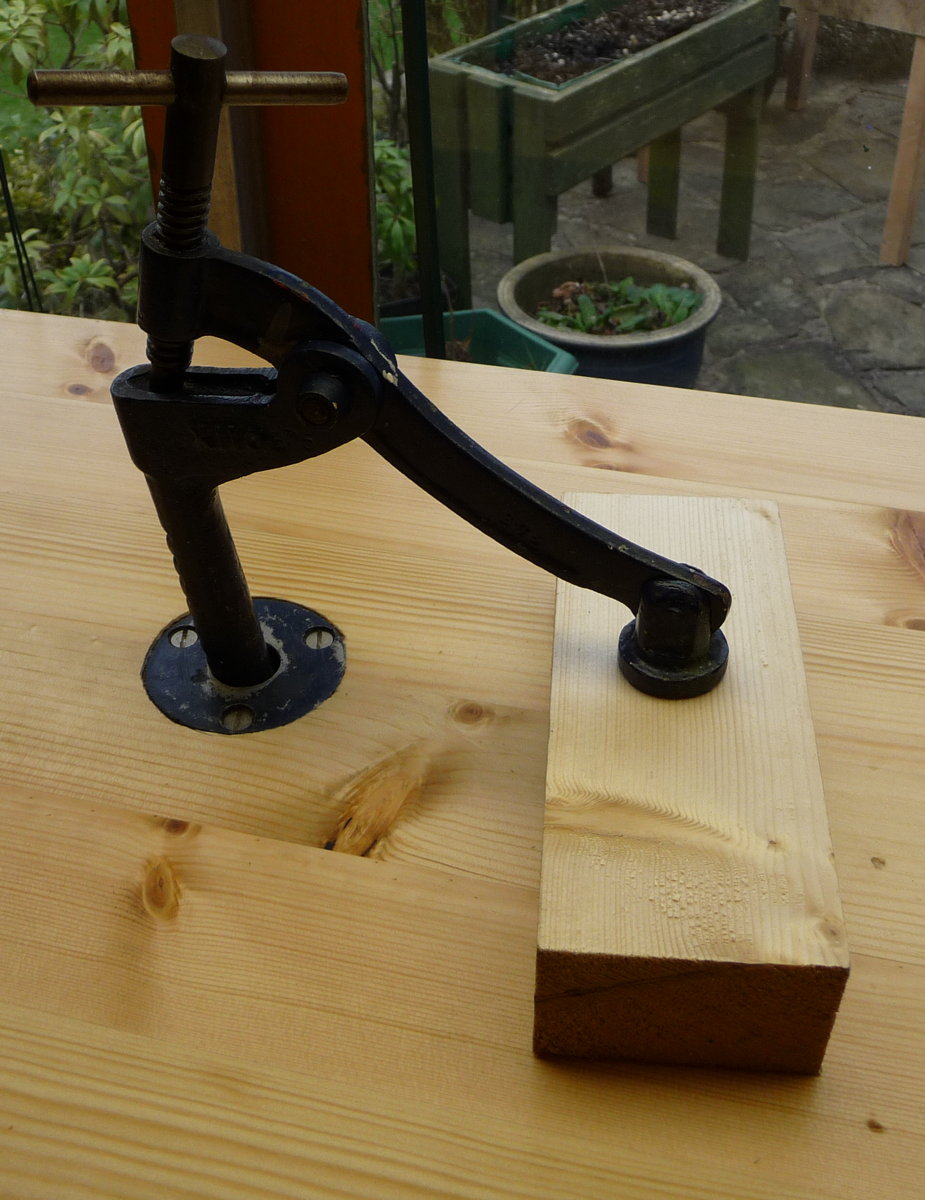
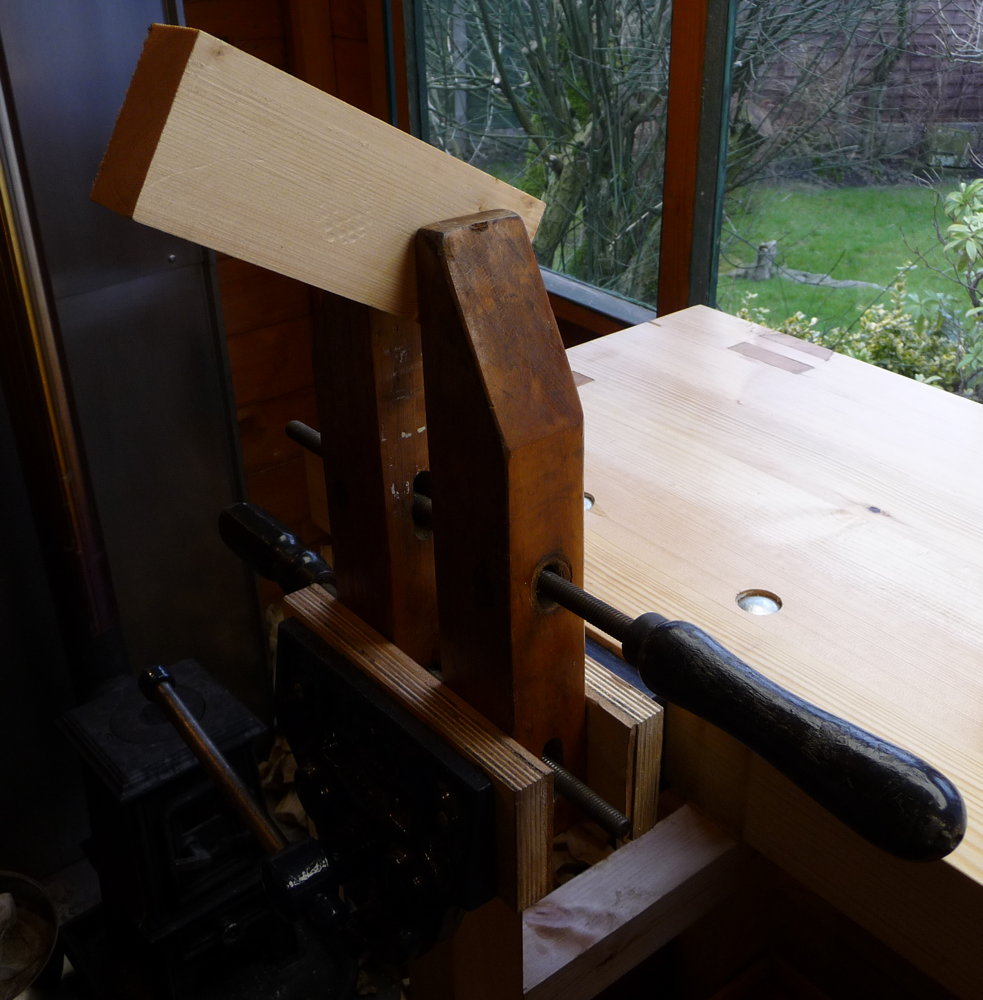
I also have various clamps and small vices that can be held in the bigger vices to hold things in creative ways: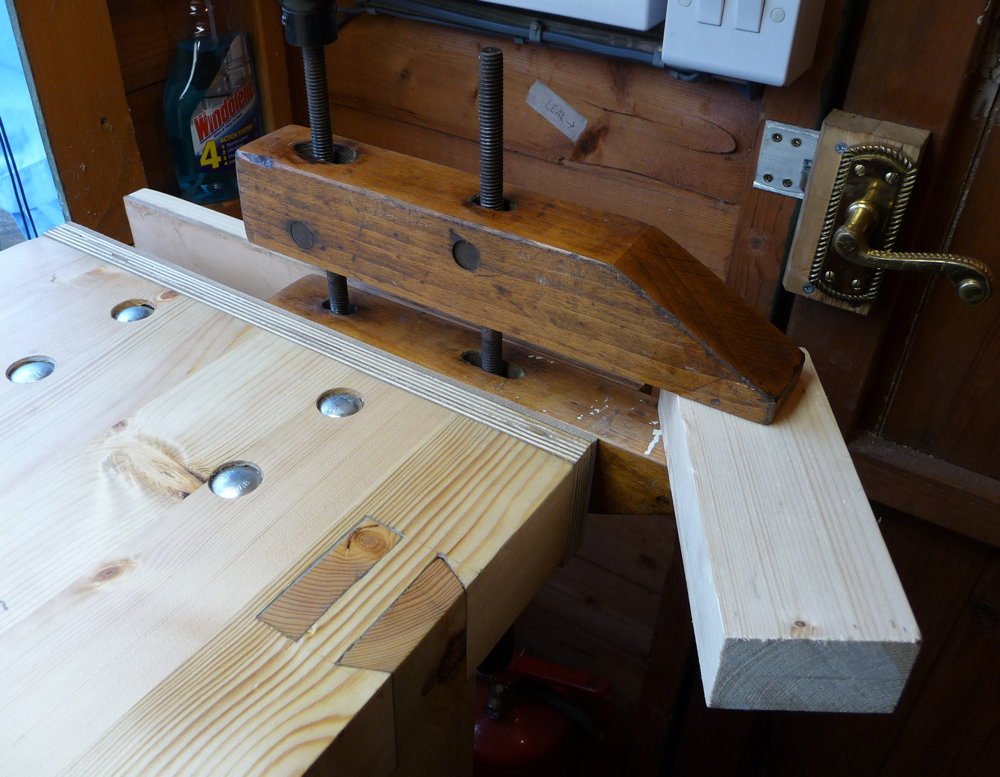
I don’t yet have any bench hooks or shooting boards, though I plan to make some soon.
The idea of the tool tray under the bench isn’t permanent storage, it’s just somewhere convenient to put down tools that you aren’t currently using, other than putting them on the bench top itself where they get in the way and risk being knocked onto the floor. I modified the idea a bit though, by putting mine on hinges with a storage box underneath it: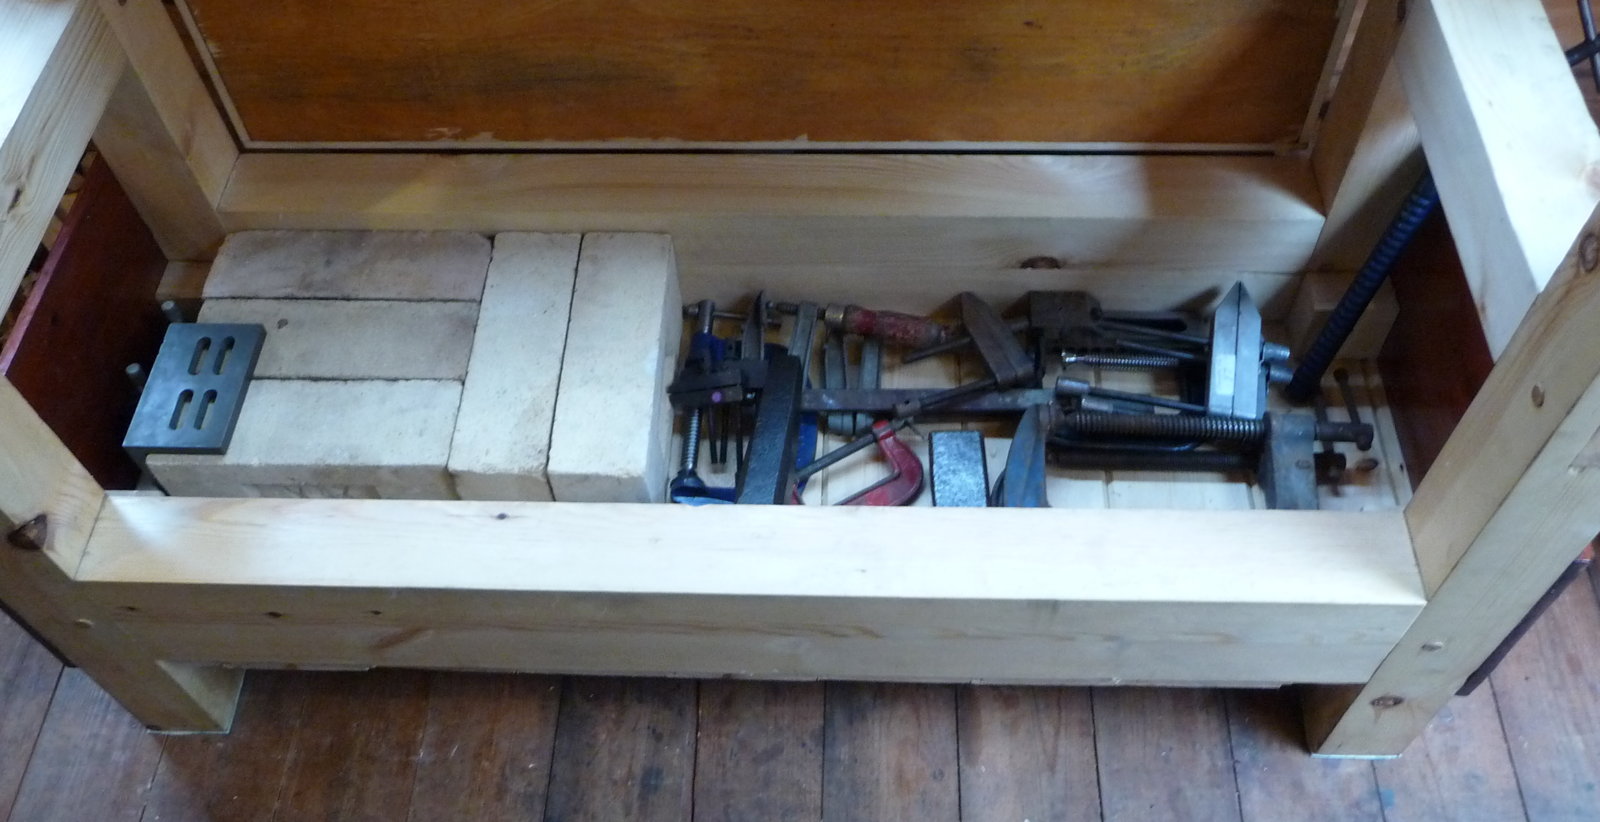
My plan is to store heavy things in here, thus lowering the bench’s centre of gravity and making it more stable. Currently it contains five fire bricks (!), a bunch of metal clamps, and a couple of small anvils. Combined with the fact that the bench structure itself is very rigid, the two other things I did to stop the bench moving around in use were that I glued rubber pads to the bottom of each leg and I attached the tops of the legs to the wall of the shed with angle-iron brackets, after bolting a steel channel to the wall to make it more rigid. I’m very pleased by how well this has worked.
Light is extremely important for fine detail work of the sort found in concertinas. Of course I put the bench next to the window to pick up what natural light I can, but that isn’t much use when it’s dark outside! The ceiling is too low for a conventional fluorescent light tube above the bench, and spotlights are problematic because they cast light and dark areas. After a bit of research I found out about LED light panels. I bought a 300 x 1200mm 40W daylight panel and fitted it directly above the bench, and I was amazed by the quality of light it produces. It is like being directly under a skylight on a bright day.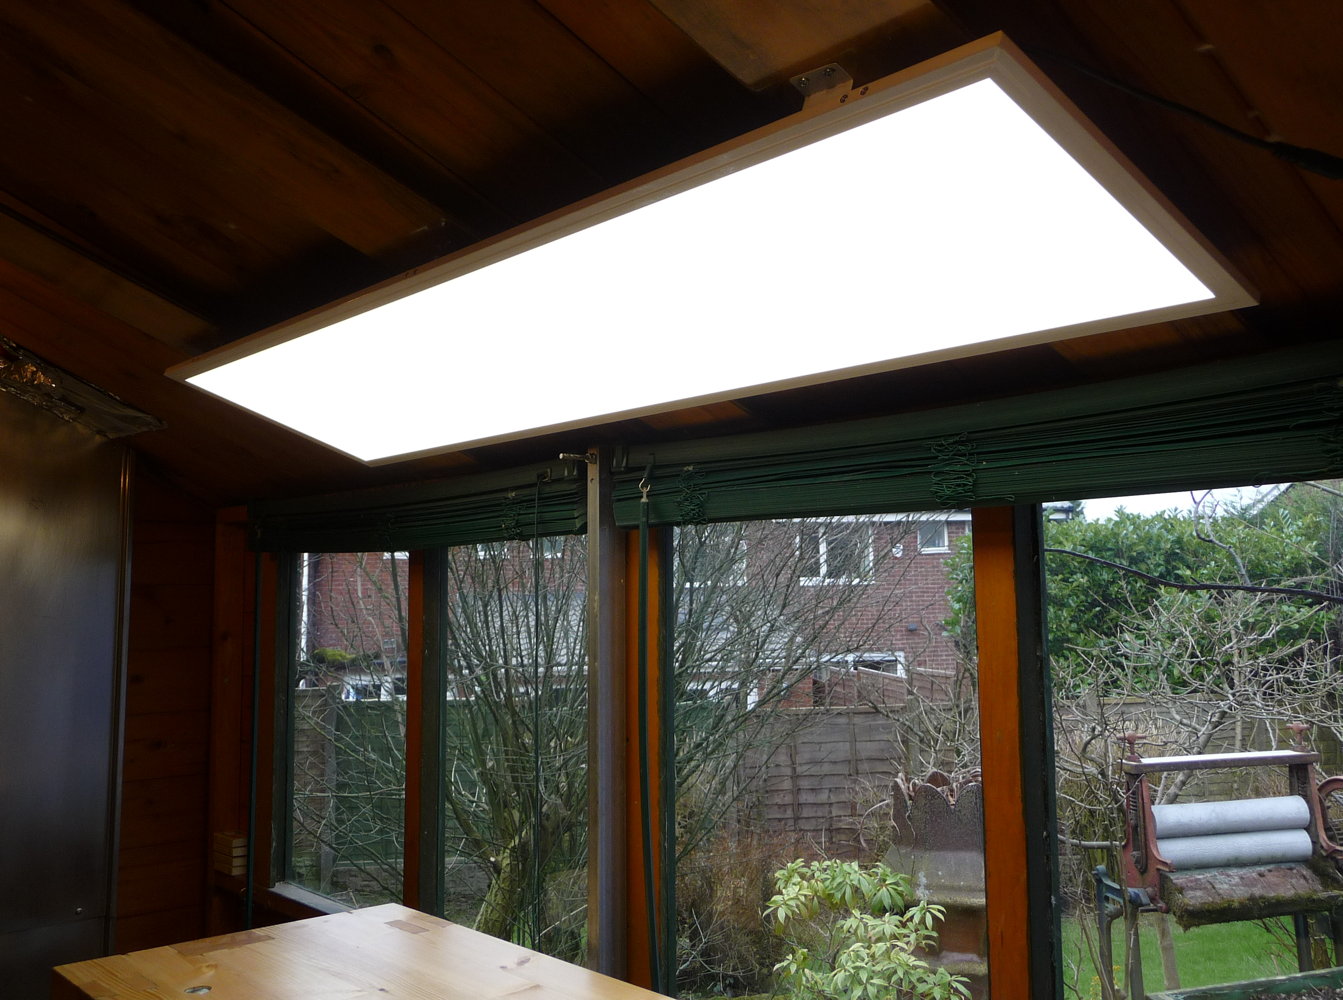 (On the negative side, I also replaced the bulbs in the two batten light fittings with newfangled LED filament bulbs, and I found those to be a bit disappointing: slightly dimmer than the claimed equivalent tungsten bulb, with a very dim patch directly below the bulb).
To finish up, here is a selection of pictures from the construction process.
The wood I bought to construct the bench, mainly 3″ x 3″ planed “redwood” (i.e. Scandinavian pine). IIRC it cost about £40 including the T&G on the left that I used for the bottom of the tool box (the lid was a piece of scrap plywood I had lying around).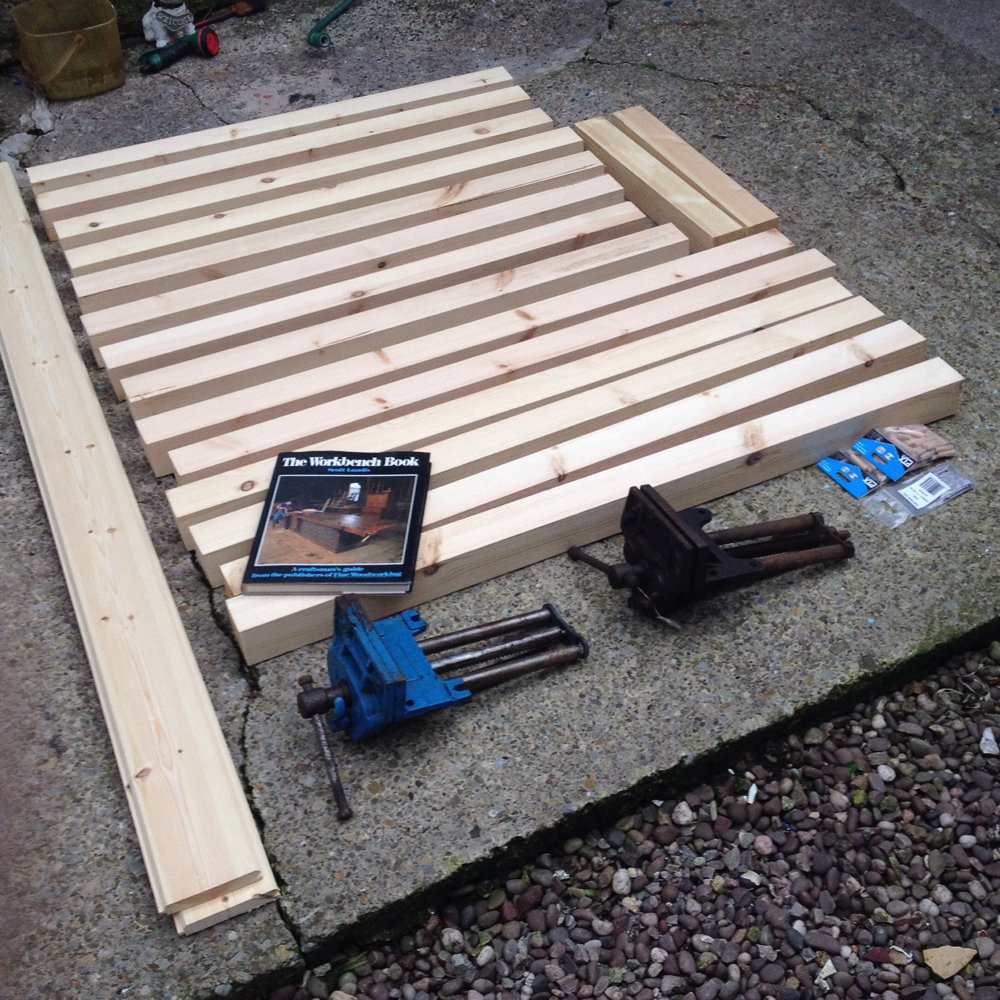
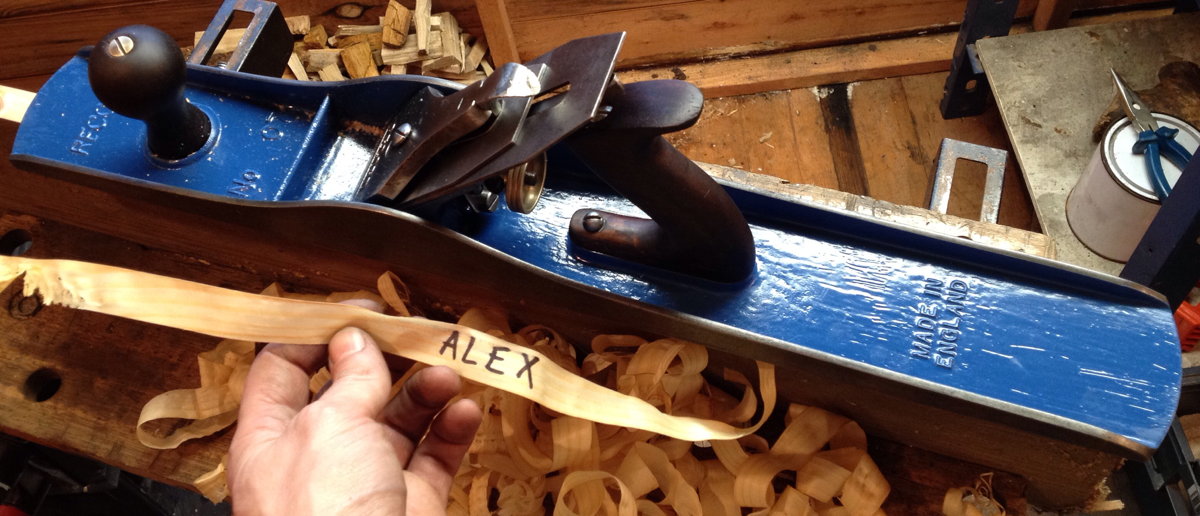
First I had to restore my Record No. 7 jointer plane, which I had never really had a use for before now, not being a furniture-maker.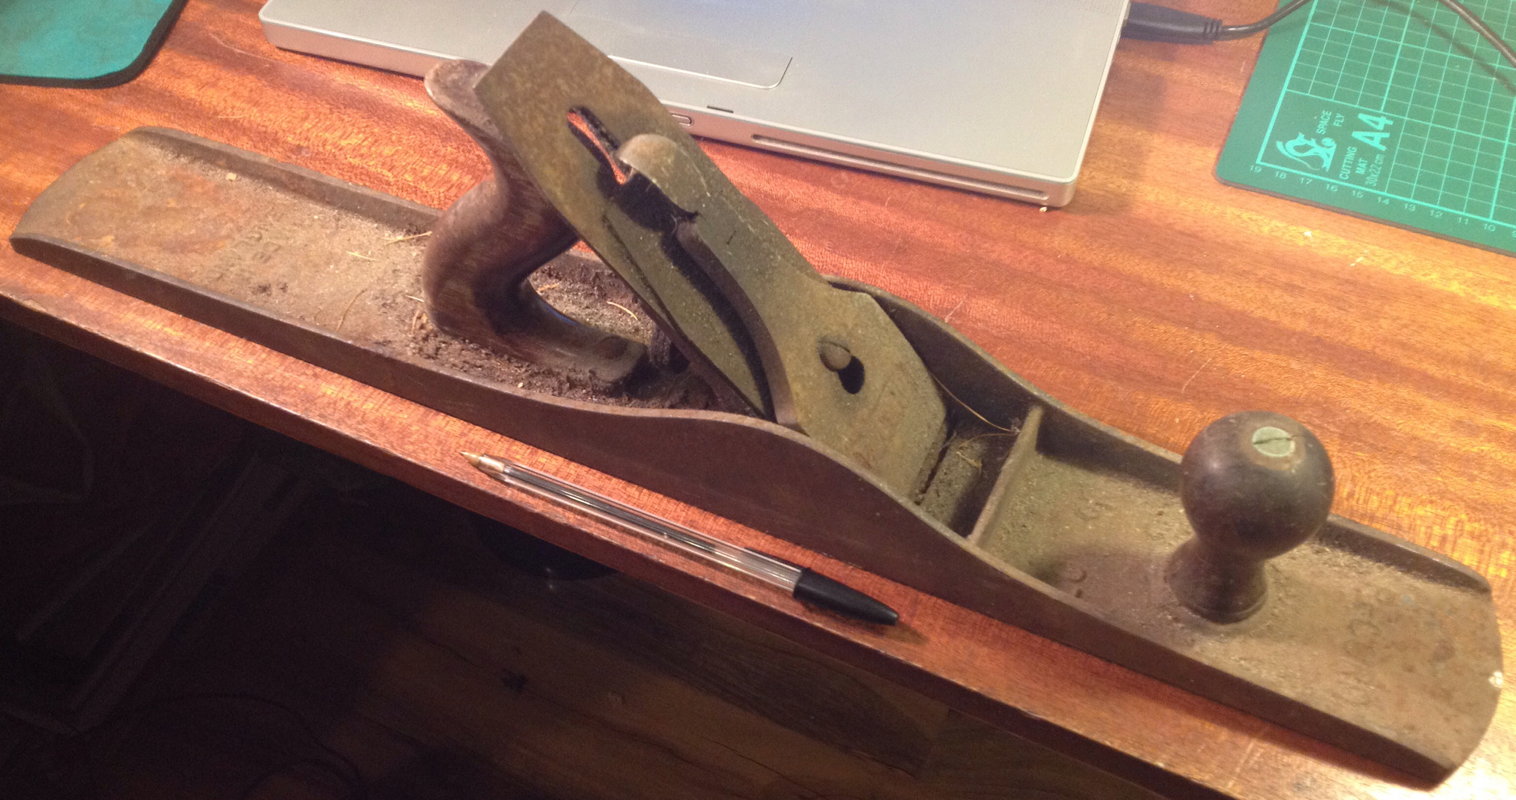
Then I used it to joint the boards that I glued together to form the long stretchers and the top: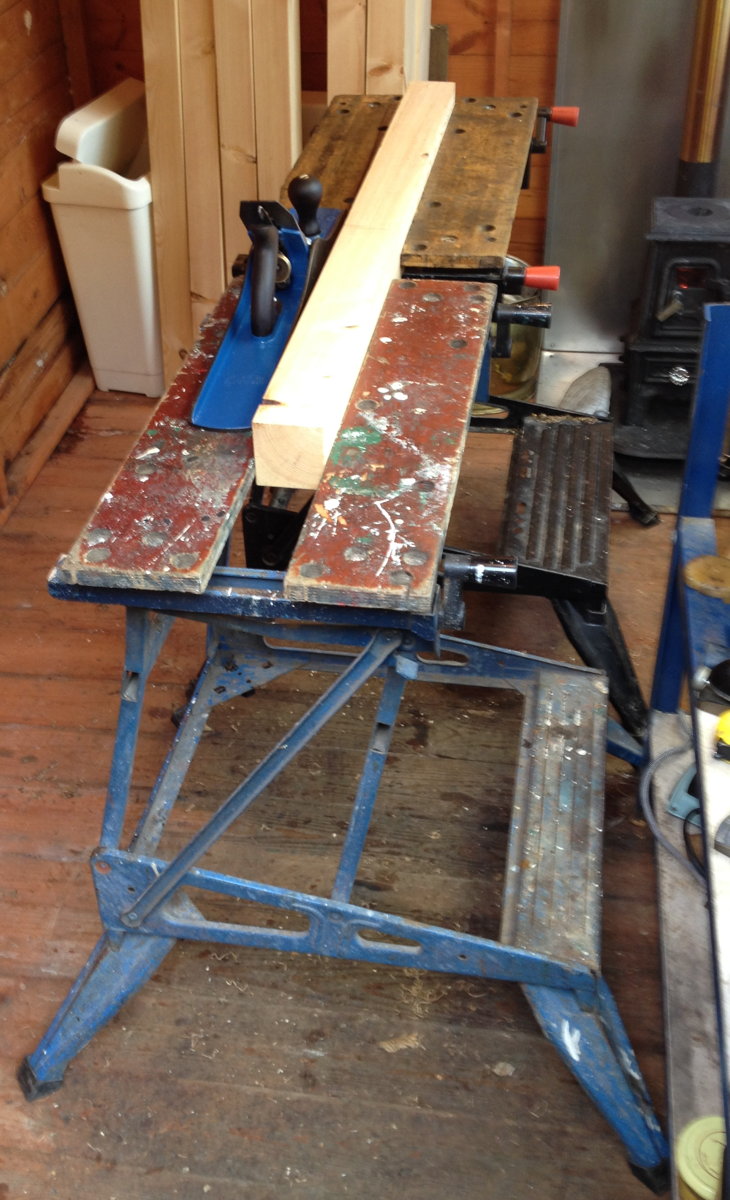
I glued one joint at a time using hot hide glue and three sash cramps (it might have been preferable to use a couple more, but I was horrified when I found out how much decent ones cost). My vintage electric iron was used to preheat the wood to extend the glue’s open time.
After the top was fully glued up, I roughly trued and squared it with a wooden jack plane: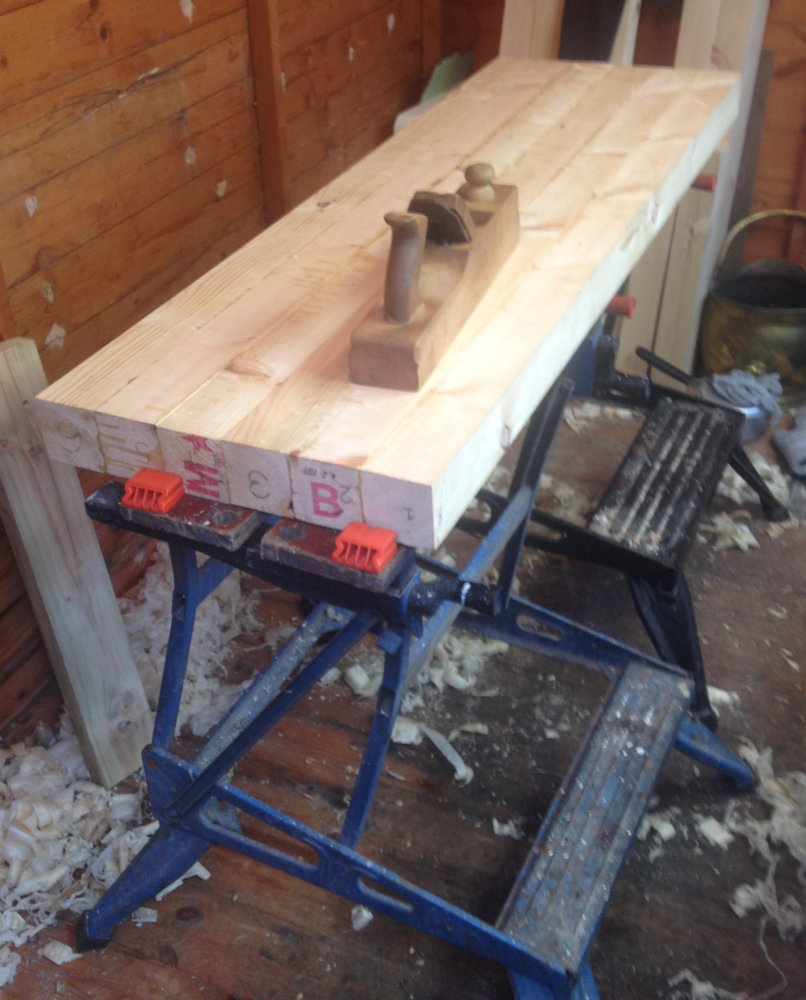
Then I flattened the top surface with the jointer plane. After final assembly I re-flattened it, and was surprised to discover that in the intervening couple of weeks it had cupped by about 2mm.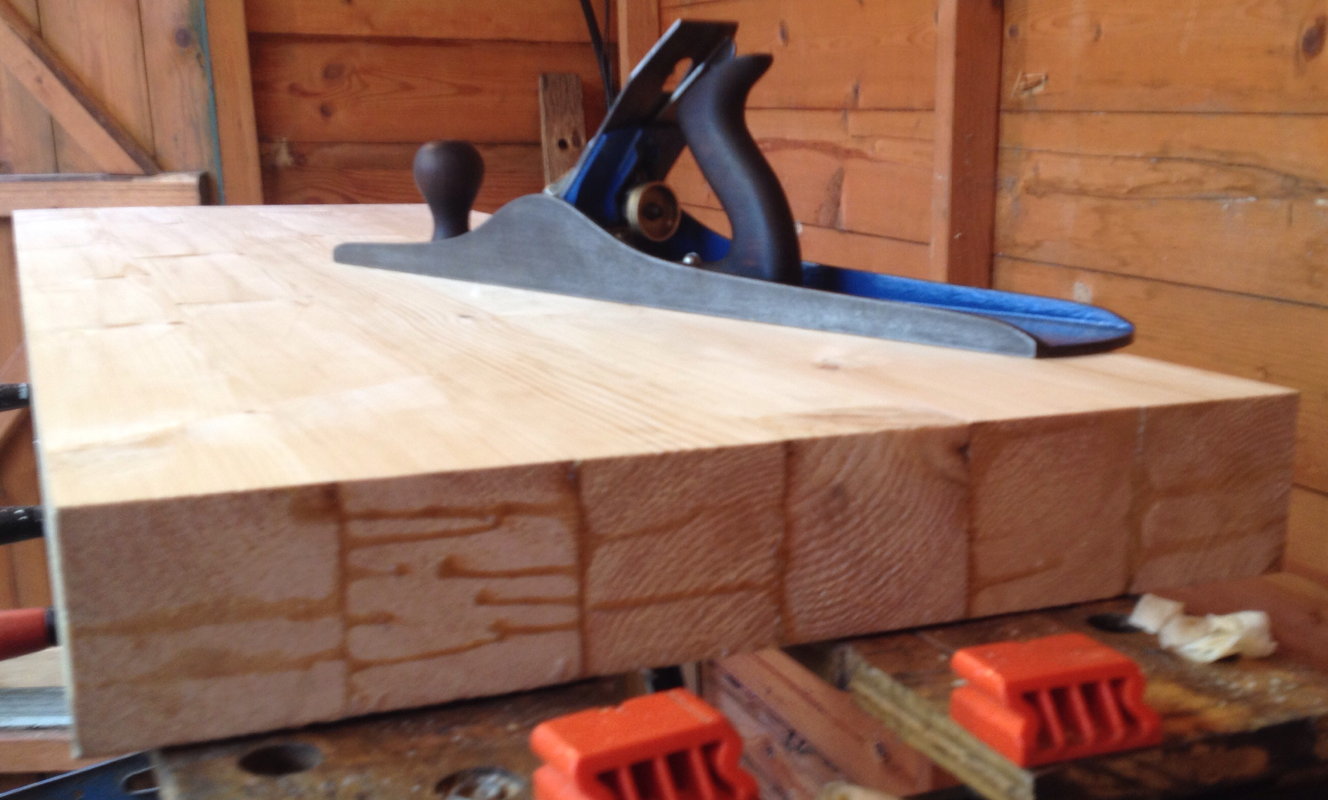
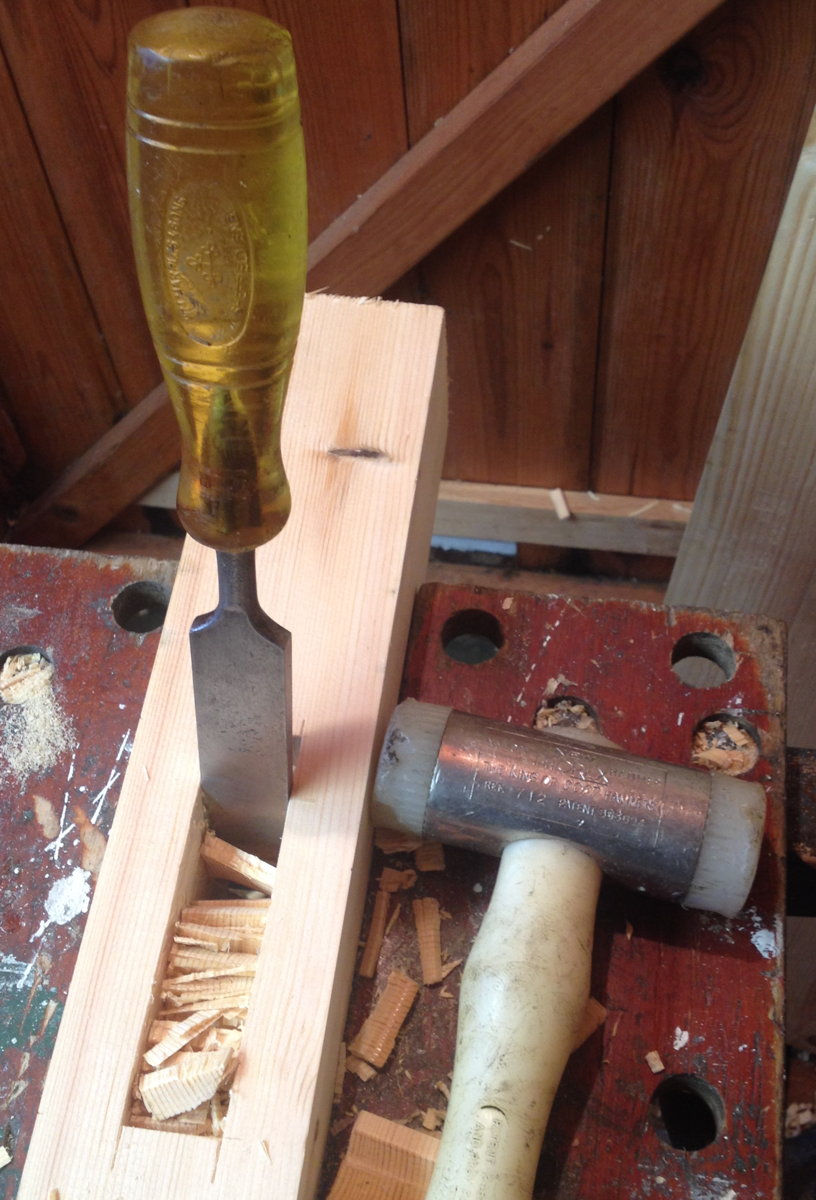
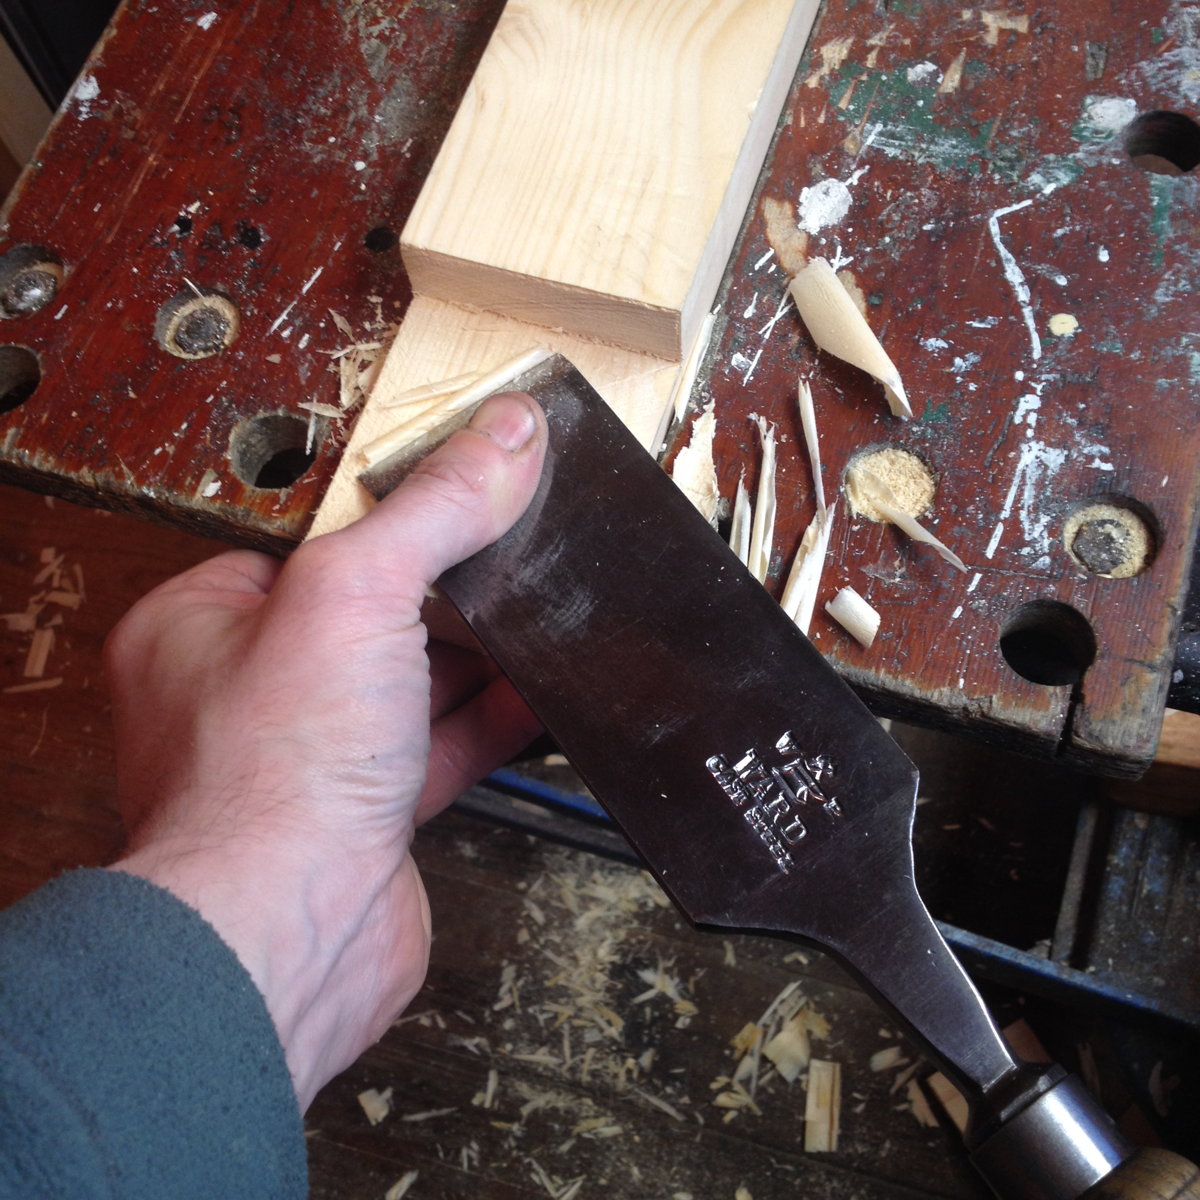
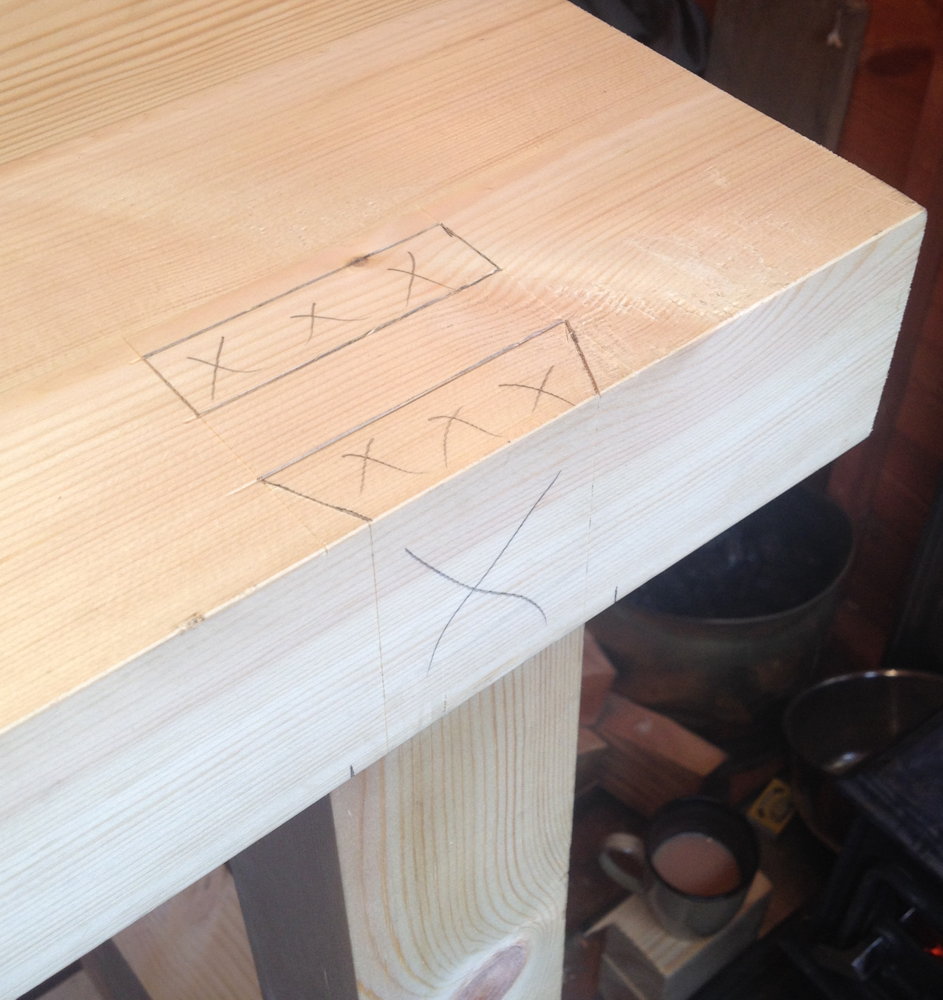
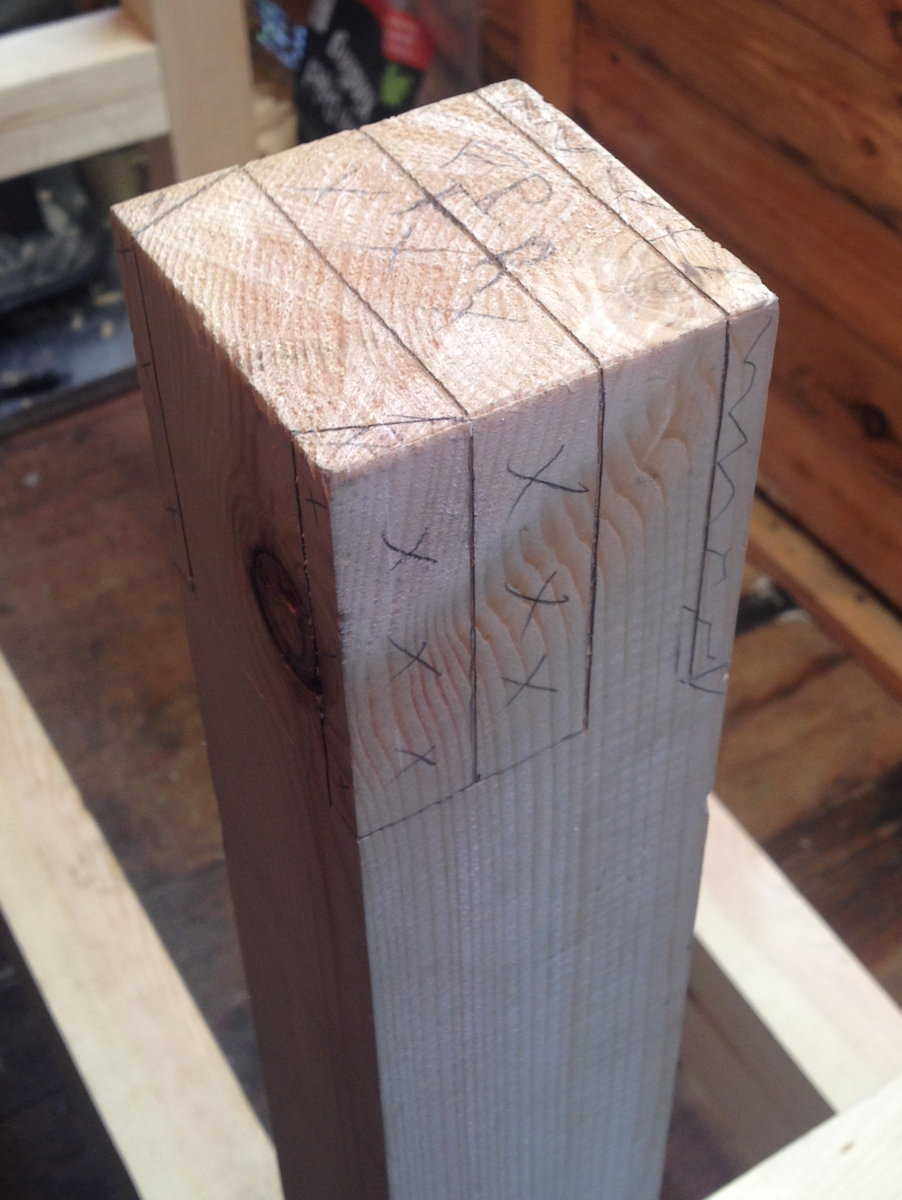
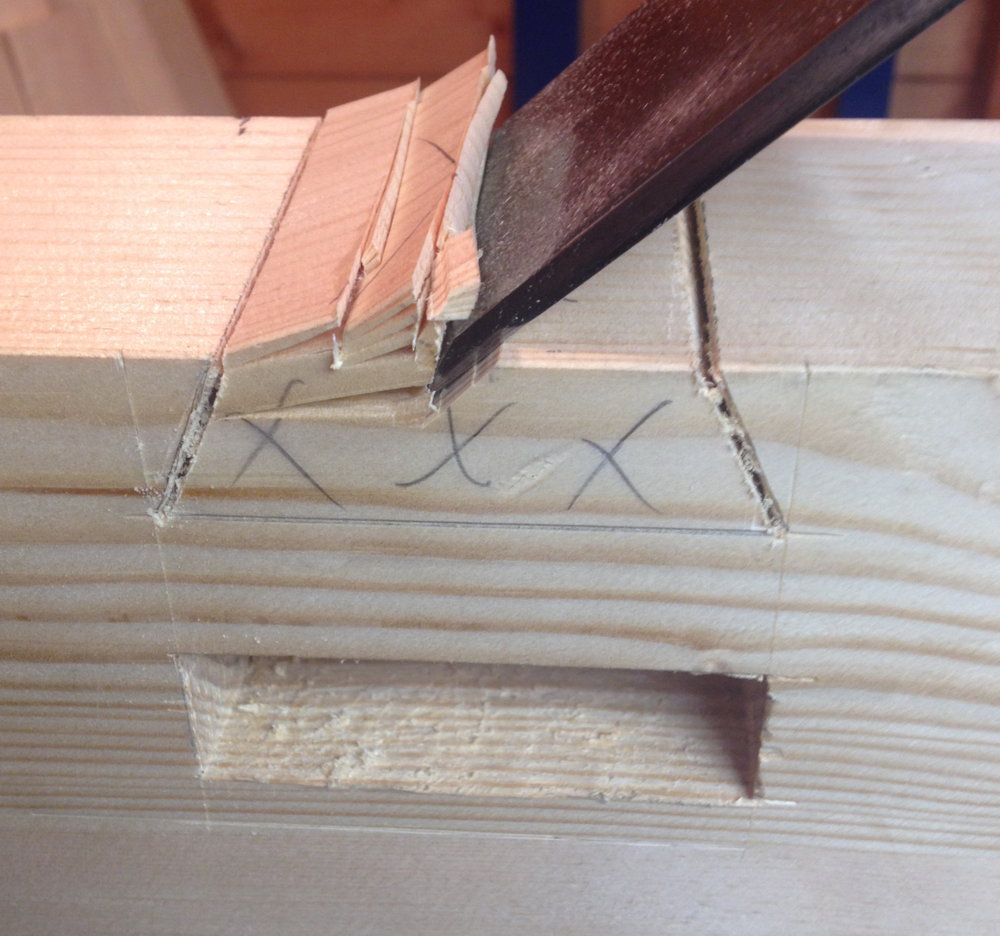
Cutting the joinery: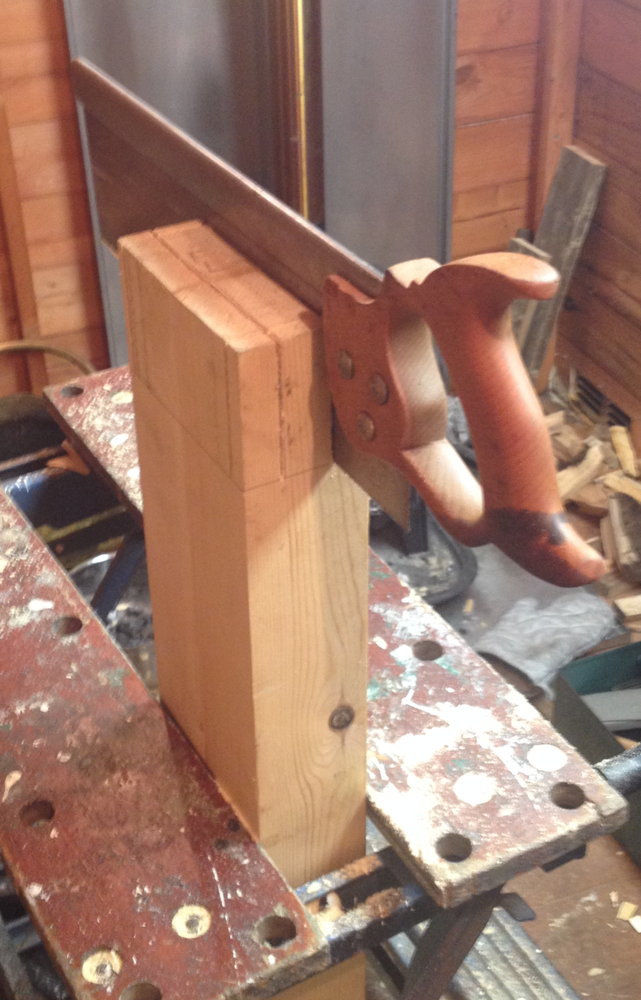
First assembly of the bench, with Pippin the pushme-pullyou dog (this was an accidental trick photo caused by my dad activating the panorama feature on my iPhone).
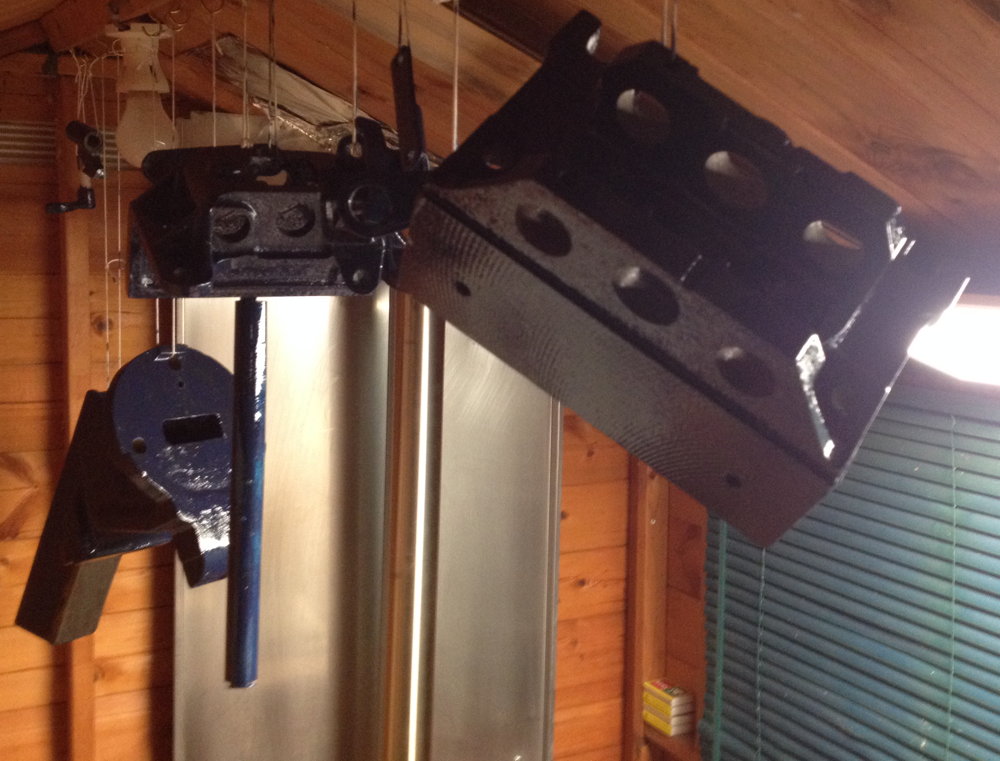
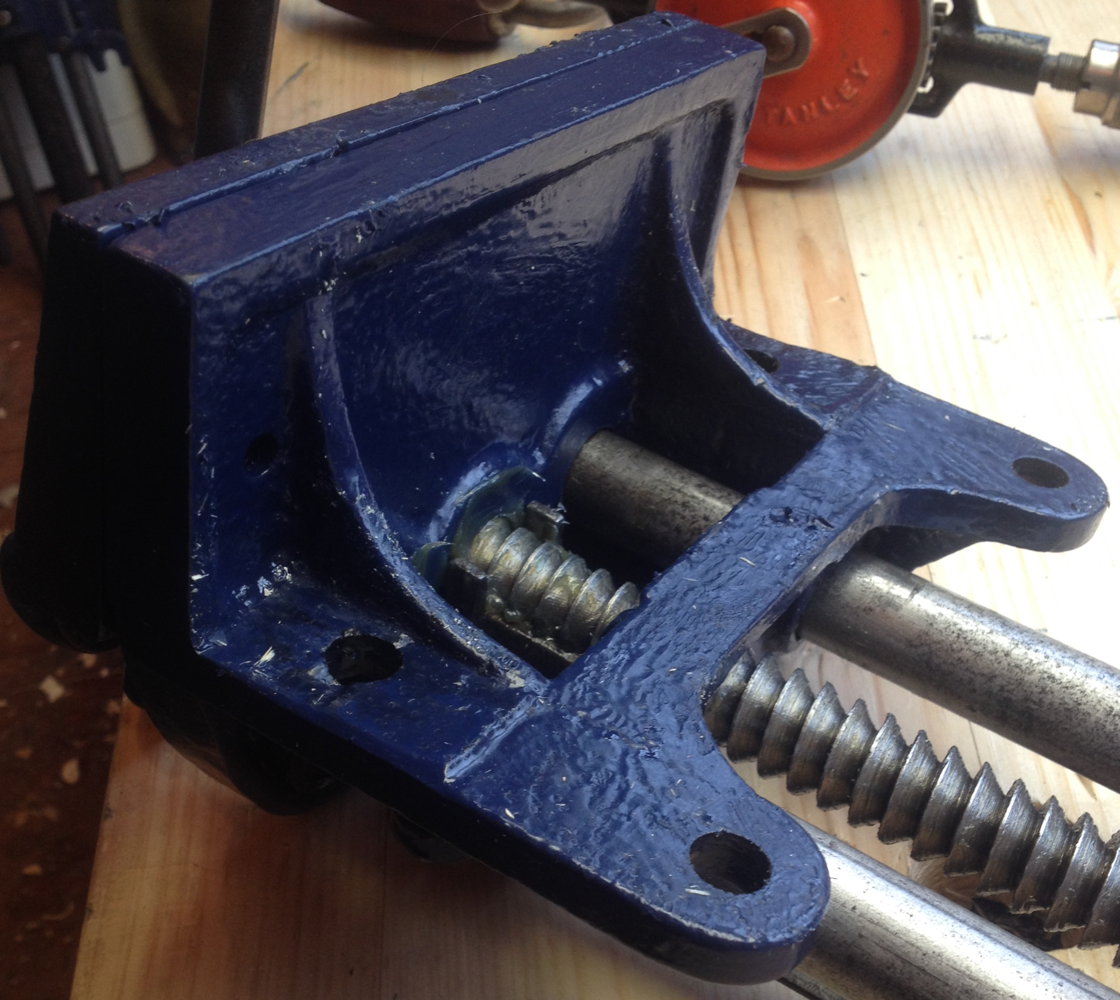
All three vices needed a good cleanup and repaint. The Woden vice also turned out to have had the quick release mechanism modified in an inexplicable way that prevented it functioning – after reversing the bodge it worked fine.
Annoyingly the new paint didn’t dry very well at all, and after several days I got fed up waiting for it to harden and fitted them anyway, resulting in the very soft paint rubbing off in a few areas.
Making riven beech pegs to hold the joints together. I didn’t use any glue, or even bother to drawbore them.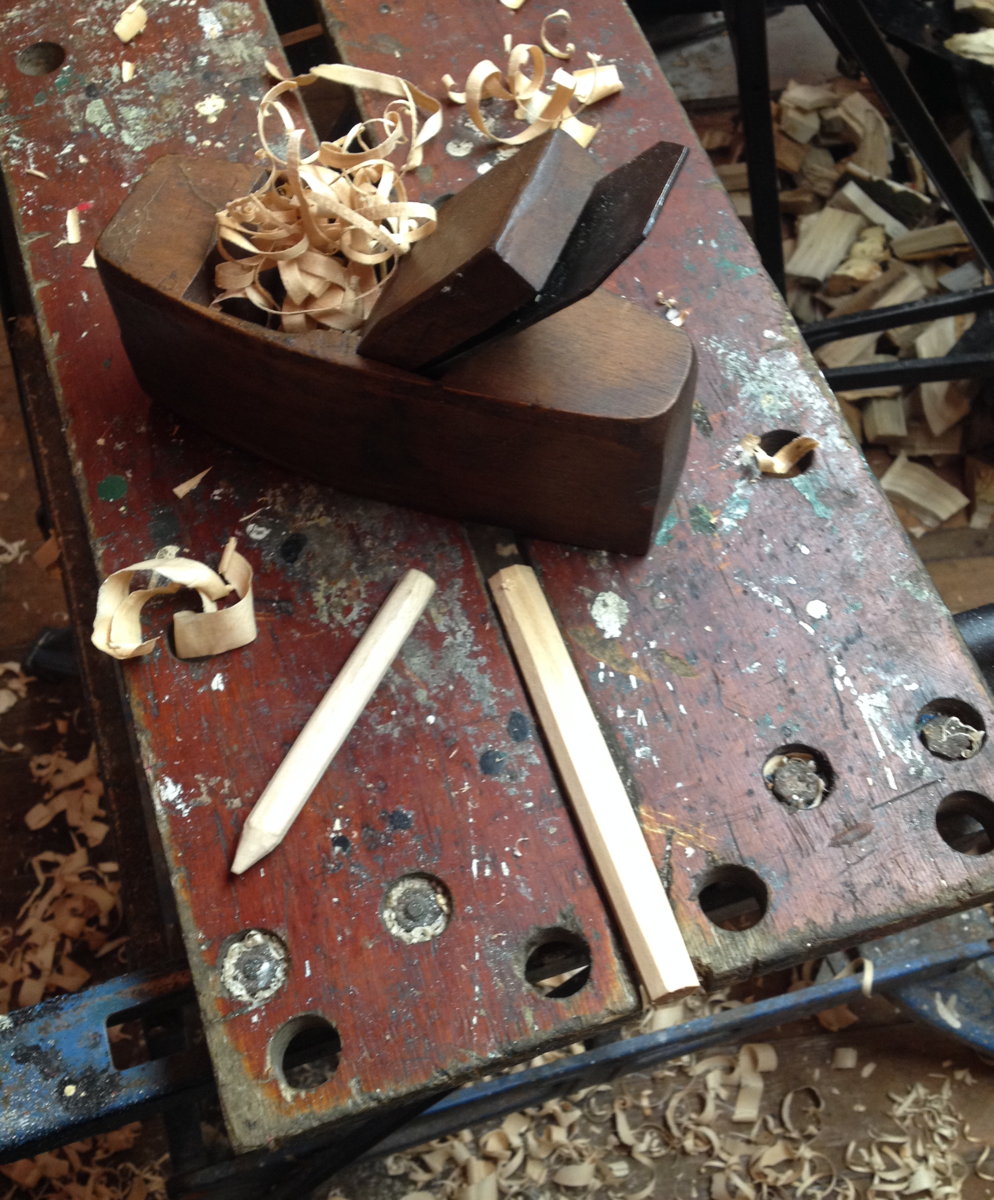
Setting the hold-down collar into the benchtop using my router plane.
The fixed jaw of the end vice was morticed into the benchtop to avoid having a gap between the end of the bench and the wooden jaw.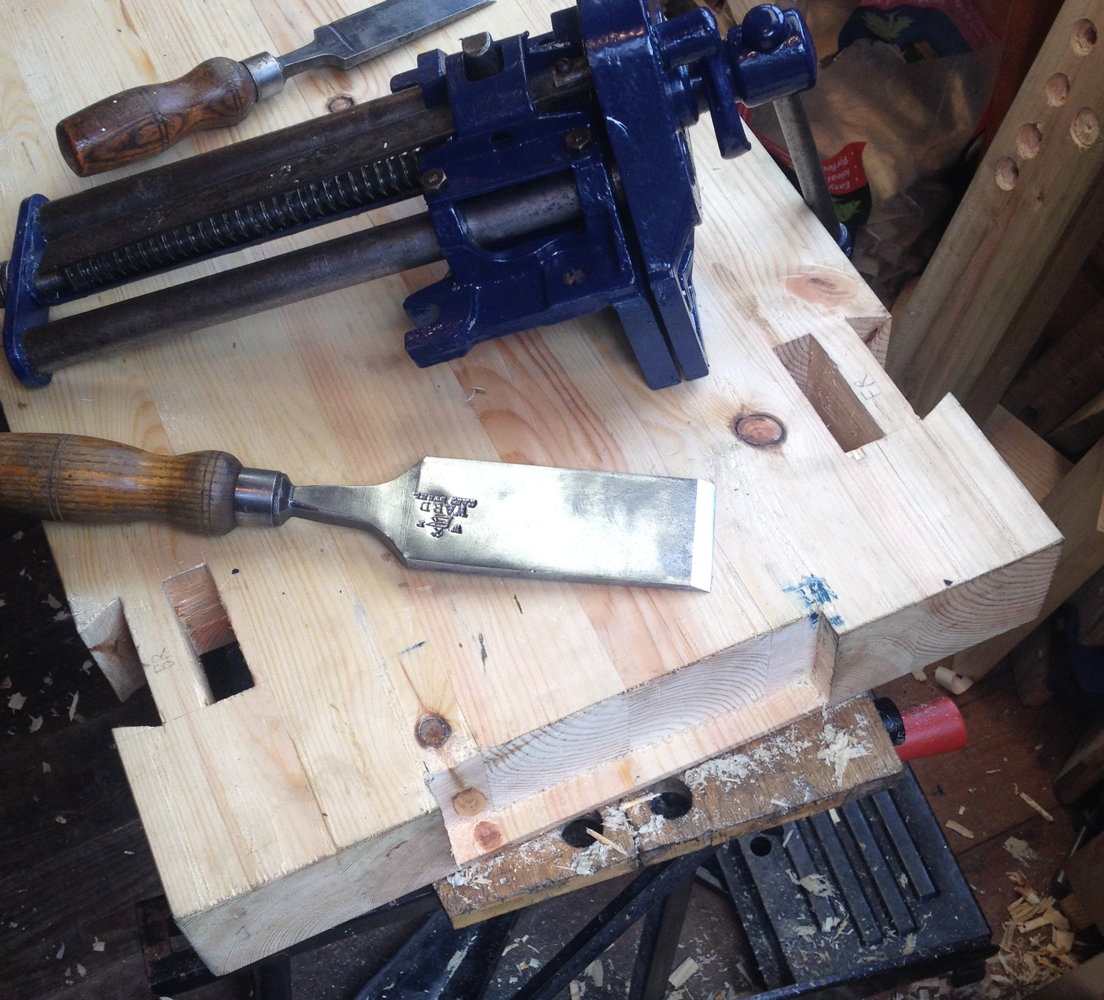
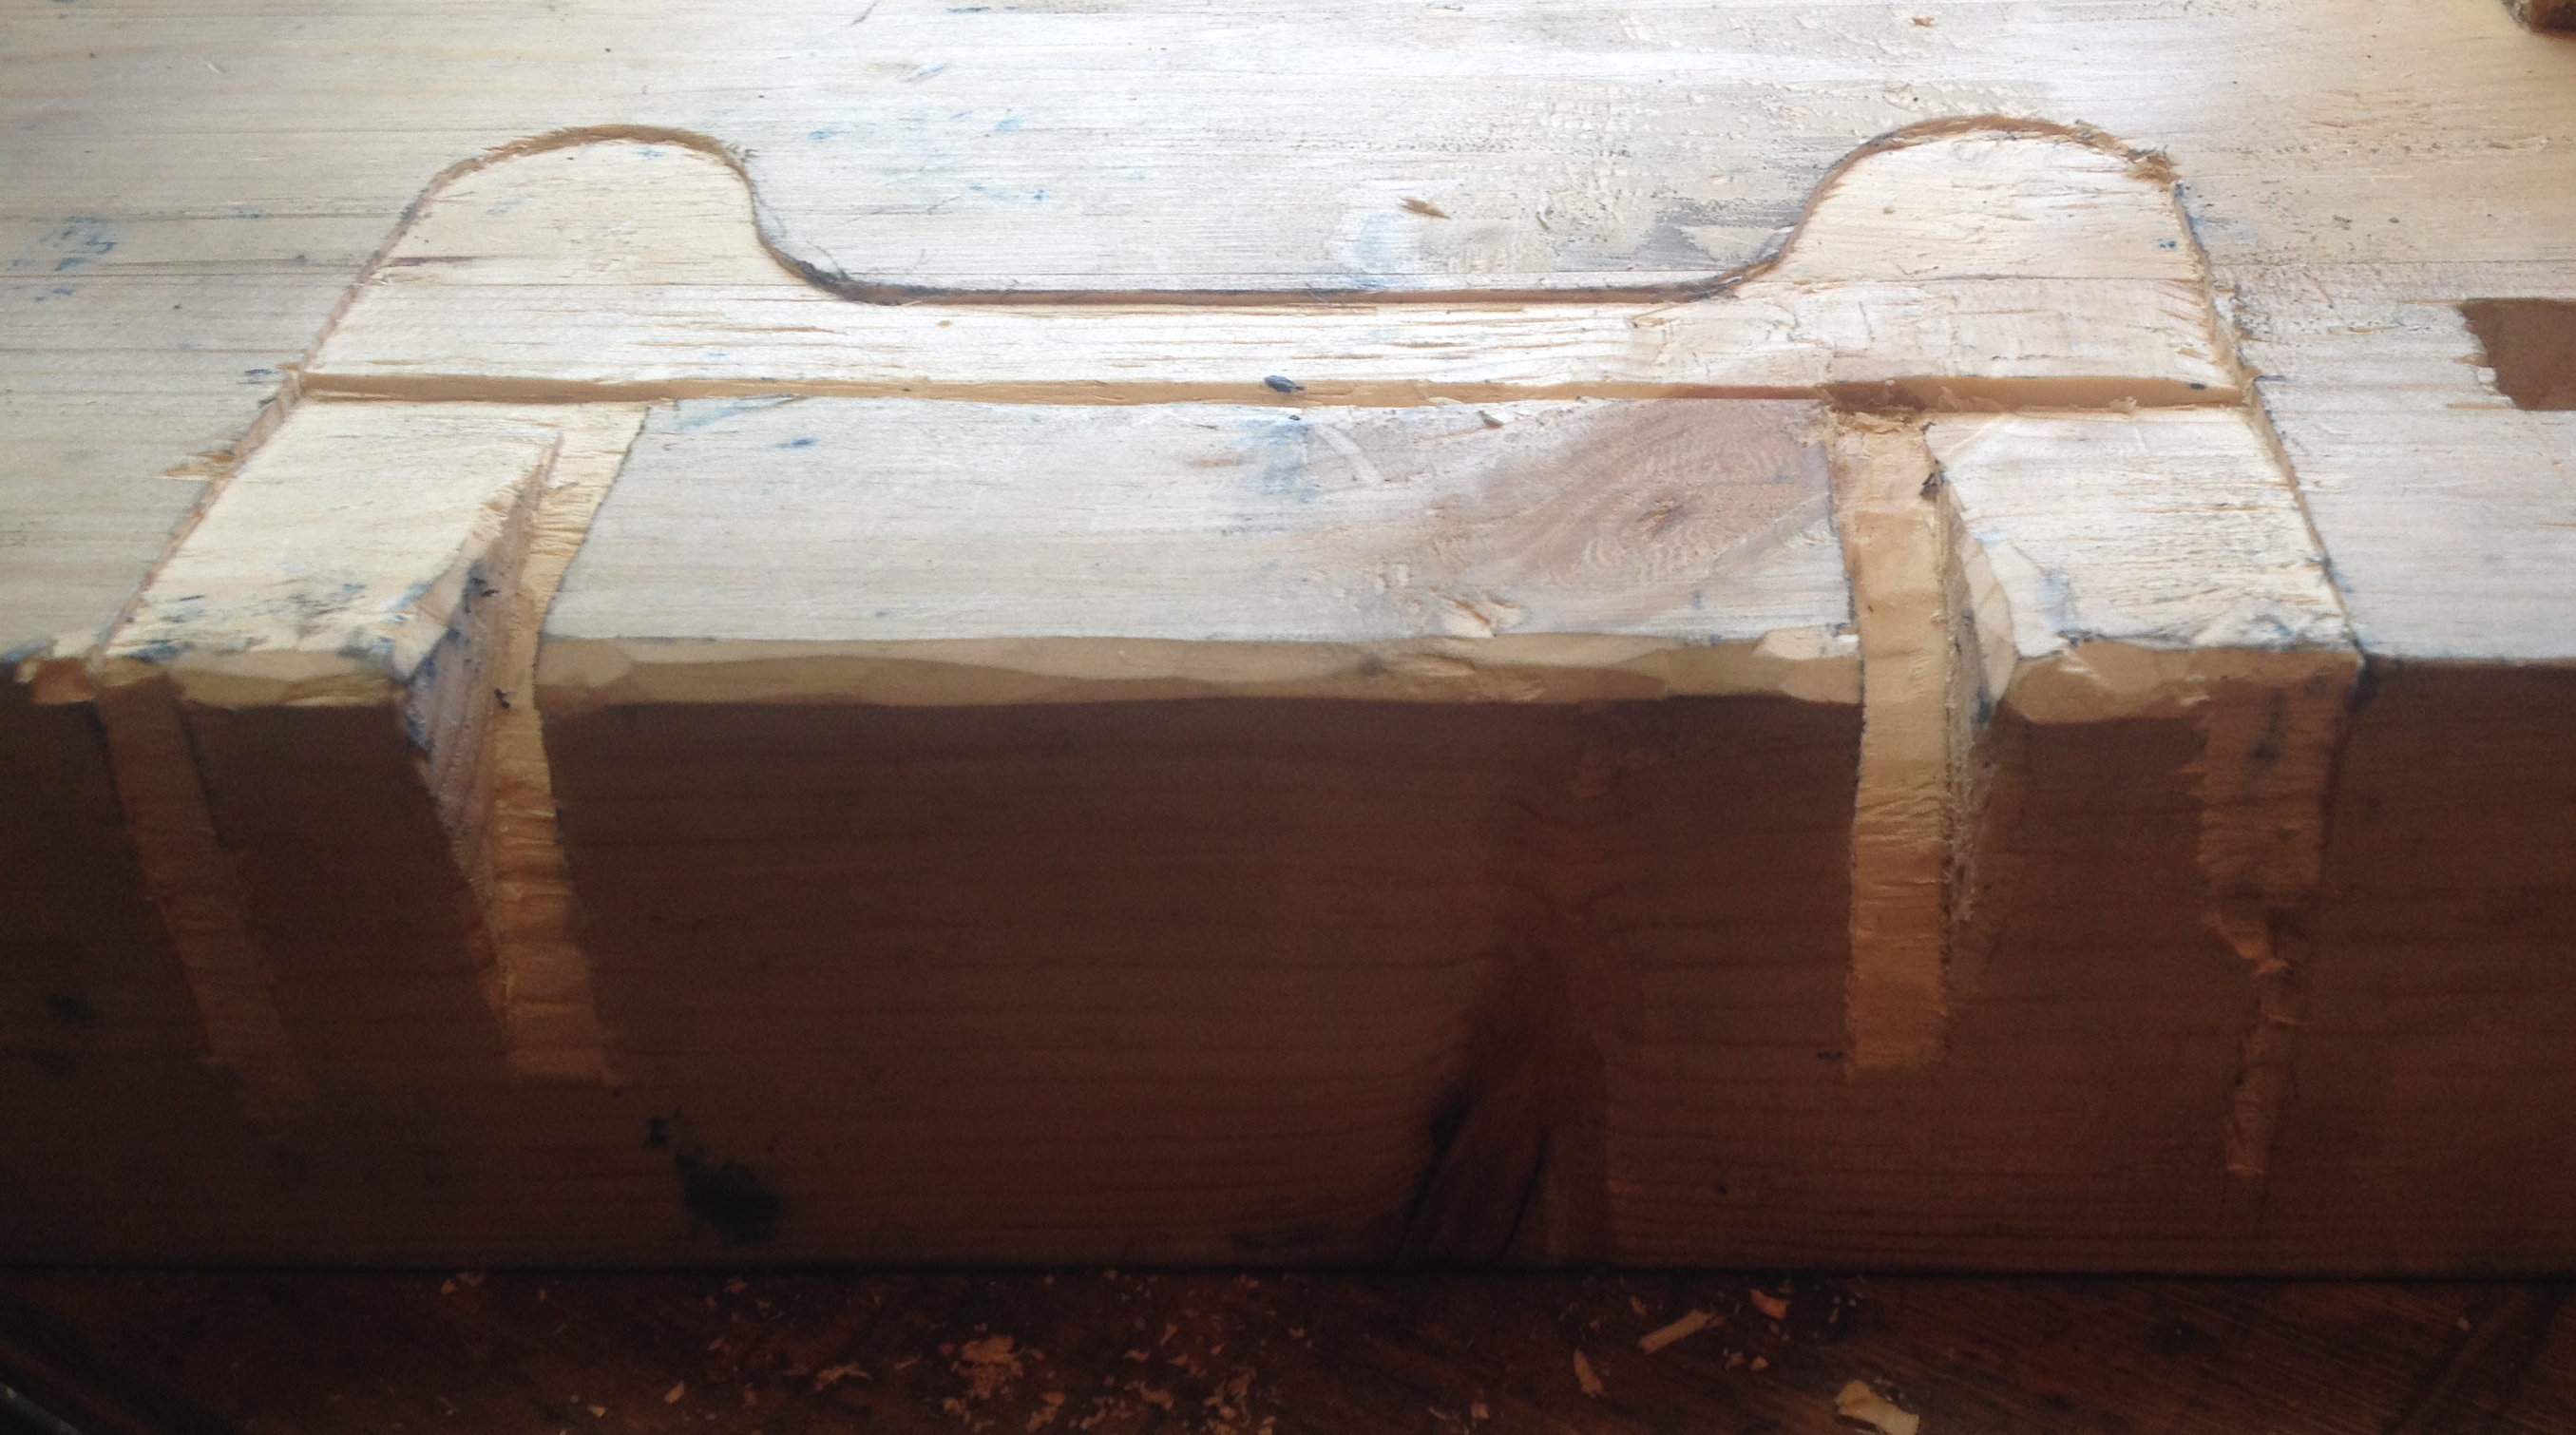
Unlike the Record vice, the Woden one had a really rather wonky top surface where it bolts to the underside of the bench.
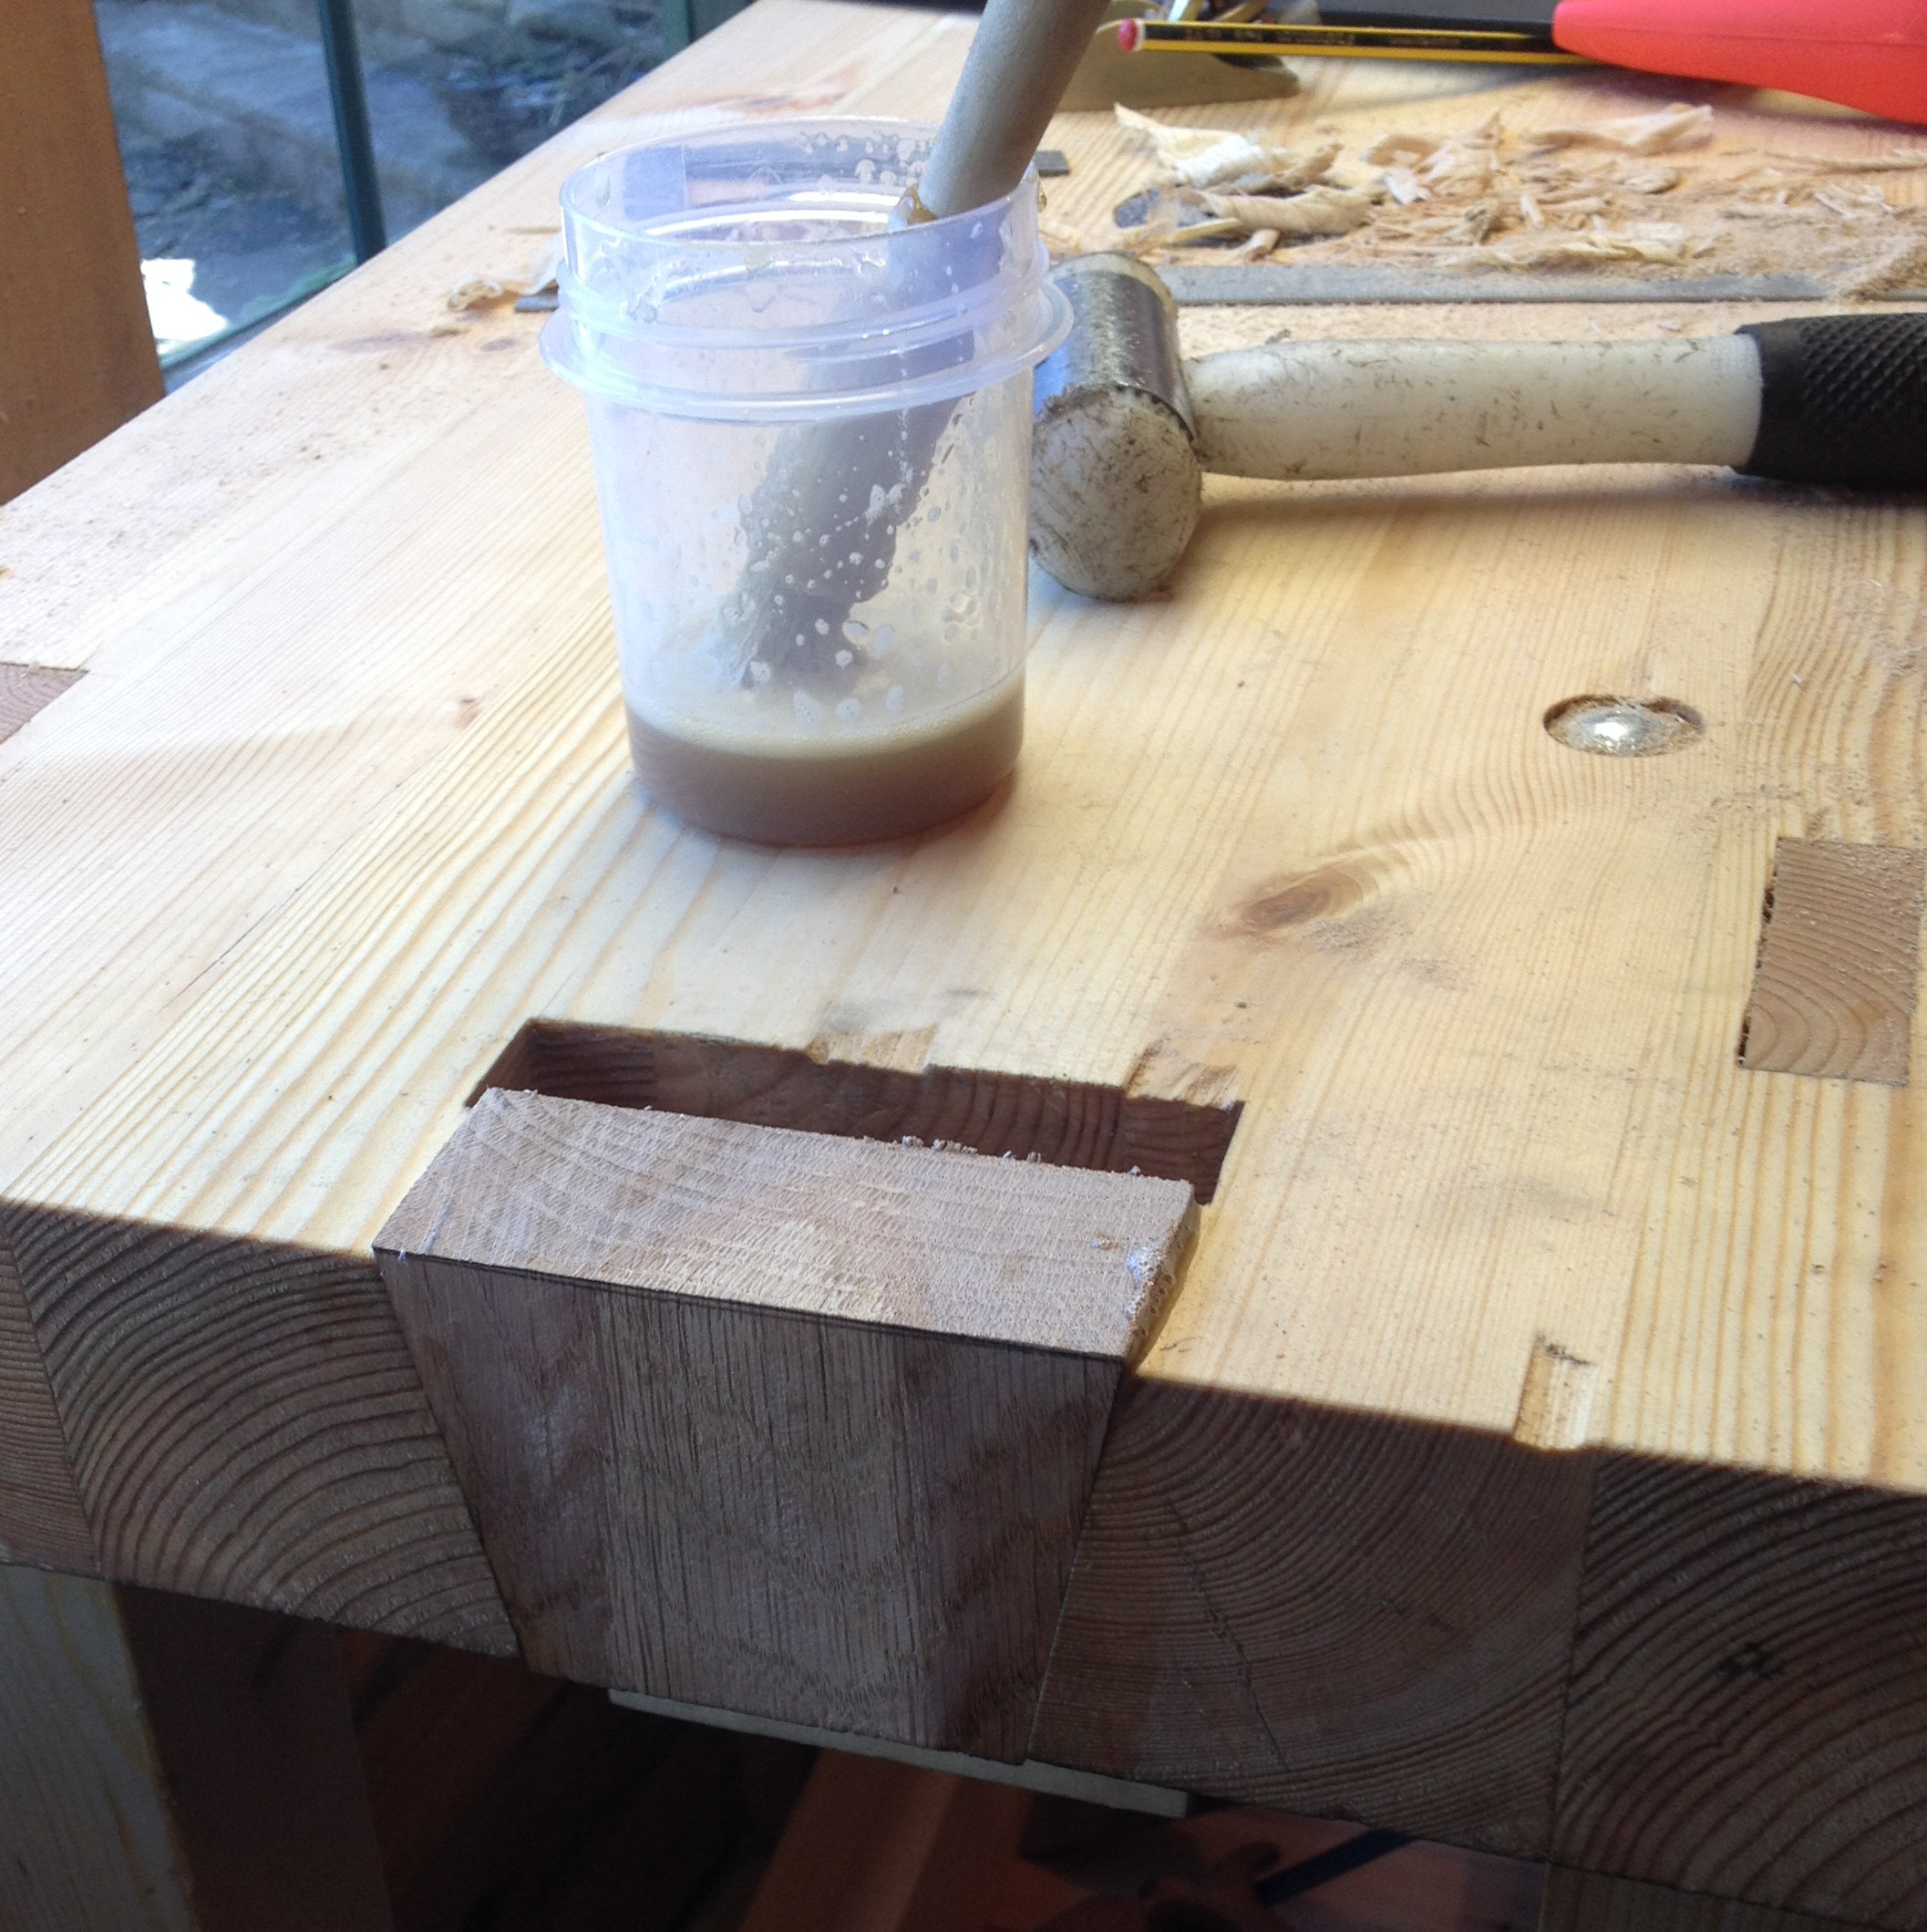
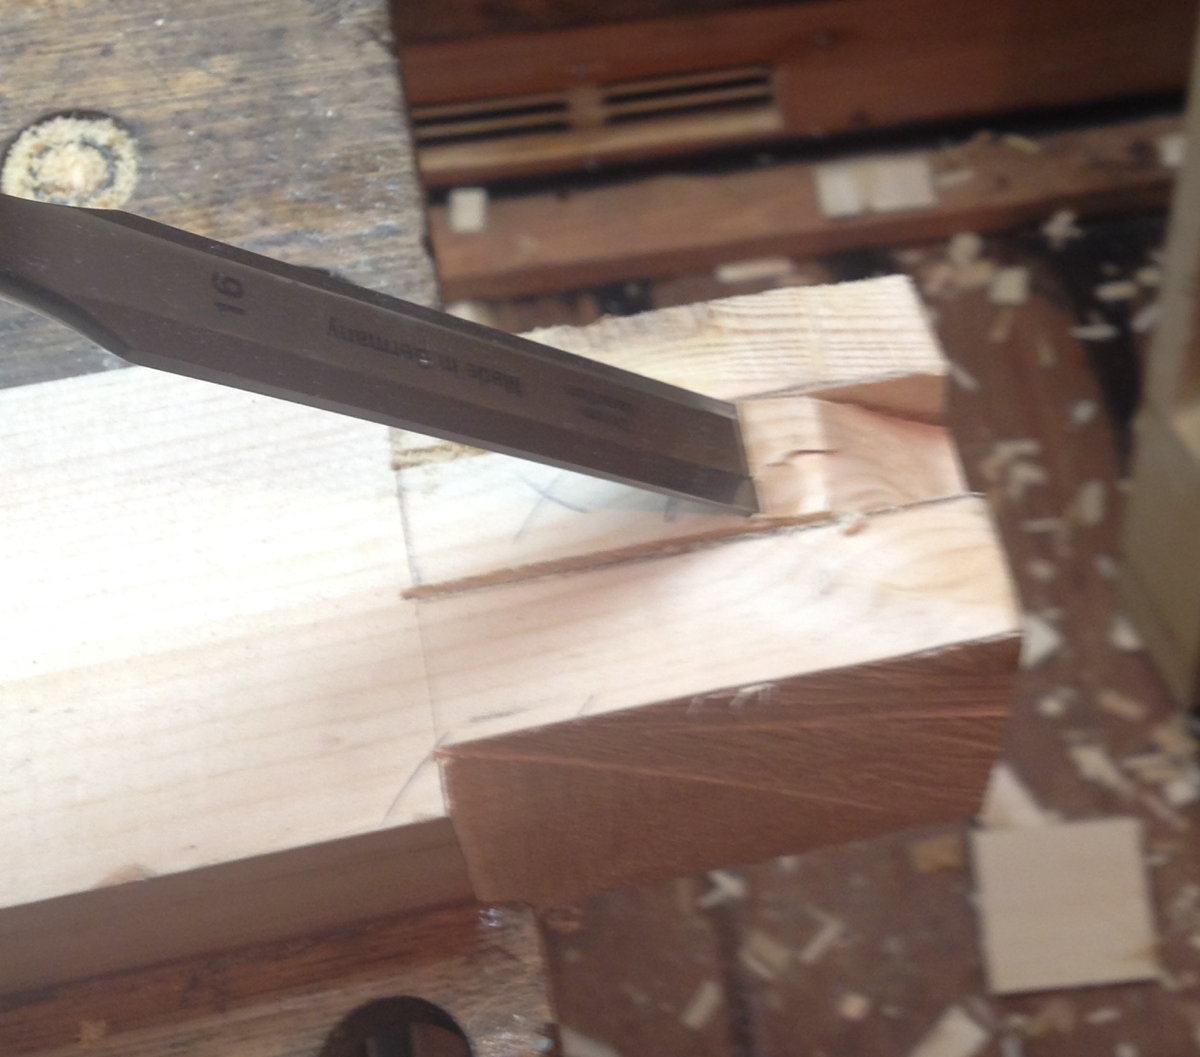
 As a result, I had to spend a couple of hours painstakingly carving the underside of the bench to match the top of the vice in order to get it to fit snugly and not rock:
Before I finally attached the top to the legs, I whittled my maker’s mark and the year of construction on the underside: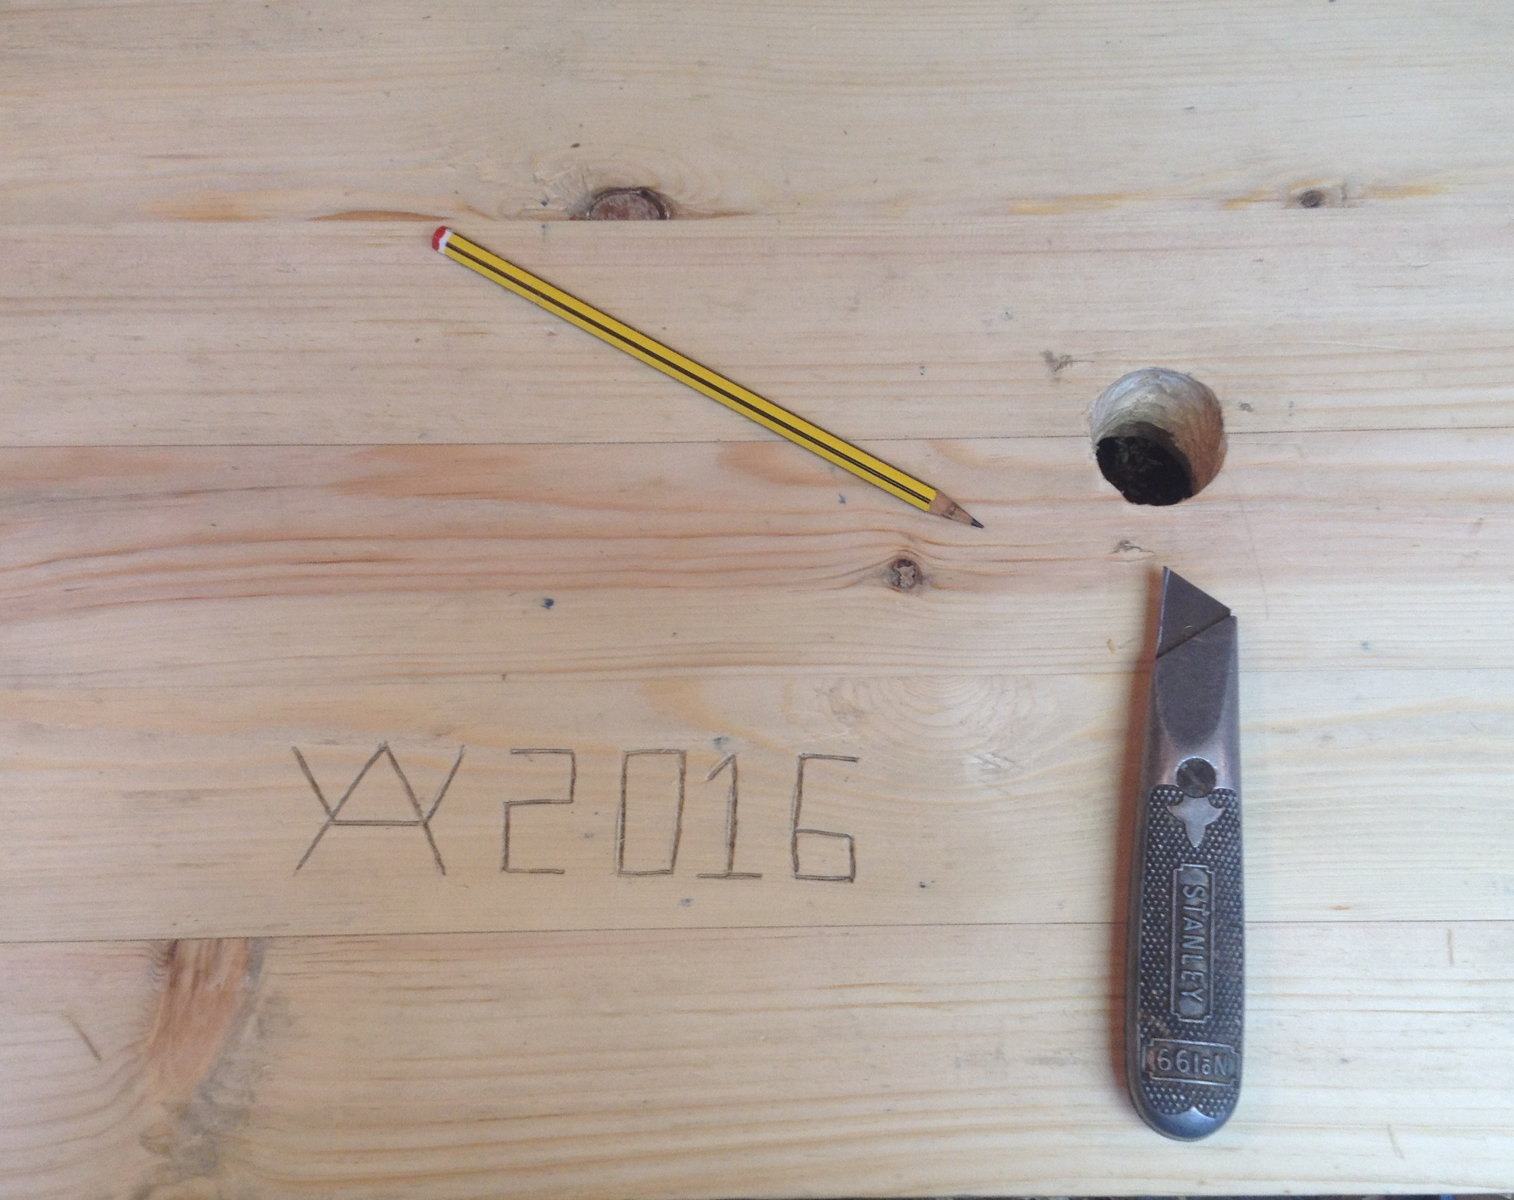
The long stretchers were held into the legs with both a peg and a pair of wedges (which open the tenon out into a deliberately tapered mortice). This is a very strong joint, even without glue. Getting the wedges out if I ever want to disassemble it will probably be a bit of a struggle though.
Simply screwing the hold-down collar to the bench top didn’t work very well; when I tightened the clamp the screws started to pull out, so I fixed the problem by making this steel clamp plate that goes on the underside of the bench. The screws are M5, stainless steel.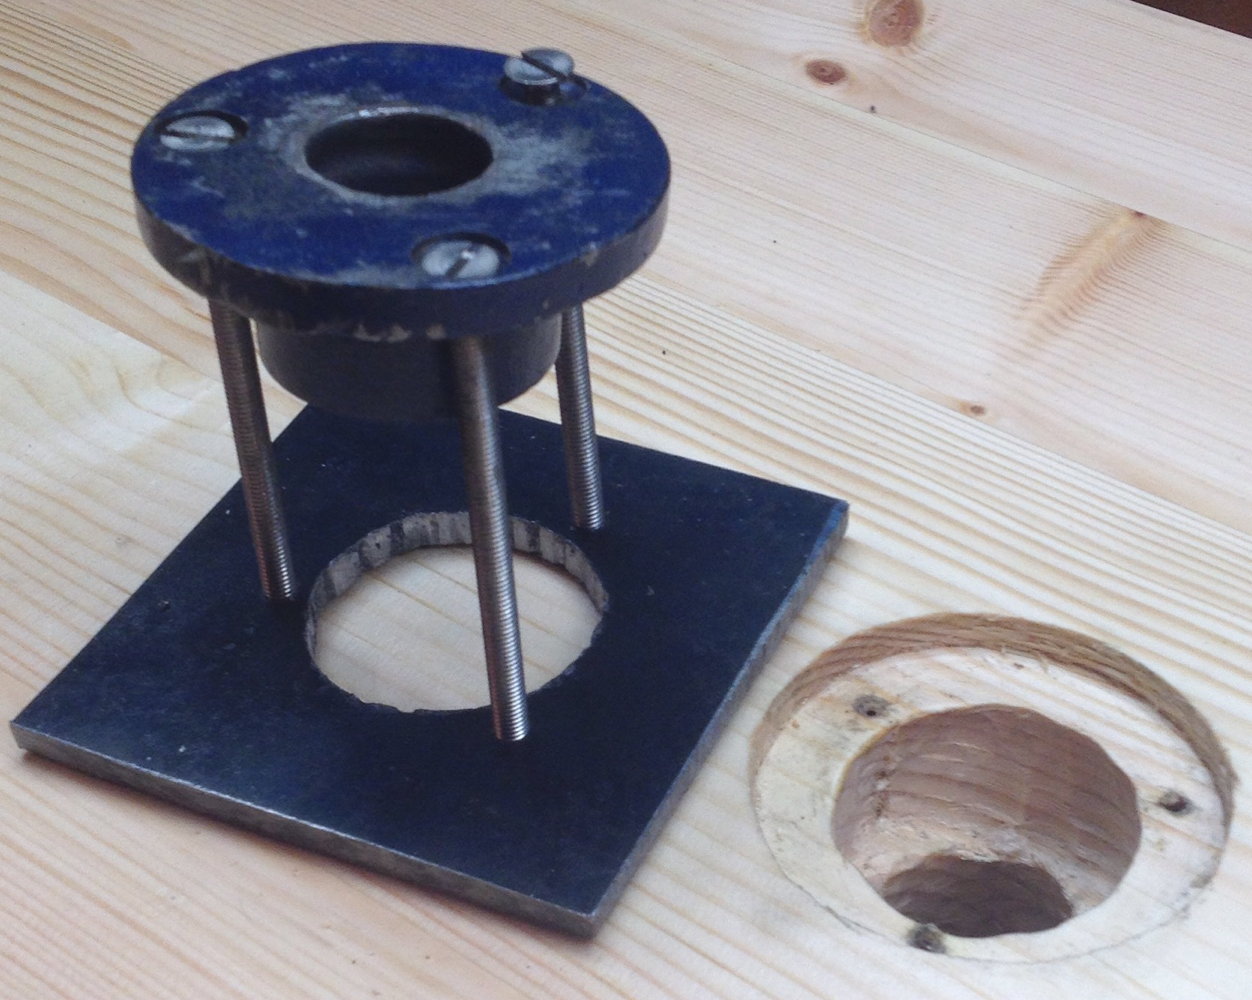
The short section of benchtop behind the planing stop shrunk and split after a few days, so I cut it out and scarfed in a chunk of dry oak instead.