No. 5: Blackbird Version II
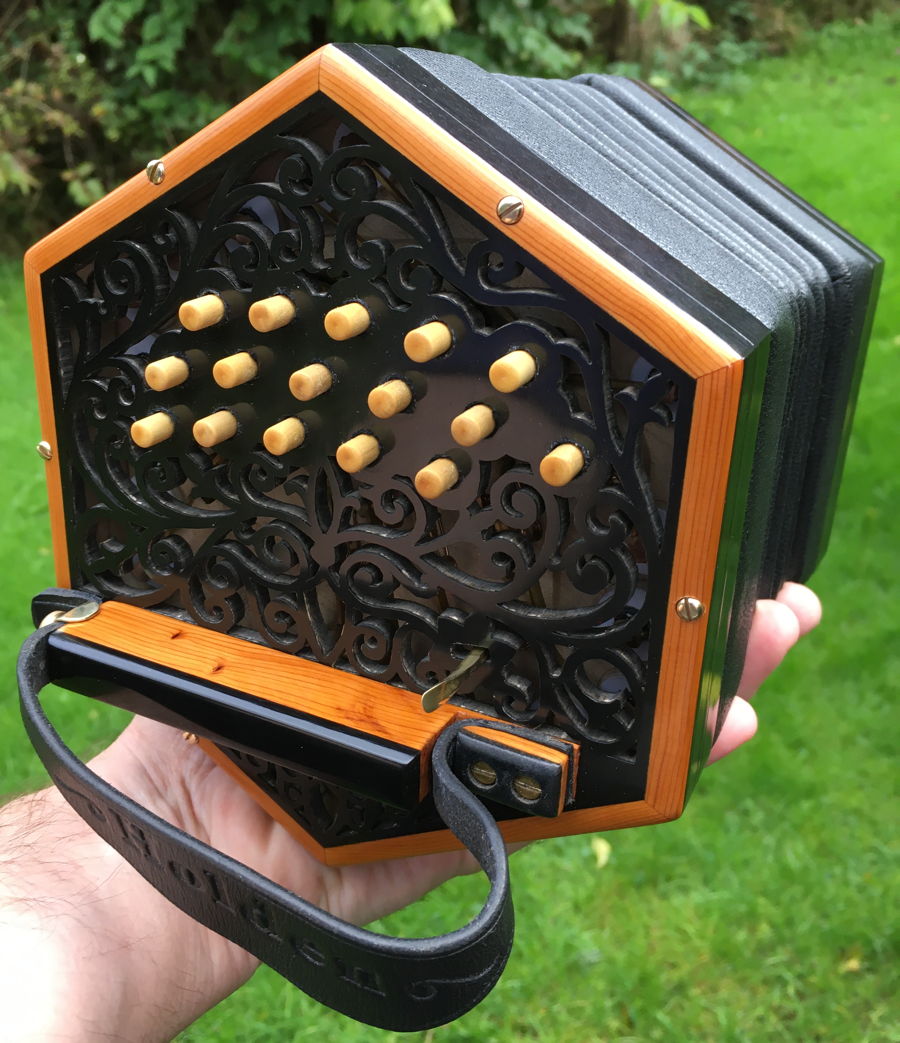
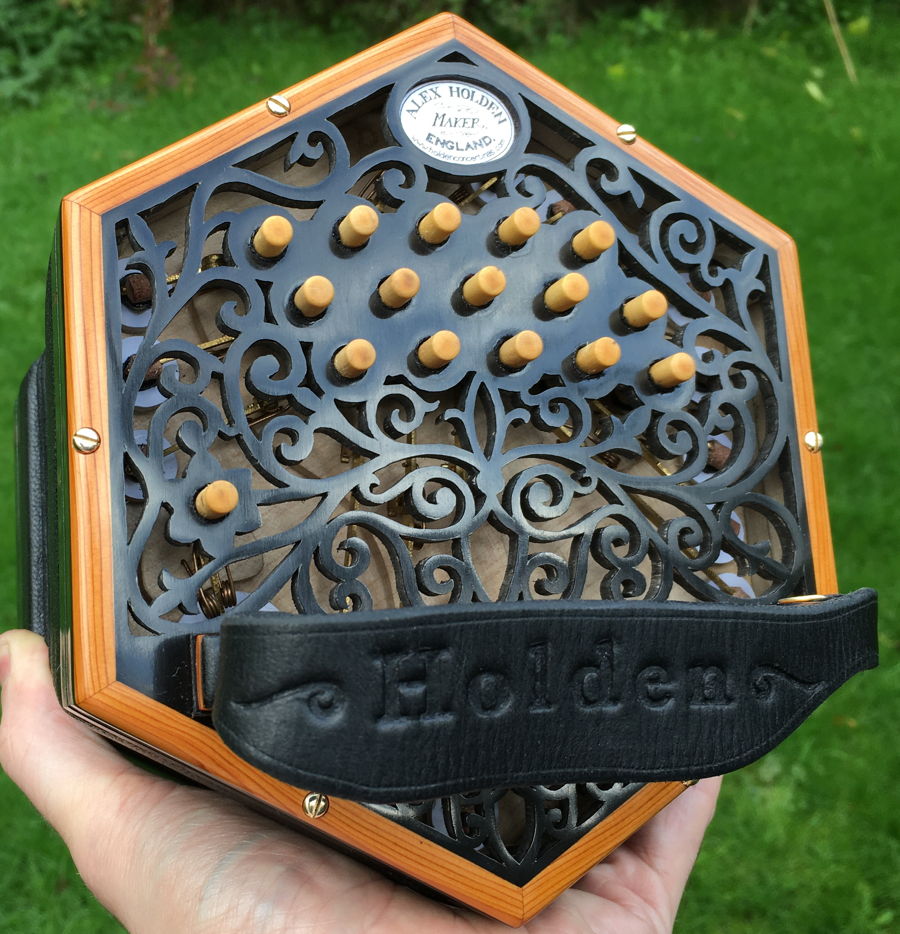
I have recently completed my second Blackbird Anglo concertina. It was a complete re-design with some fairly significant improvements over the prototype model.
…
I have recently completed my second Blackbird Anglo concertina. It was a complete re-design with some fairly significant improvements over the prototype model.
…
A few weeks ago, a fellow concertina restorer contacted me to ask if I might be interested in manufacturing reproduction Wheatstone-style nickel-silver-capped buttons. As it happened, I had already been planning to develop the tooling to make this style of button for use on my own instruments.
…
I recently fully-restored a 40-button Lachenal Anglo. It was in pretty poor condition when I received it. The wooden ends were non-original, damaged, and not very well made.
…
On my first instrument, the ends were held on with commercially-made stainless steel allen-head M3 screws. They work fine, but I felt they gave the instrument a bit of a modern, almost industrial look.

I am currently working on restoring a vintage Lachenal Anglo for a client, and the end bolts and captive nuts are missing or badly worn due to past over-tightening (probably from trying to cure leaks that were actually due to internal structural problems). Needless to say, it wouldn’t have been appropriate to replace them with modern screws. Rather than try to source a better second hand set from a parts dealer, I decided it was time to figure out how to make my own new brass end bolts from scratch.
…