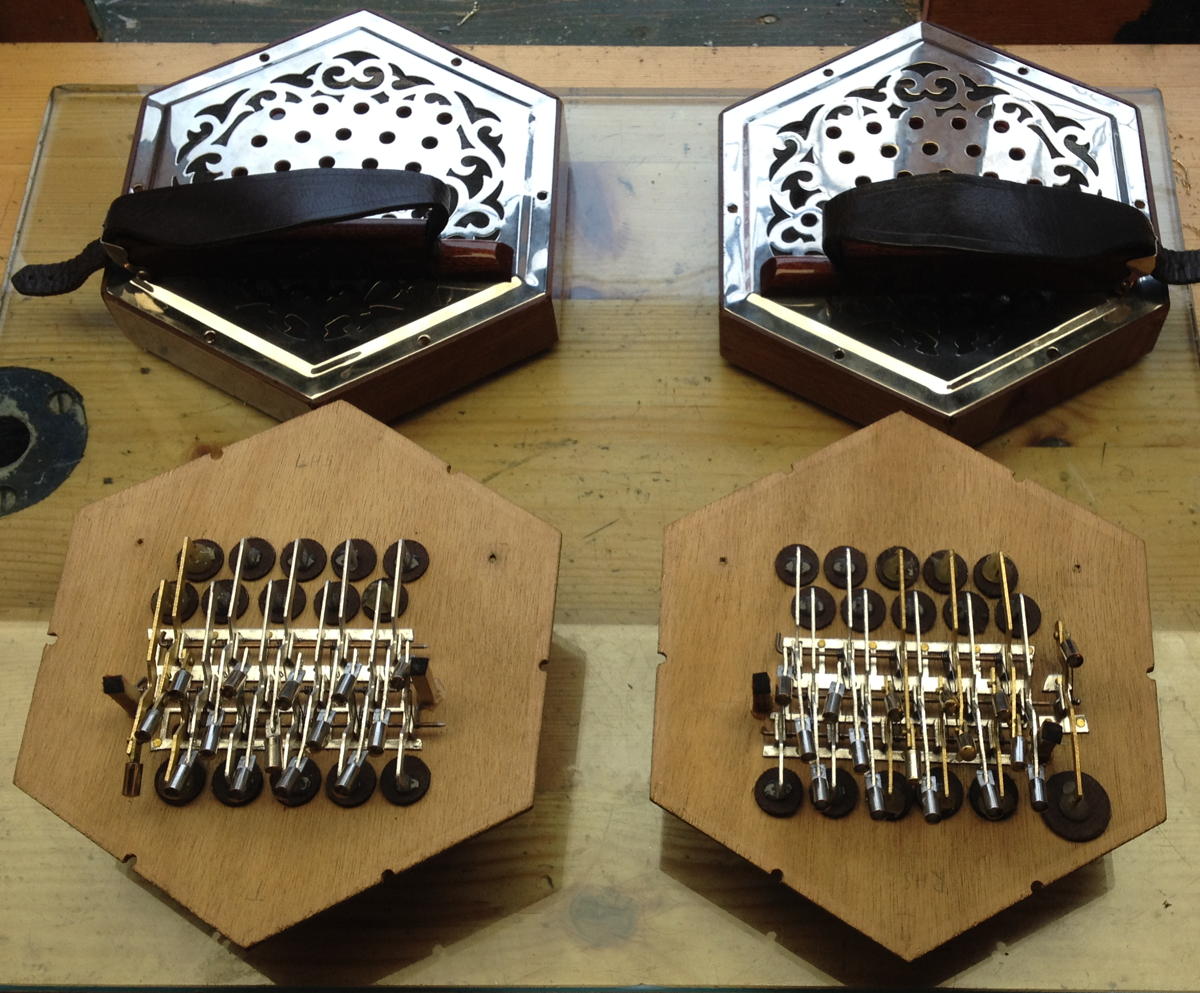
I just finished fixing up a Bastari G/D Anglo for a friend who plays for Anonymous Morris. The aim was mainly to repair a few faults and tune it up, to make it more playable rather than carry out a complete restoration.
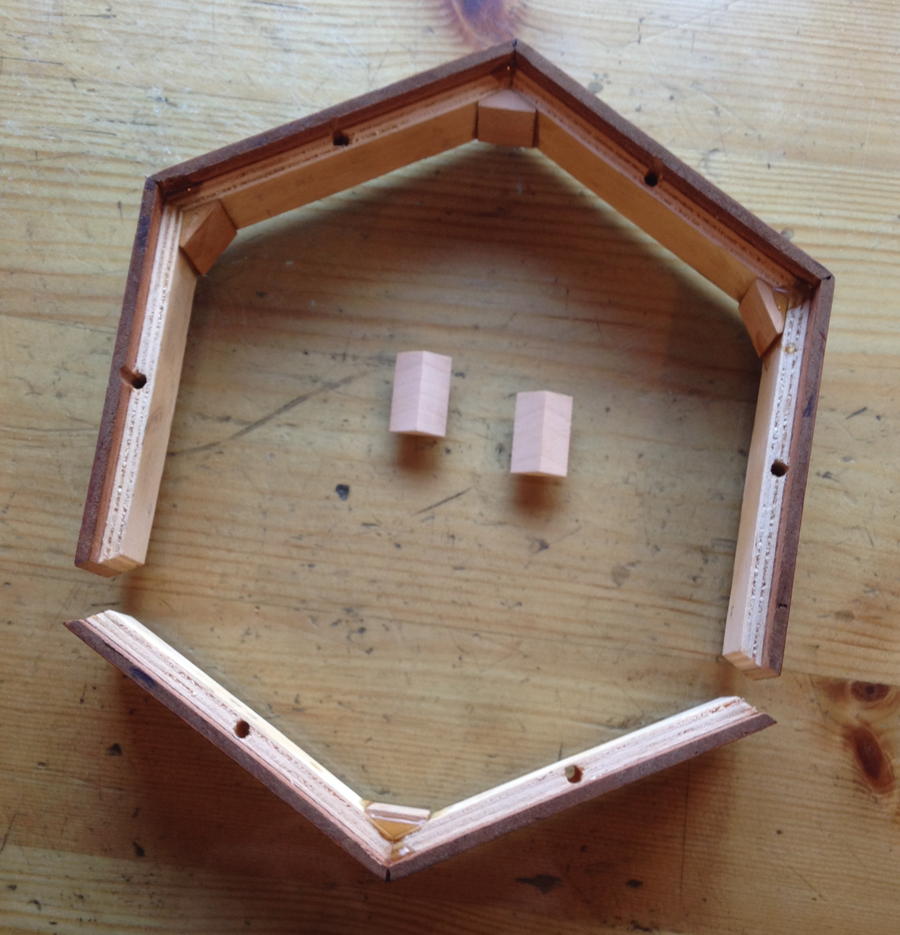
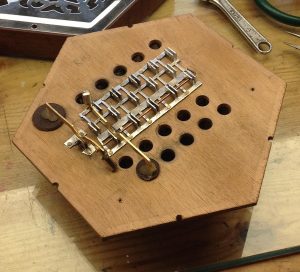
The first problem was that the action boxes had split apart in several of the corners, so I cleaned up the joints and glued them back together, adding reinforcing blocks to strengthen them. This was a bit of a delicate job because they were originally constructed with PVA glue and I couldn’t remove any significant amount of material from the joints when cleaning off the remains of the old glue or they would have got smaller and would no longer fit the rest of the instrument.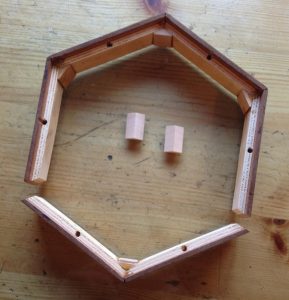
The chrome-plated brass end plates were a bit grubby so I gave them a quick polish:
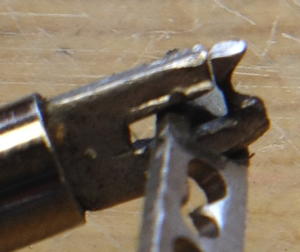
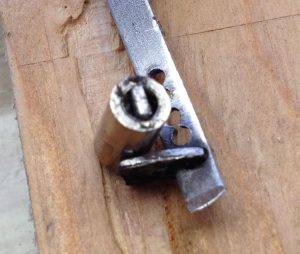
This instrument’s Achilles heel is the aluminium pivots where the buttons are attached to the action levers. Note that these are different from the rubber tube type commonly found on Stagi instruments. Most of them were rather wonky, and the most-used buttons were sloppy due to wear; a few were almost worn through: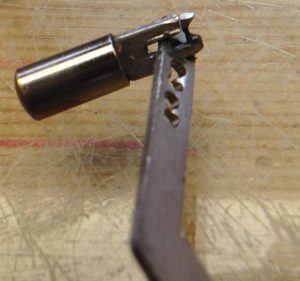
After discussing the problem with the client, I agreed to make replacements for the most-worn levers. I cut the new levers from 1mm brass sheet with riveted pivot points, so they are unlikely to wear out again. After designing the two sizes of lever and the button insert in CAD, I printed a template on sticky paper and cut them out by hand with a jeweller’s saw.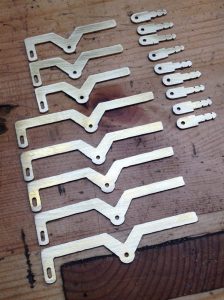
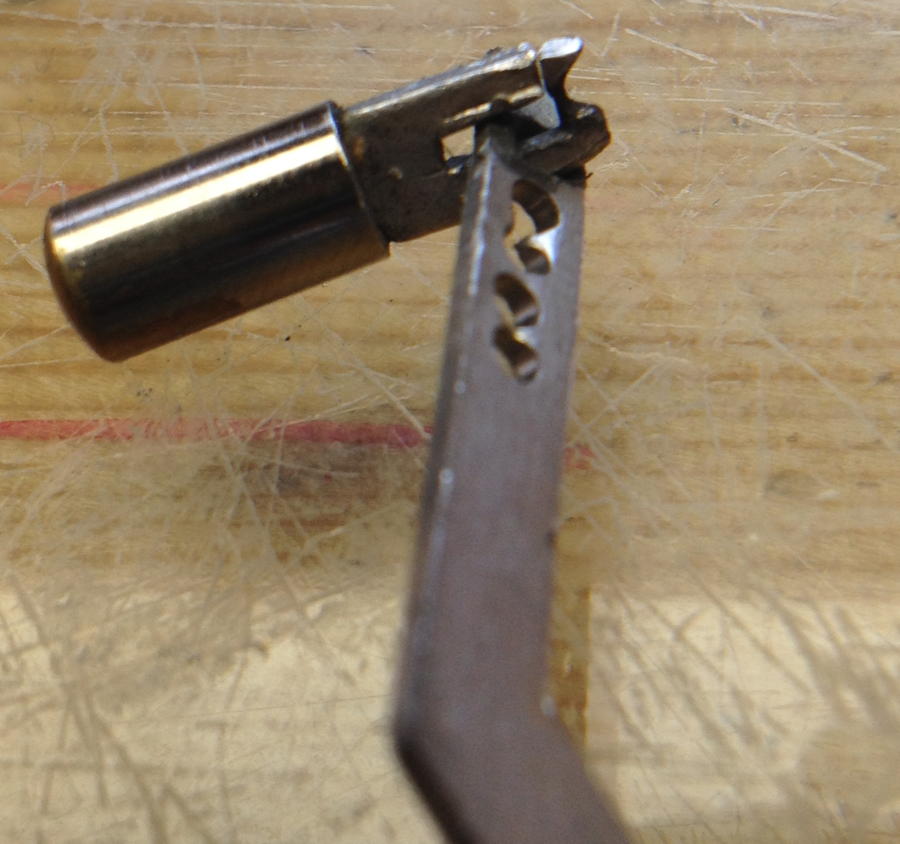
I re-used the top parts of the buttons, which were made from chrome-plated brass with the aluminium pivot glued into a hole in the bottom. The first step was to break off most of the pivot with a pair of needle nose pliers: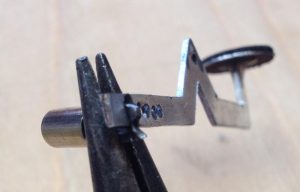
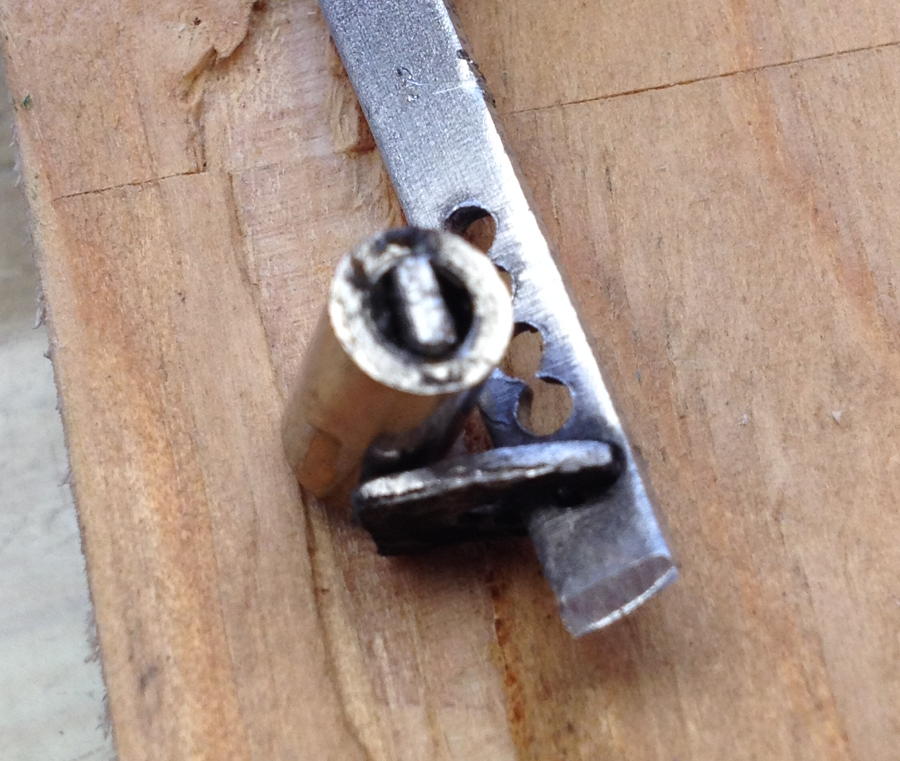
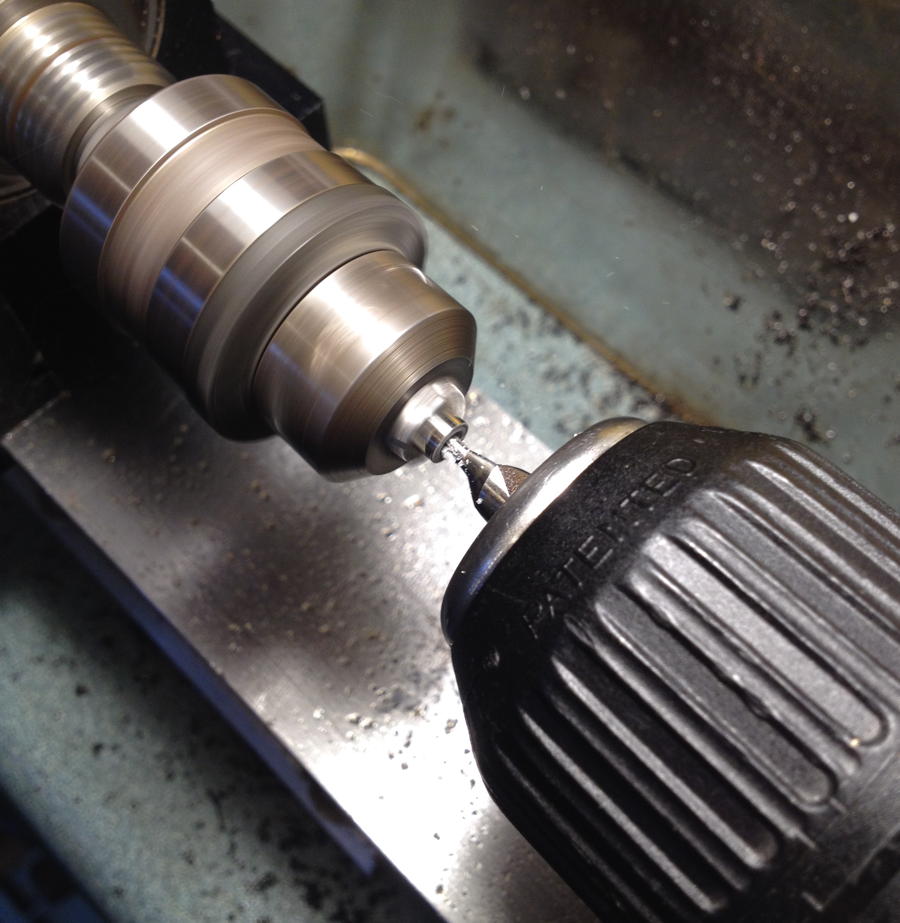
Then I put the button in a drill chuck in the lathe and drilled into it with a centre drill:
Then a 3mm drill (this was a tiny bit bigger than the original hole, so it left a nice clean surface on the inside of the hole):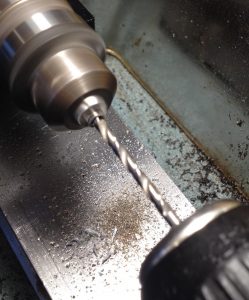
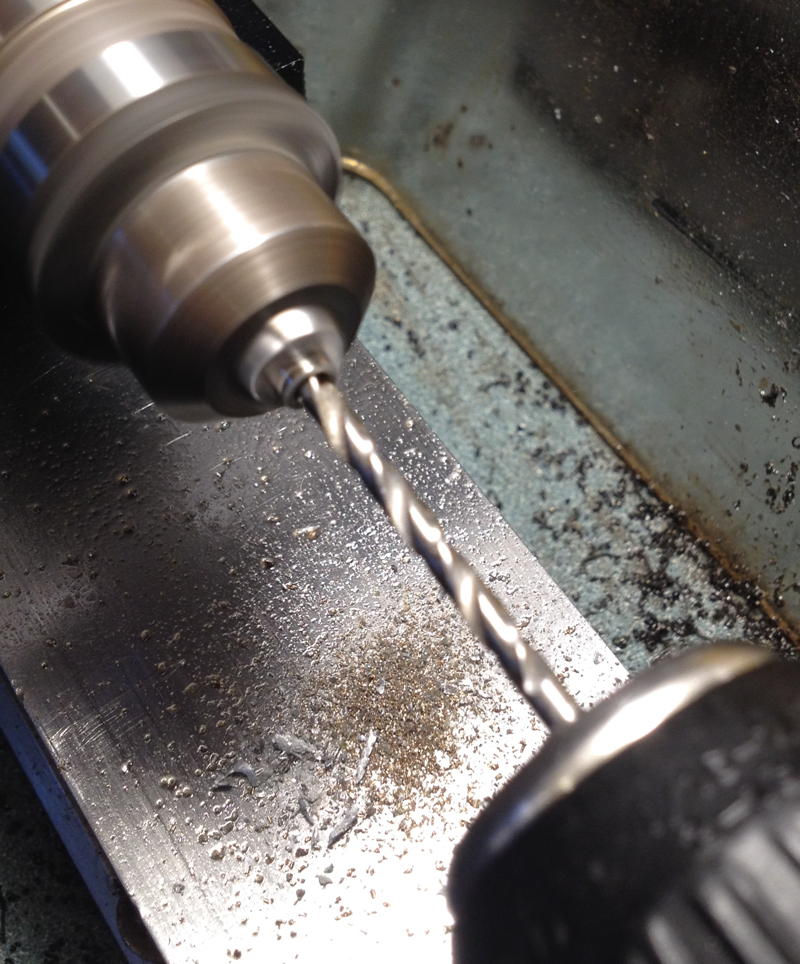
At a certain point, the drill stopped cutting; this meant that the tip of the old pivot had come loose and was stuck on the end of the drill bit. After withdrawing the drill and removing the loose piece I was able to finish cleaning up the rest of the hole: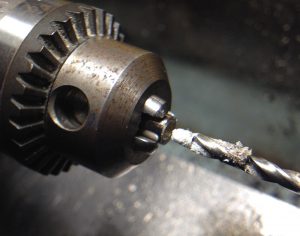
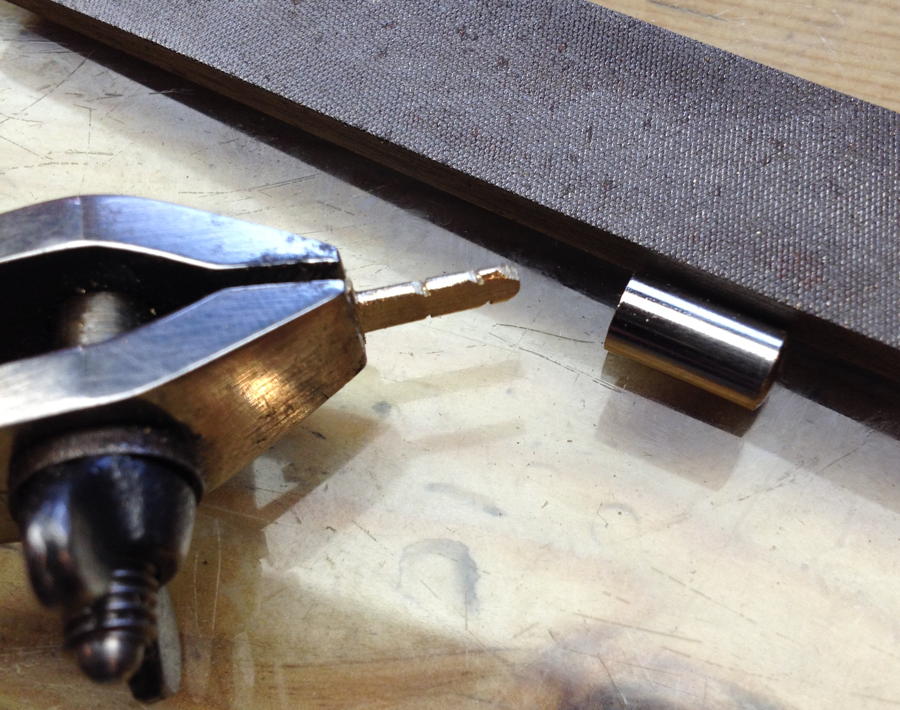
I sawed the new pivot pieces slightly wide, then carefully filed them down until they were a snug fit in the hole:

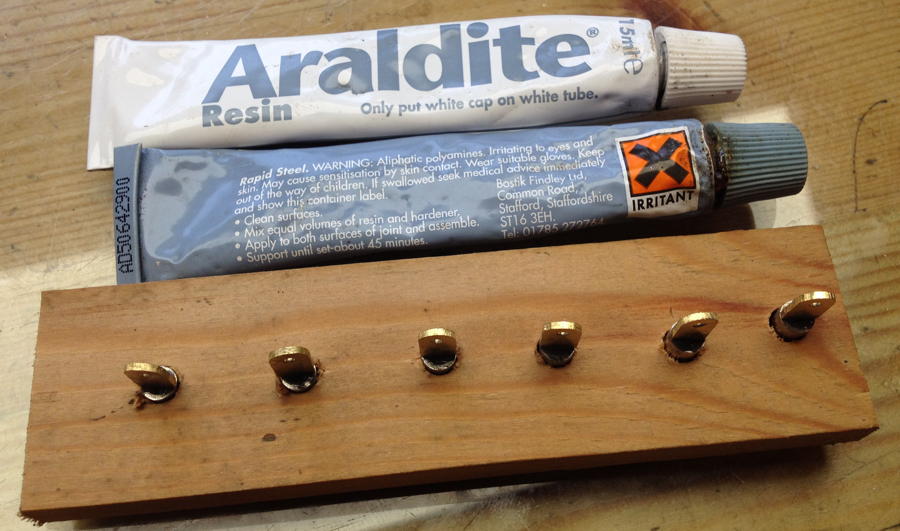
I glued the new pivot pieces in with Araldite Rapid Steel (an epoxy resin that is specifically formulated for gluing metal):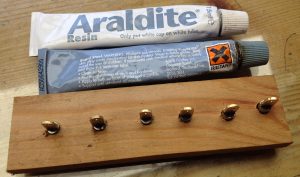
I found it easier to work on the action if I removed all the levers apart from the one I was working on at the time. I glued the new levers to the original pads using hot melt glue (this seemed to be how it was done originally), fitted the spring, put the end plate on, marked the position of the hole on the lever, took it apart, drilled the rivet hole in the lever, cut it shorter, riveted the button on, put it back together, and bent the lever until the button was directly below the hole.
Here’s a quick video clip of me riveting a button to a lever:
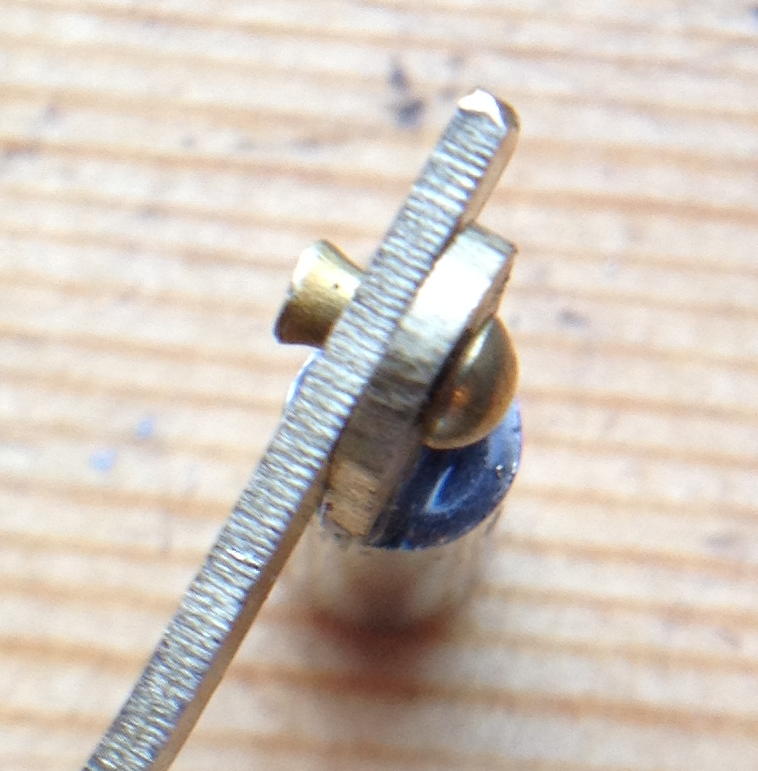
And here’s the resulting pivot. I actually made a ‘snap’ tool from hardened silver-steel to form domed rivet heads, however I found that it inevitably made the joint stiff if I hammered it enough to take out all the play. By using lots of light taps with a small ball peen hammer instead, I was able to make pivots that work and feel just right. Note that the mushroomed end of the rivet doesn’t turn; it expands enough so that it is a tight fit in the lever, but there is just enough play in the joint for the pivot to turn smoothly without any noticeable wobble.

This video shows the difference between a sloppy worn-out pivot and one of my improved brass riveted ones:
As well as replacing ten of the levers, I adjusted the remaining 21 as best I could, straightening and tightening them up as much as possible. Rather a fiddly, painstaking task, and it’s impossible to get them perfect without replacing them all.
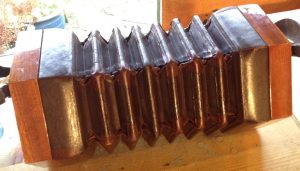
The bellows had quite a few worn corners, some of which were leaking air, so I glued thin patches on them. I tried to dye the new leather to match the old, but it didn’t work very well: I managed to get the leather slightly darker, but it seemed to quickly reach a point where it didn’t want to absorb any more of the dye.
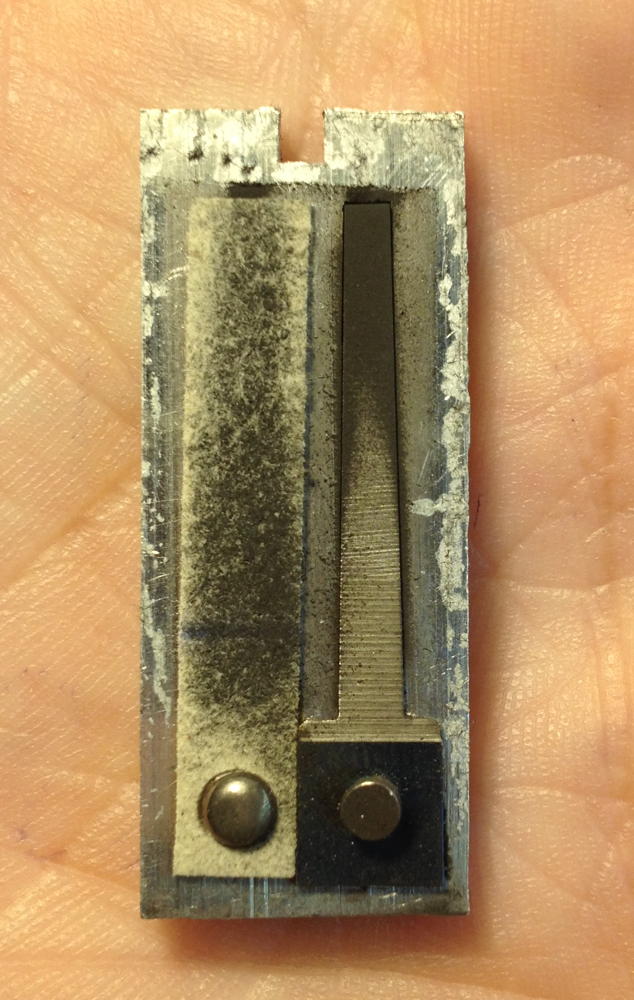
Tuning the instrument proved much more difficult and time-consuming than I expected. Some of the reeds were no trouble, but many of them behaved illogically, randomly going flat and muffled, then suddenly going sharper again when I fiddled with them or just after playing them for a while. In hindsight, stiff/sticky valves were mostly to blame for this. Some of the reeds were rather dirty; this one went five cents sharper when I wiped the sticky black dust off it:
There was one reed that nearly had me pulling my hair out: it kept going flat by six cents whenever I tightened the instrument’s end bolts down. After trying many different things, I eventually worked out that there wasn’t quite enough clearance between the reed tongue and frame on one side. Somehow, tightening the end bolts down was bending the sound board and applying a force to the reed frame that distorted it just enough to cause the tongue to slightly graze the vent side, which made it sound flat and slightly buzzy.
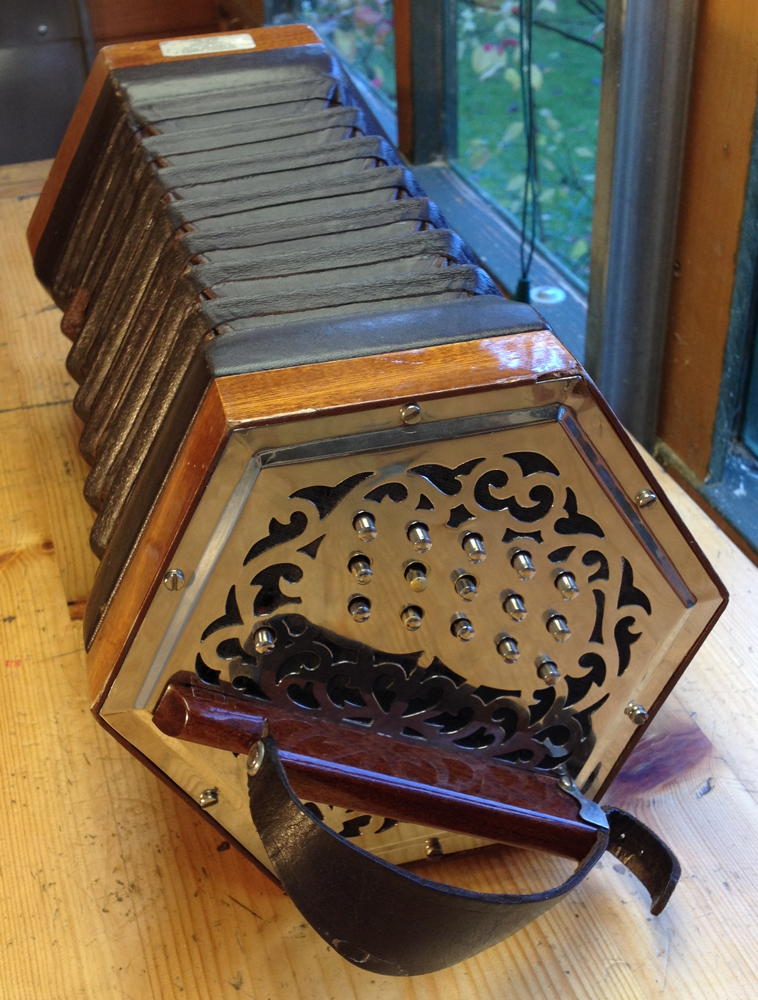
The finished instrument ready to go back to work, playing traditional English dance music: