Recently I made my first prototype concertina reeds. There’s a lot to write about so I’m going to divide it into two articles, this one will cover the frames and clamps, and the next one will cover the tongues.
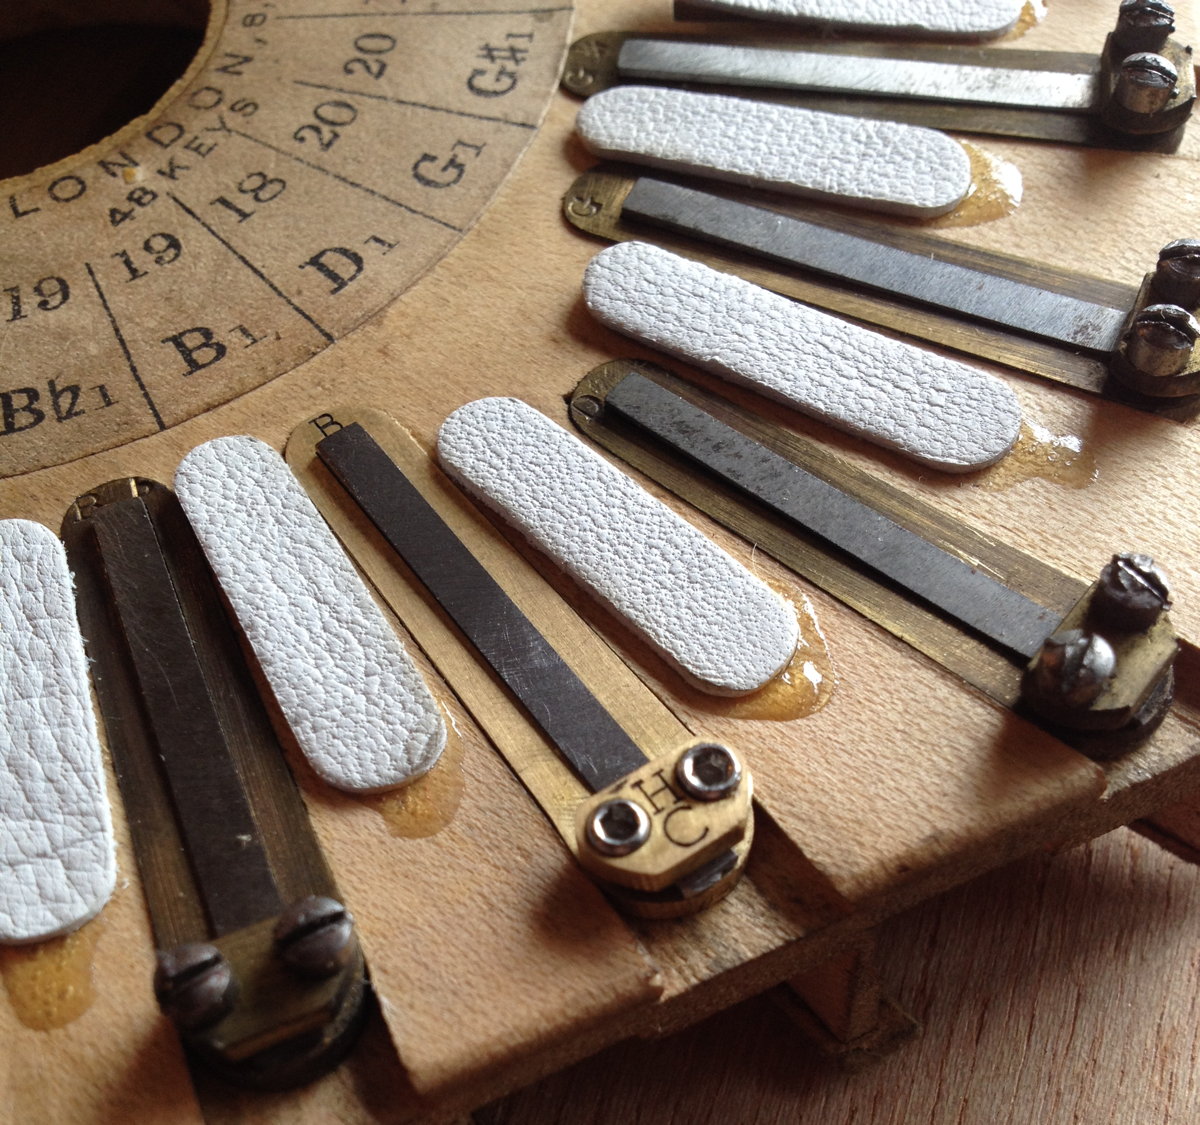
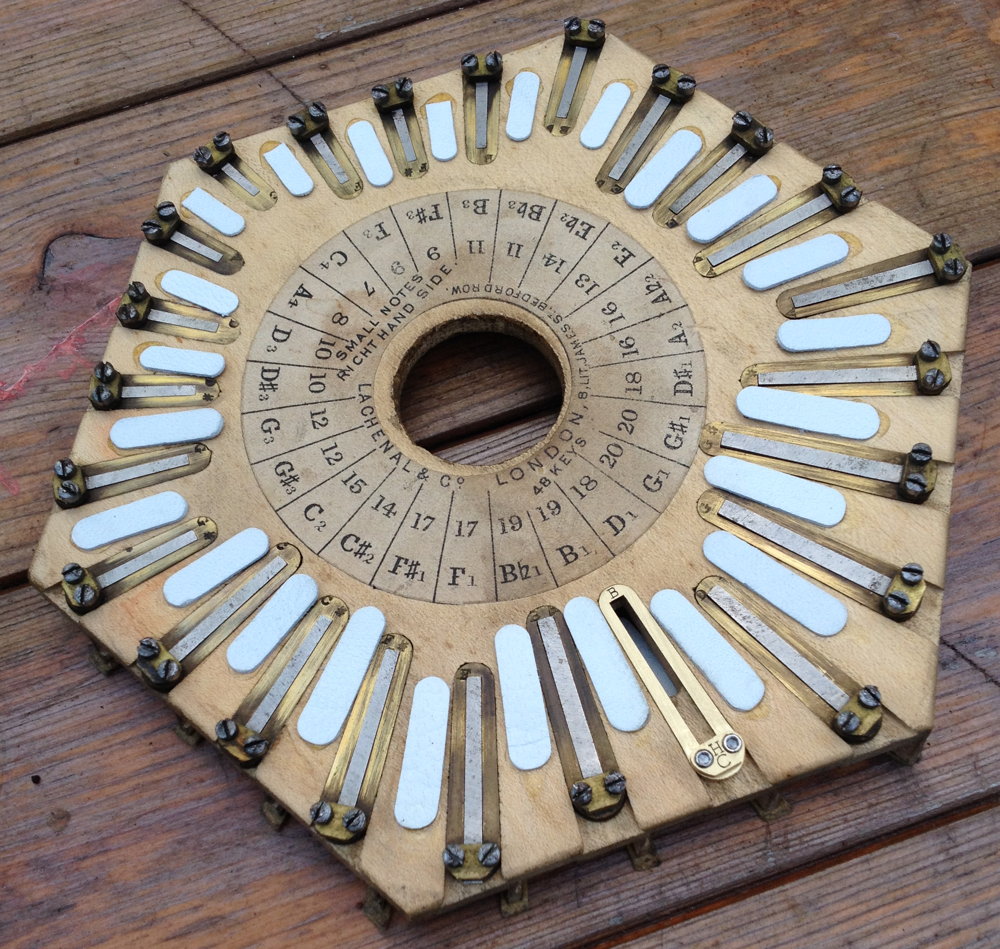
My plan was to make a drop-in replacement for one of the low ‘B’ reeds in my vintage Lachenal English. I think this instrument was probably one of Lachenal’s higher-end ‘broad scale’ models, because I also have another steel-reeded Lachenal that in many cases has narrower reed tongues in the same pitch. I’m not totally sure why the narrow scale models existed or were originally cheaper than the broad scale equivalent (the extra metal and labour is fairly trivial). They were probably quieter at the top end of the dynamic range, which might make them better for a student instrument.
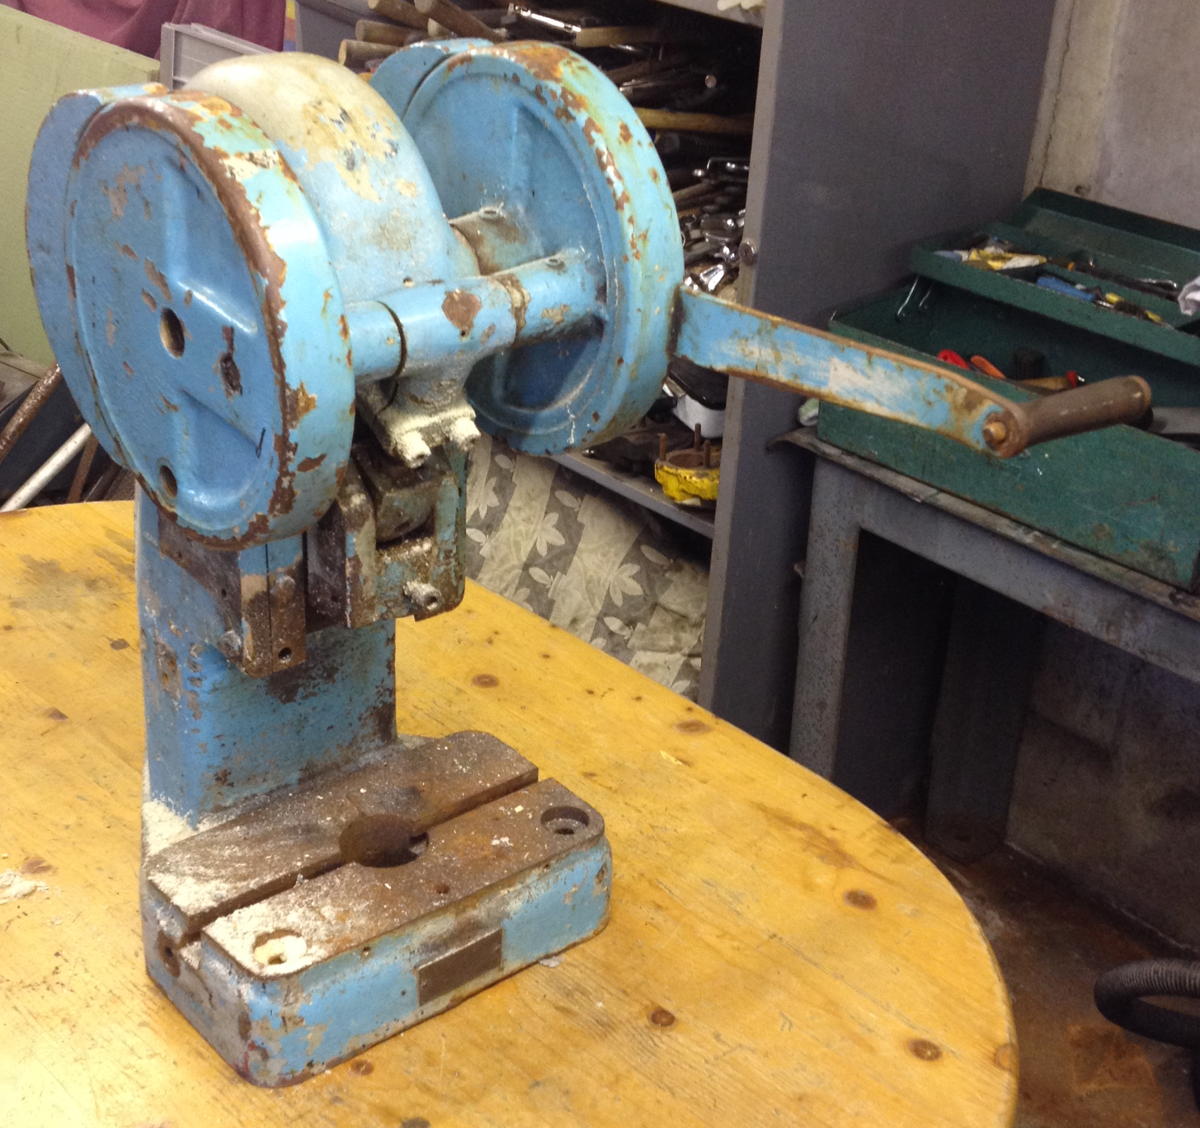
I understand Wheatstone’s earliest reeds were made totally by hand, piercing them with a jewellers’ saw and cleaning them up with files. This must have been very labour-intensive, highly-skilled work, and prone to inconsistency. At some point fairly early on, perhaps when Louis Lachenal was hired to mechanise production(?), they changed to using fly-presses and dies to punch out the reed frames. This was much faster, worked well, and the presses could be operated by relatively unskilled workers, but the disadvantage is that precision dies are very expensive to make. To save on tooling costs, instead of making a different set of dies for every pitch of reed, they made do with a handful of sizes and made up for the gaps between them through careful tongue profiling. Until relatively recently, the need to invest in a set of press tooling was a significant barrier to entry for new reedmakers.
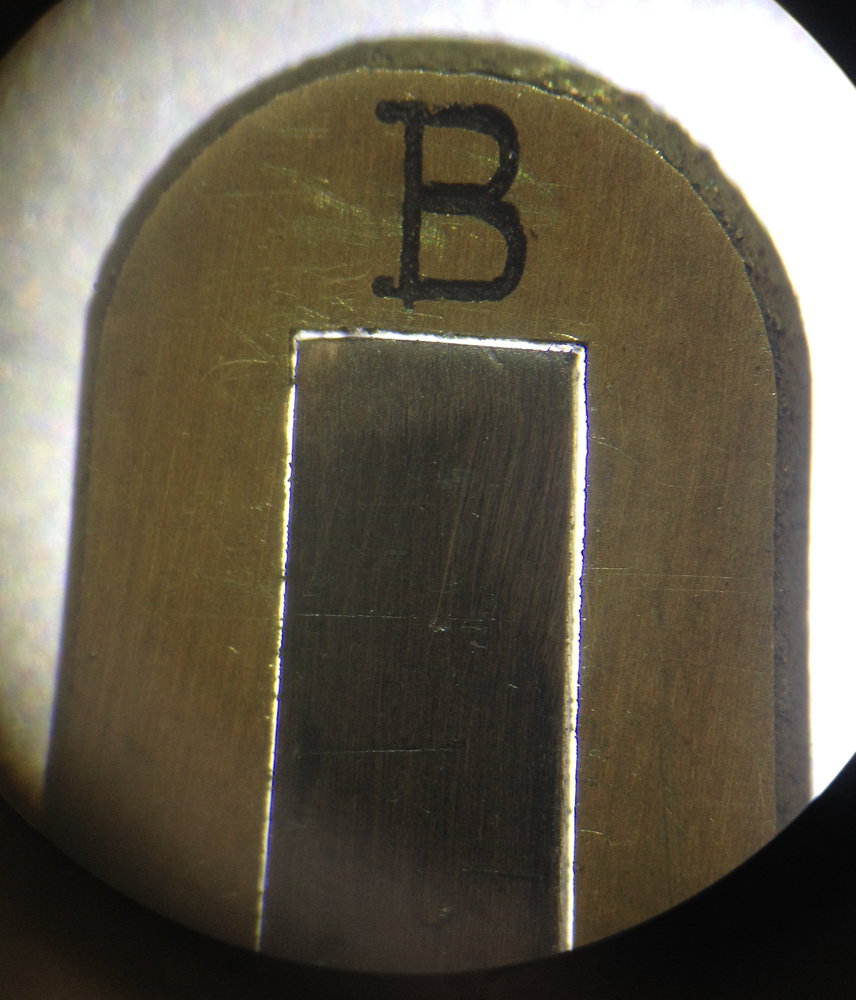
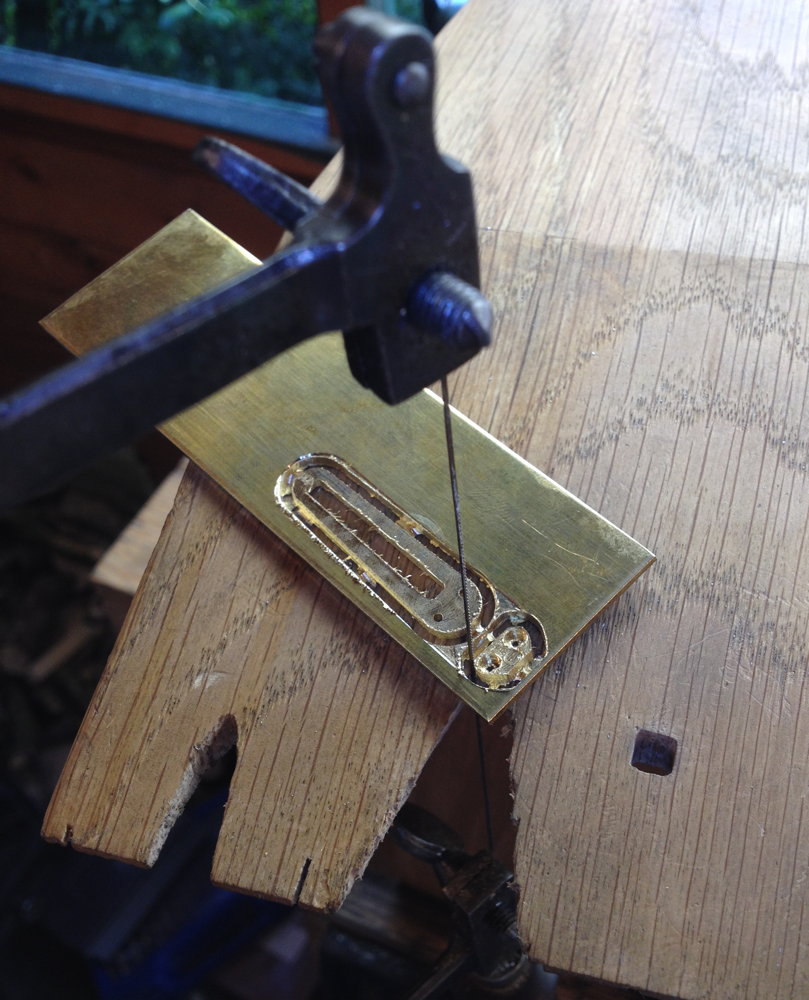
Enter CNC machining. I understand other makers have successfully used laser cutting or possibly wire EDM, but I have my own small CNC milling machine so that is the process I am going to use. It is fairly slow (certainly compared to a a press tool), but it works pretty well and I hope to get to the stage where I can load in enough brass for half an instrument worth of reed frames, and set it going with minimal supervision while I work on another task. As well as cutting out the shapes of the frames and clamps, it can also cut the vent slots (albeit with filleted corners), drill the clamp holes, engrave the note labels and a logo, counterbore the clamp screw holes, and even chamfer the top edges of the frame so they fit nicely into the dovetailed slots of the reed pan. Initially I’m planning to copy all the dimensions of my prototype reeds from the Lachenal instrument, but in future when I understand the design parameters better I will be able to make frames that are the optimal size for each pitch.
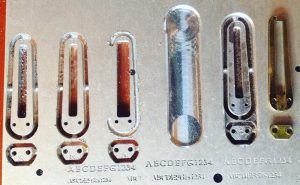
My first attempts at milling frames were using scrap aluminium. It took me quite a few failed attempts before I got one that seemed pretty good (the antique Lachenal frame I was copying is on the right):
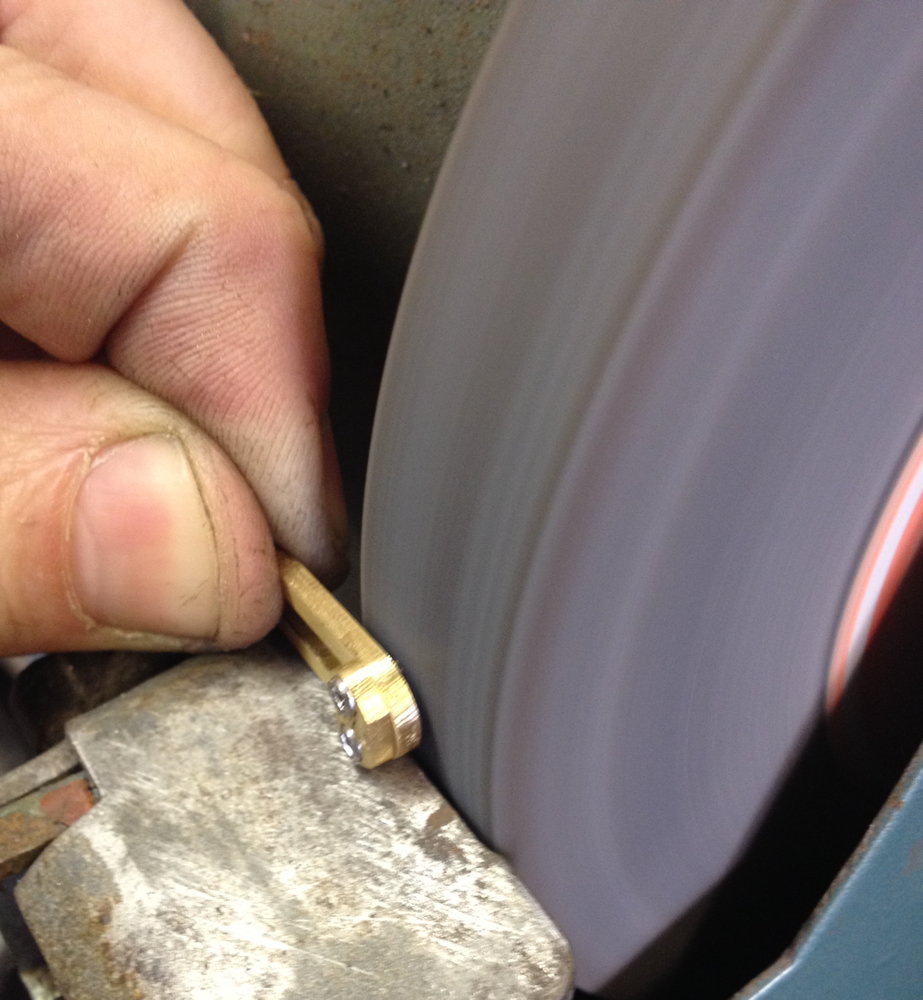
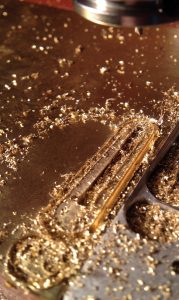
Next I moved onto brass prototypes, immediately running into problems with it cutting very badly and breaking 1/16″ end mills:
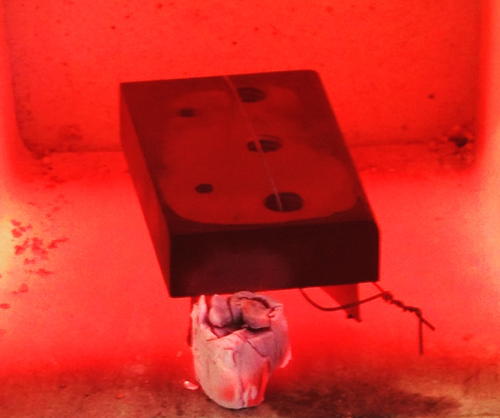
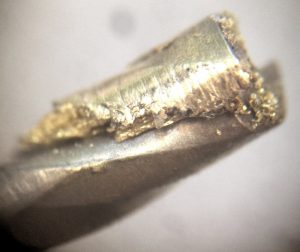
A microscope view of an end mill with clogged flutes, from a run that I aborted before it snapped:
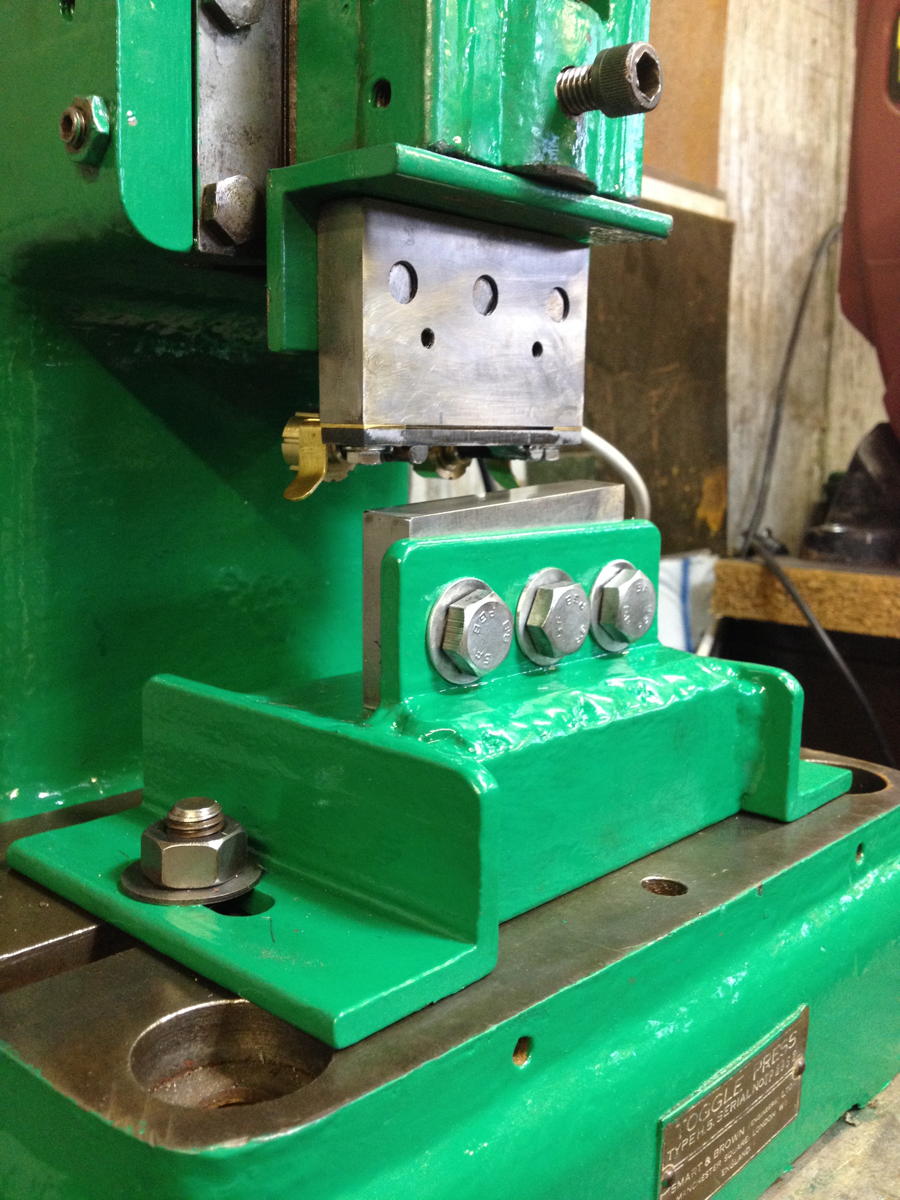
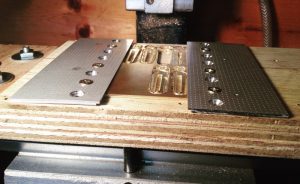
I think the reason for my problem was that the chips weren’t clearing from the slots properly so on subsequent passes they were getting re-cut and generating a lot of heat. I experimented with a lot of parameters, but basically what worked was making the depth of cut shallower, increasing the spindle speed to 10K RPM (the maximum my machine’s spindle can handle), significantly increasing the feed rate (to make bigger chips), and adding a compressed air blast to blow the chips away. I also changed from two flute HSS bits to three flute cobalt bits, though I’m not certain that helped with the chip clearance (it did allow me to increase the feed rate a bit more). It also proved necessary to make some proper mechanical clamps to hold the plate to the spoil board, because double-sided tape wasn’t holding it securely enough:
Here is a (21 minute long) video of the process of milling a single reed shoe prototype. Don’t bother watching the whole thing unless you’re really fascinated! This isn’t quite the final program: I subsequently altered the bevelling operation slightly so that the frame wedges more securely into the reed pan.
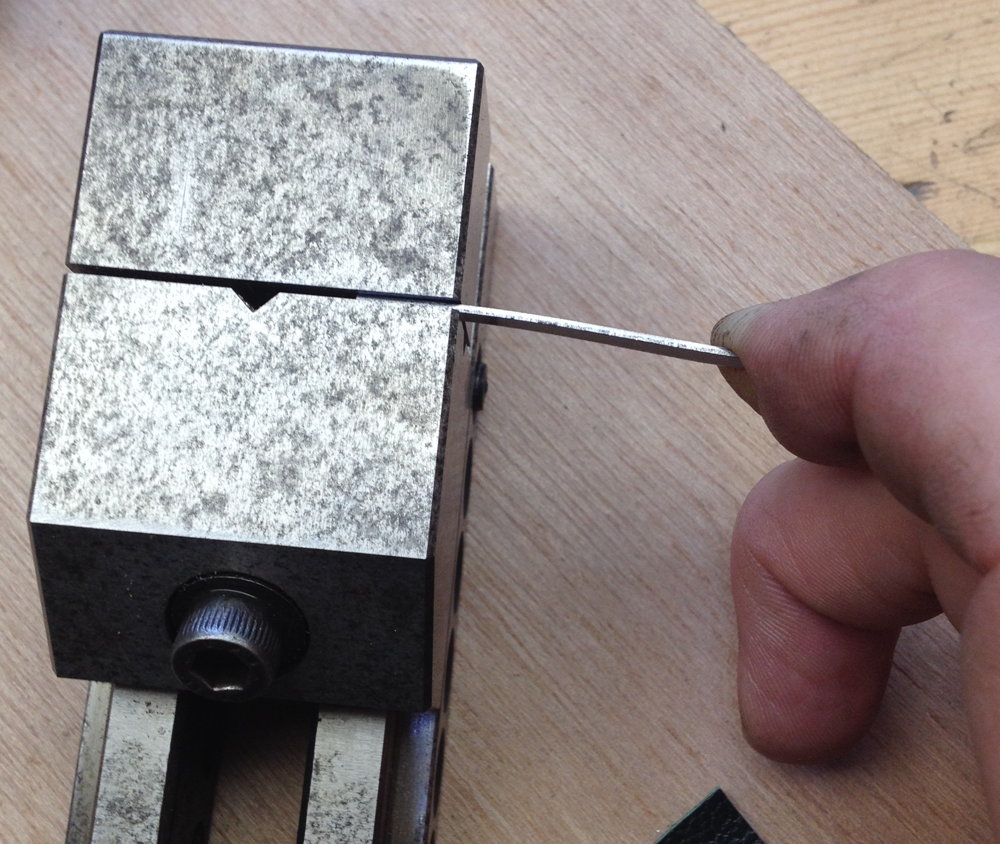
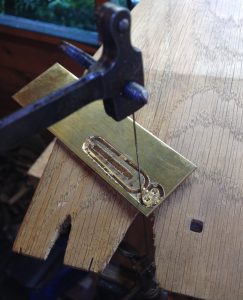
The CNC program includes small tabs that prevent the parts coming loose during machining. Afterwards these need to be manually cut. I found that it was possible to break them out with a small chisel but it left rough stubs that I then had to clean up with a file, so I changed to cutting them with a jeweller’s saw:
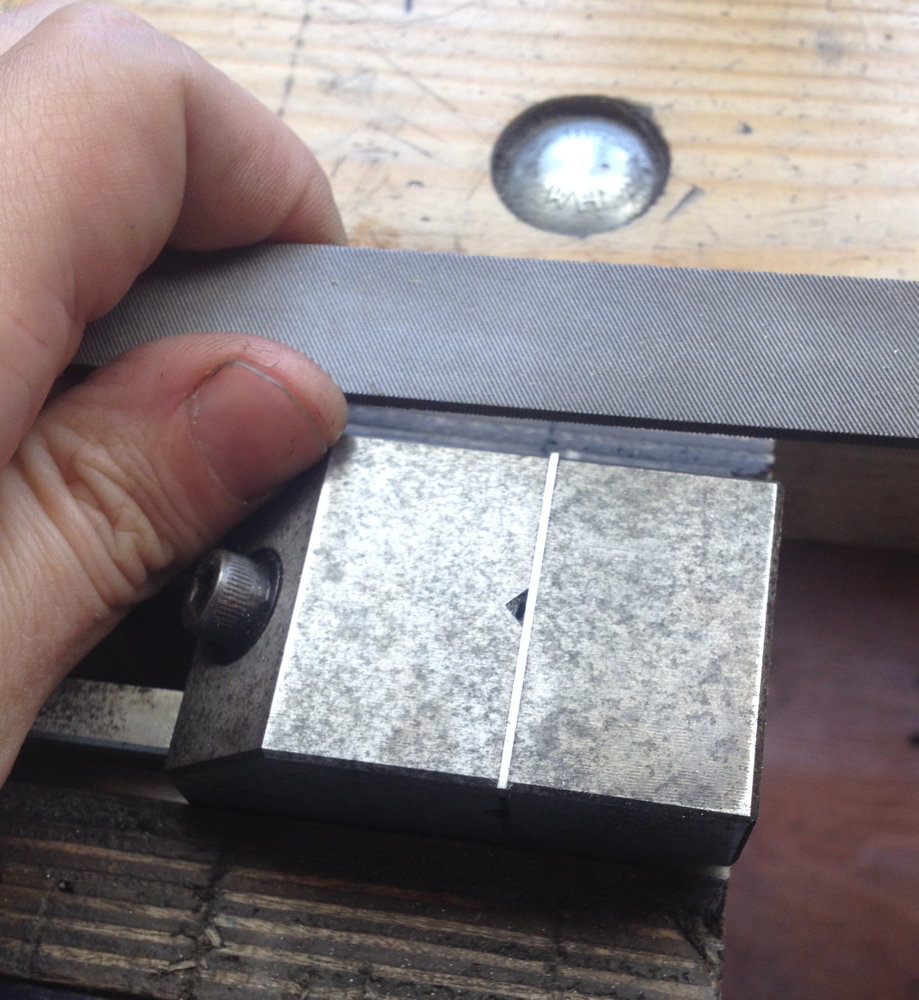
Because I cut the vents using a 1/16″ end mill, this leaves 1/32″ radius fillets in the corners, which should ideally be dead sharp. I’ve been manually cleaning these up using a fine square needle file with one edge ground smooth. I put the reed frame over the small square hole in my bench peg (see previous photo), hold the safe face of the file flat against the end of the vent, and carefully file sideways into the corner until it’s as sharp as possible without leaving a nick:

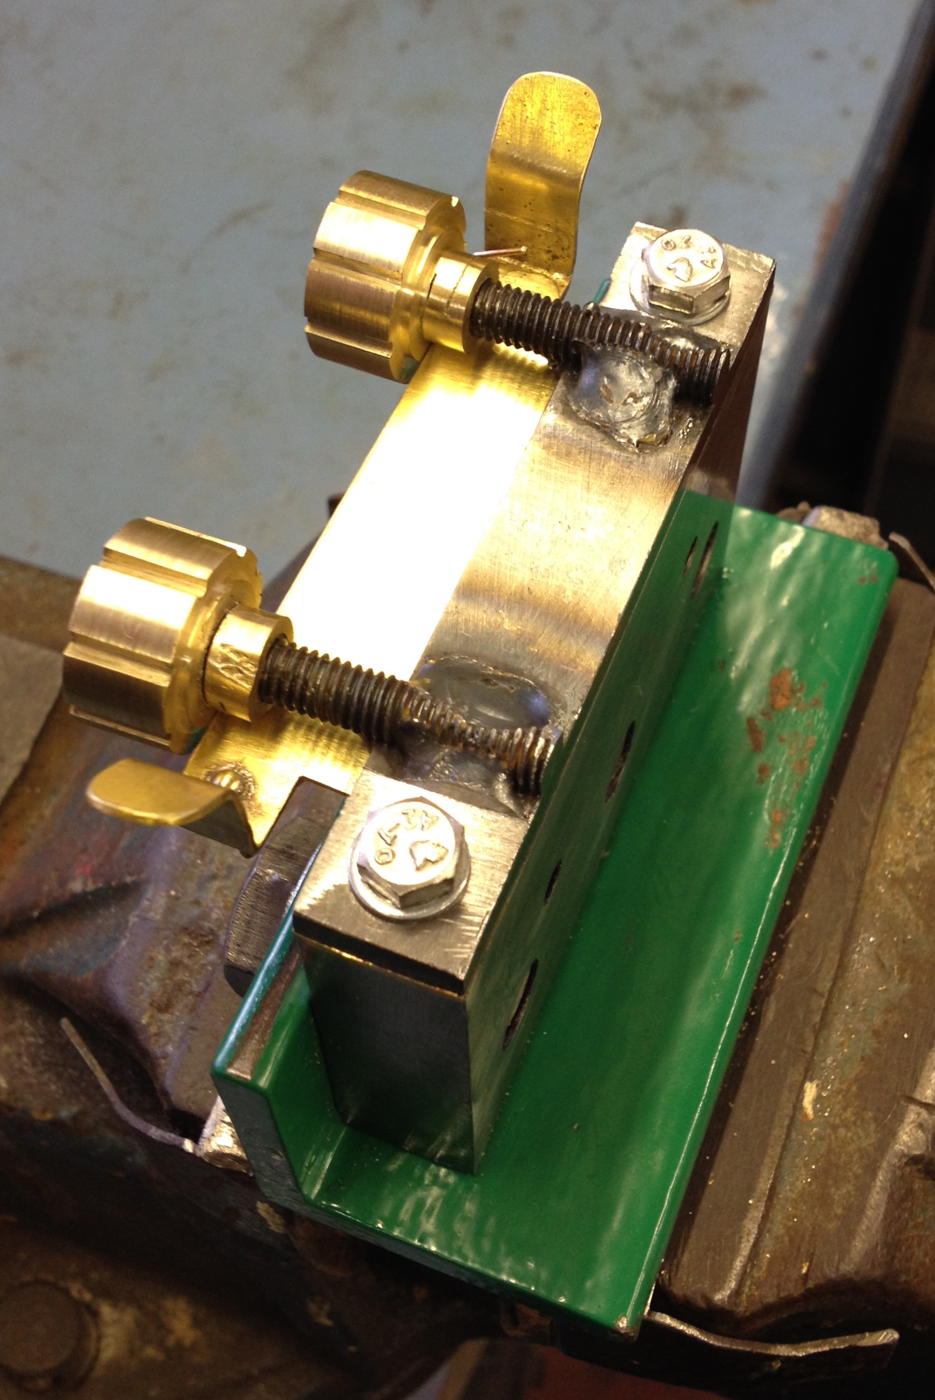
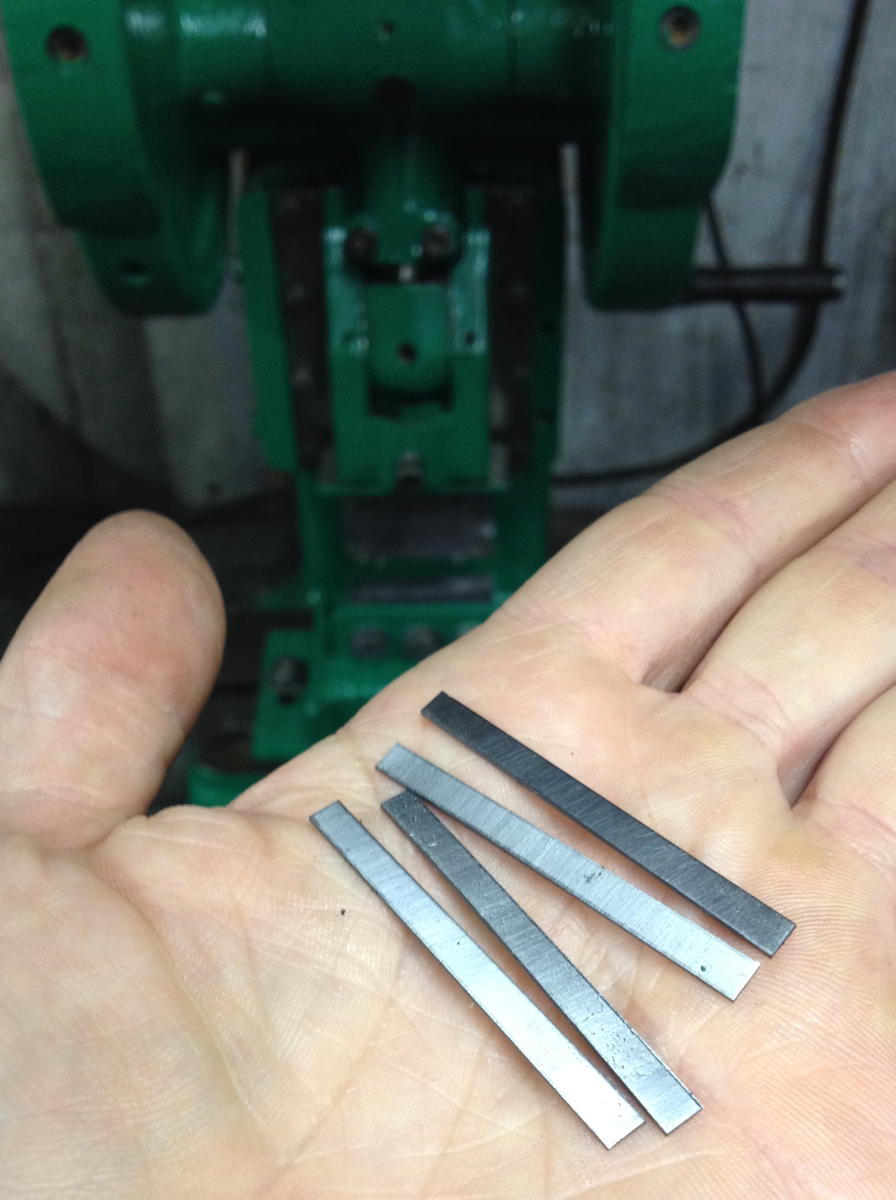
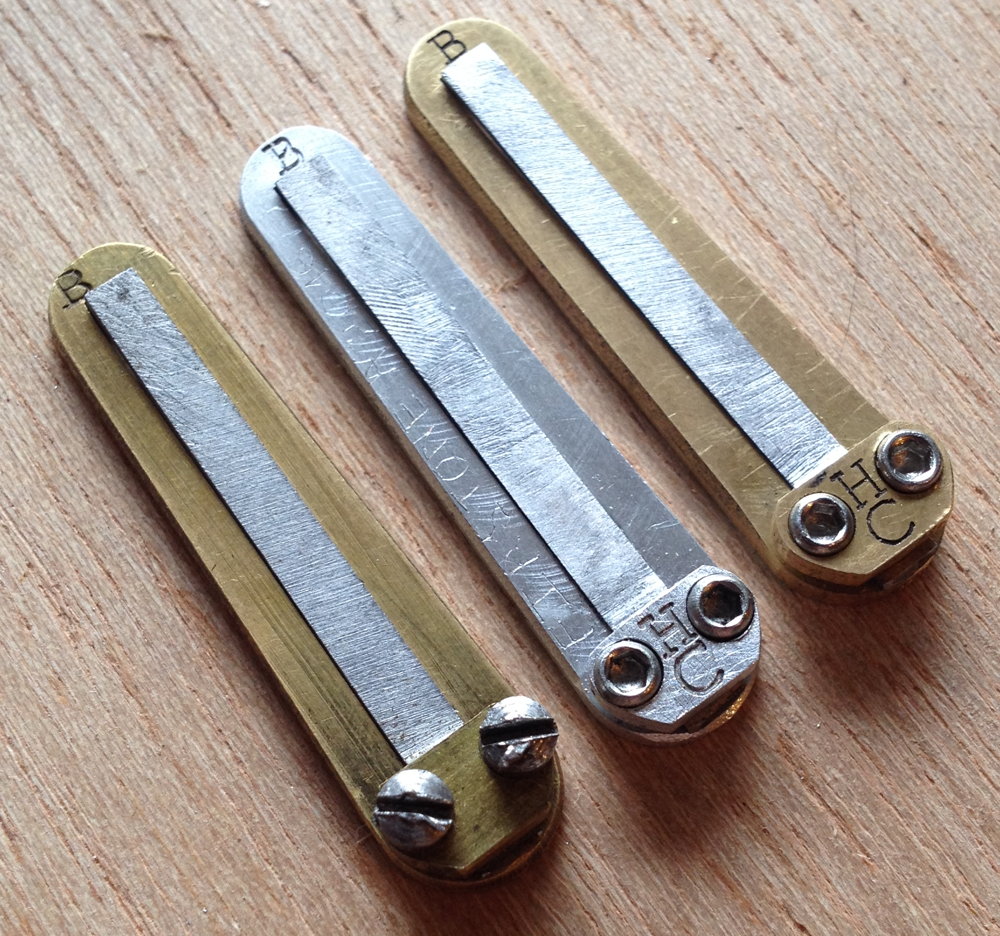
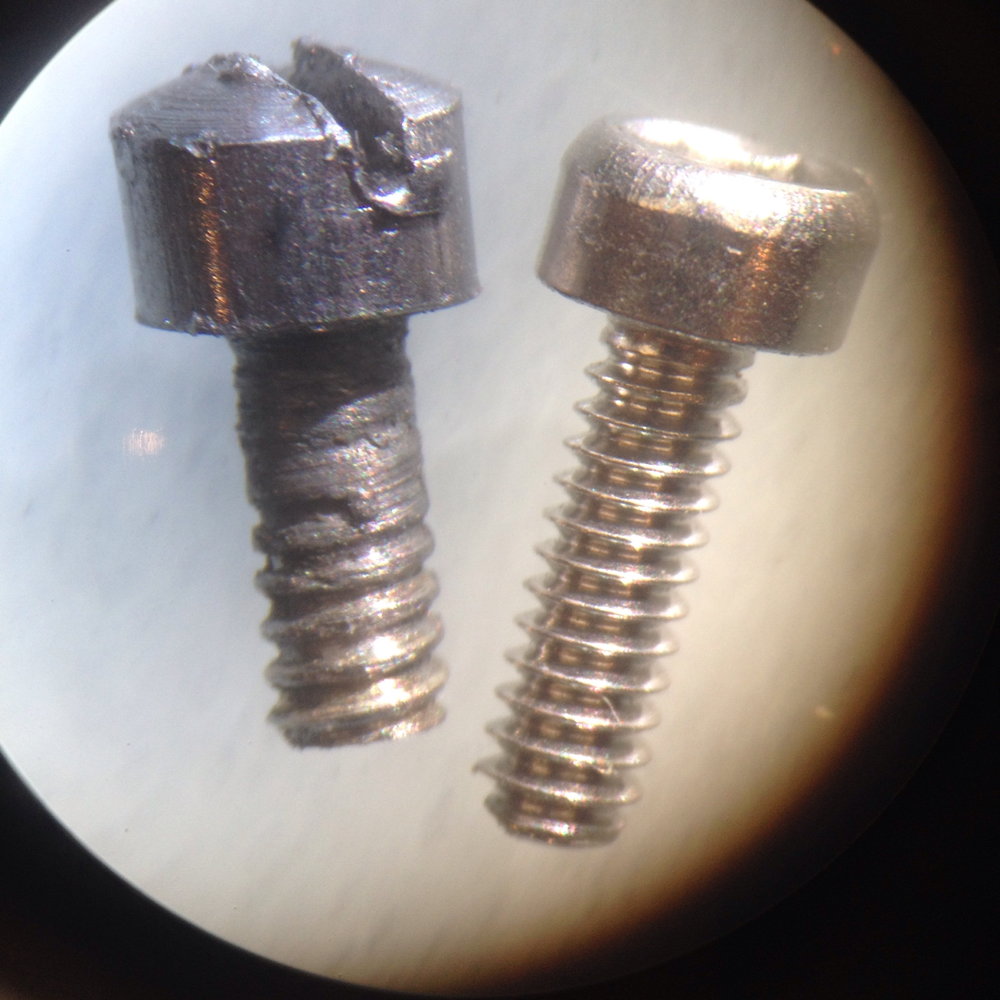
The clamp screws I’m using are a bit smaller than the originals; they are M1.6, stainless steel, with 2.5mm diameter allen heads:
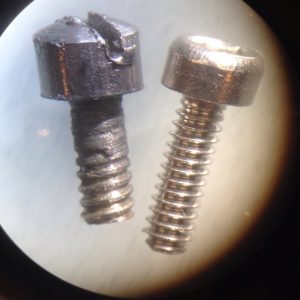
In my testing they are strong enough for the purpose and take up less space than the originals, and the finer pitch and allen heads make them easier to tighten and loosen without damaging them.
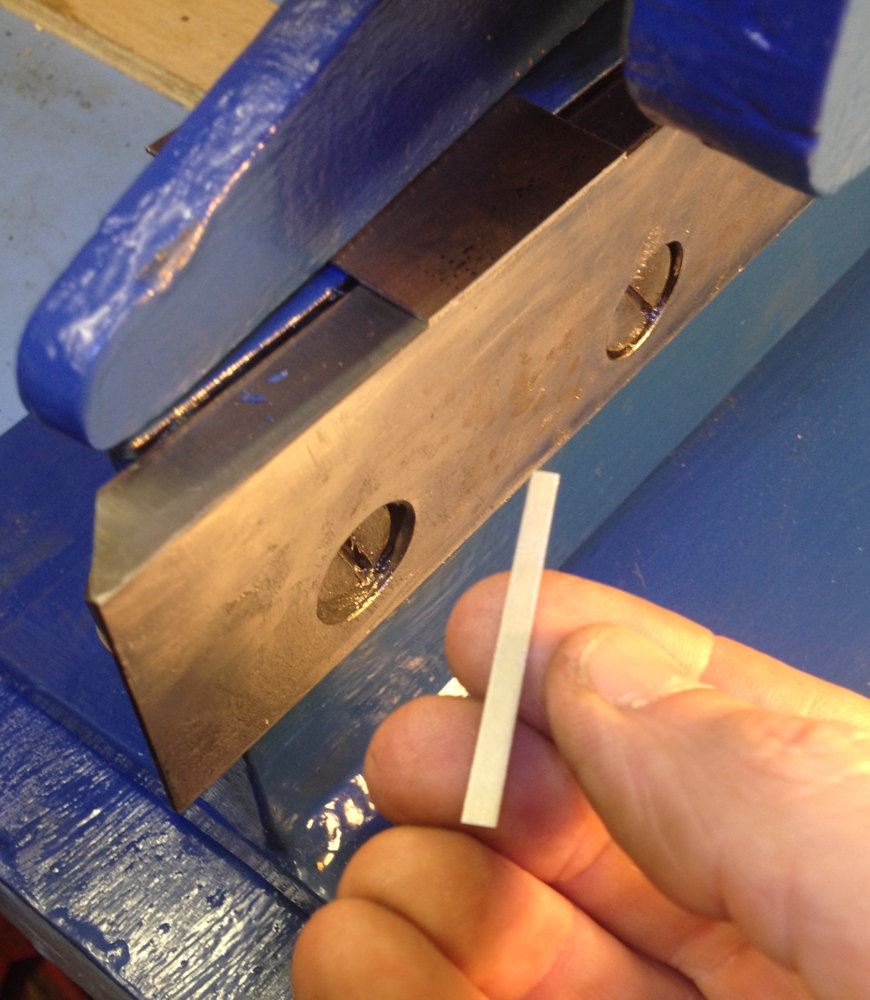
When tapping the clamp screw holes in the frame, it’s very important to keep the tap perpendicular to the hole. After researching tapping machines and complicated guides, I came up with this simple method that works surprisingly well (though I still managed to break a tap the first time I tried to tap one of the brass shoes!):
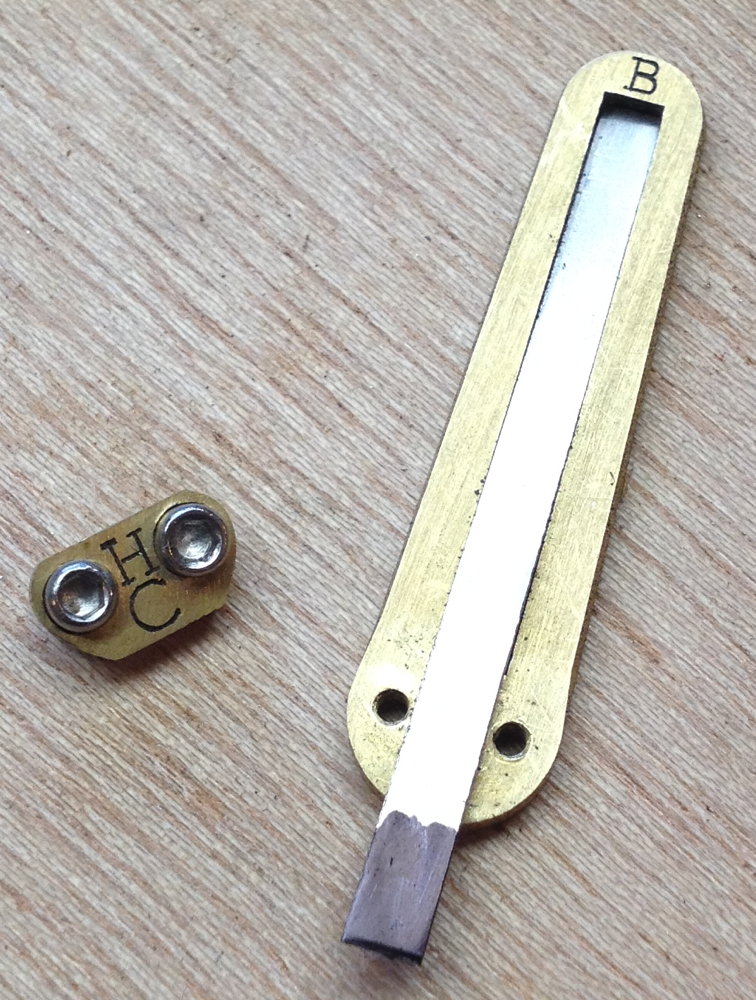
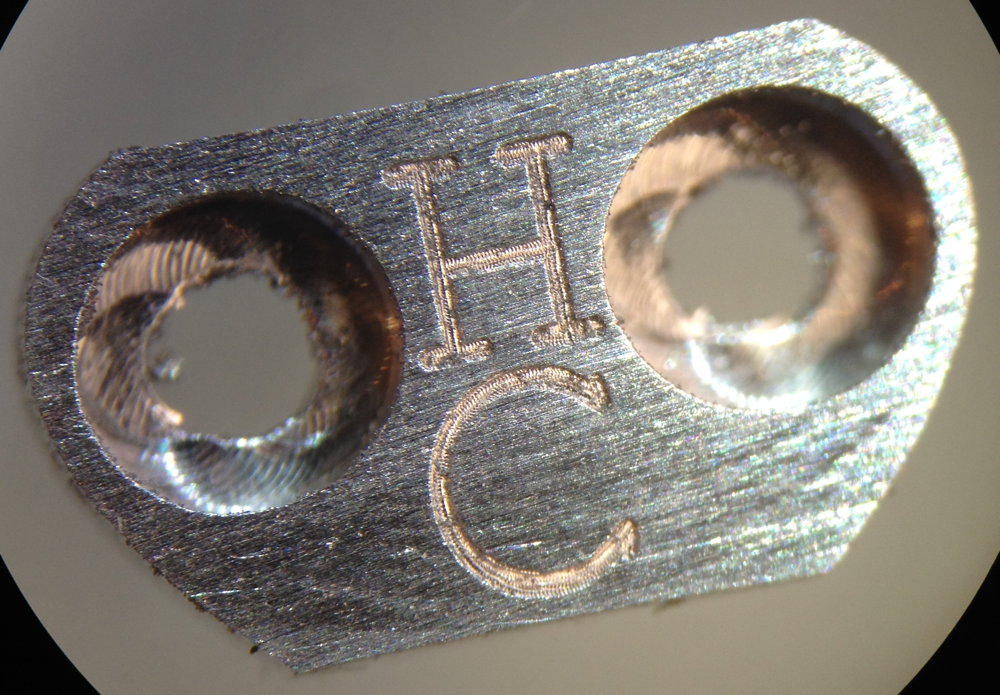
I added counterbores to the holes in the clamps because it was easy to do and significantly reduces the height of the reed without weakening the clamping ability. It also improves the accuracy of the location slightly. Because I was already using an engraving operation for the note labels, I added a simple brand to the clamp (HC=Holden Concertinas):

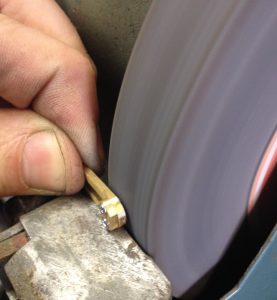
Because the screws start out a couple of mm too long, I put them in the frame and grind them almost flush with the bottom of the frame, then finish them off with emery paper on a sheet of glass:
One of the defining characteristics of traditional concertina reed shoes is that the underside of the vent is relieved (i.e. the bottom of the slot is slightly wider than the top). My current understanding is that this allows the reed to work properly even at very low bellows pressures, i.e. it enables you to play quietly if you want to. It also has an effect on the tone. I’m not doing this on the milling machine because there are good reasons to cut them out from the top and it would be a bit tricky to turn them over and accurately register them for an extra operation. Instead, I made a special jig that allows me to file the vent to a consistent angle using a flat needle file with two safe narrow edges.
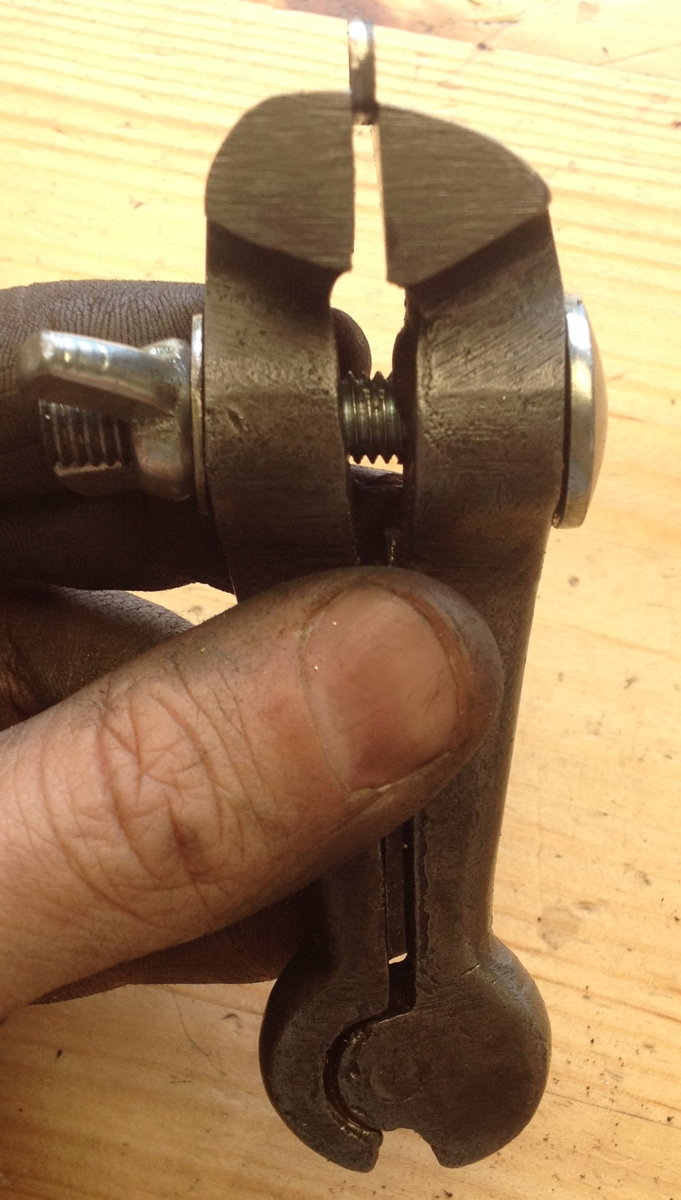
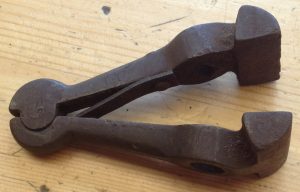
The clamp part of the filing jig started out as an old war-surplus hand vice with damaged jaws:

I trued up the jaws and modified the profile of the front jaw so that there is room for the file to tilt down below the level of the back jaw:

Next I added an adjustable brass frame and a PTFE roller to guide the file, as shown in the following video. I align the top edge of the vent with the top of the back jaw, paint the inside of the vent with a black marker pen, and file until I’ve almost but not quite removed all the ink.
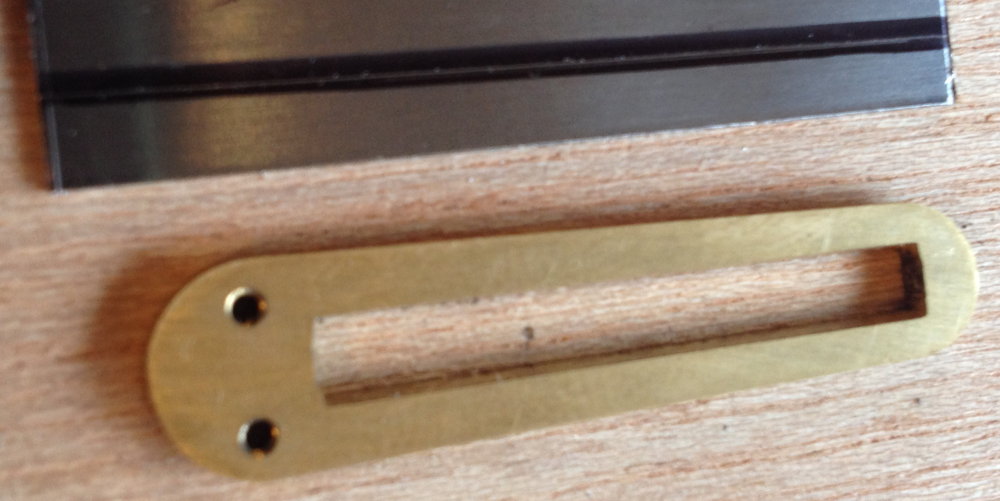
Here we have my first brass reed frame in my Lachenal reed pan. You can see how much lower-profile the new screw heads are: I think this might help with air flow inside the reed chambers. It took several prototypes before I was totally happy with the tightness of the fit in the dovetailed slot. There is a small area around the clamp that isn’t fully bevelled, giving a nice friction fit without compressing the sides of the frame adjacent to the vent.