Acetal Buttons

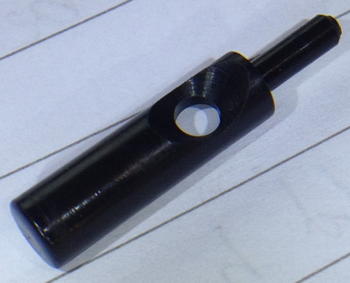
I made a batch of buttons for my first prototype instrument. For simplicity I decided to use solid black acetal (an engineering plastic, commonly called Delrin, though that is a trademark of DuPont) rather than metal. Acetal is used by most modern concertina makers and it has a number of useful properties; particularly ease of machining, low mass, low friction, and low thermal conductivity (i.e. they don’t feel cold to the touch). I believe the top quality instruments still tend to use hollow metal buttons though.

The acetal came through the post in 1m lengths protected by a plastic tube. Long lengths of it are quite bendy. I started with 6mm and turned it down to 4.8mm. Before putting it in the lathe I cut it into 250mm lengths, which was about as long as I dared (shorter would result in more wastage, any longer risks the unsupported left hand end whipping around dangerously). I got nine buttons from each length.buttons2

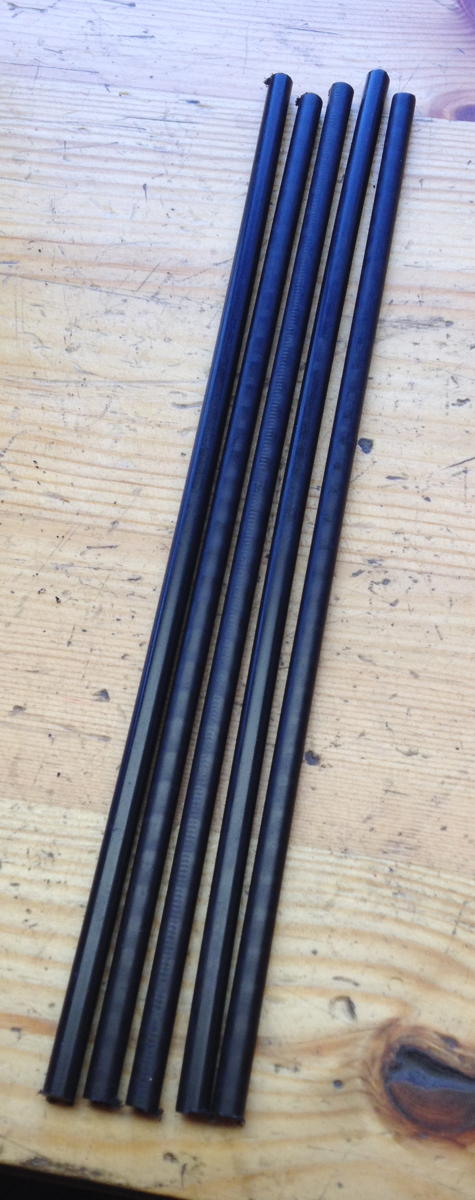
I did most of the work on my manual Taig micro-lathe. I did a few things differently than usual in order to increase efficiency. For instance I set up both a standard right hand tool in the front toolpost and a parting off tool in the back toolpost so I wouldn’t have to mess about changing tools twice per button.

buttons3

buttons4

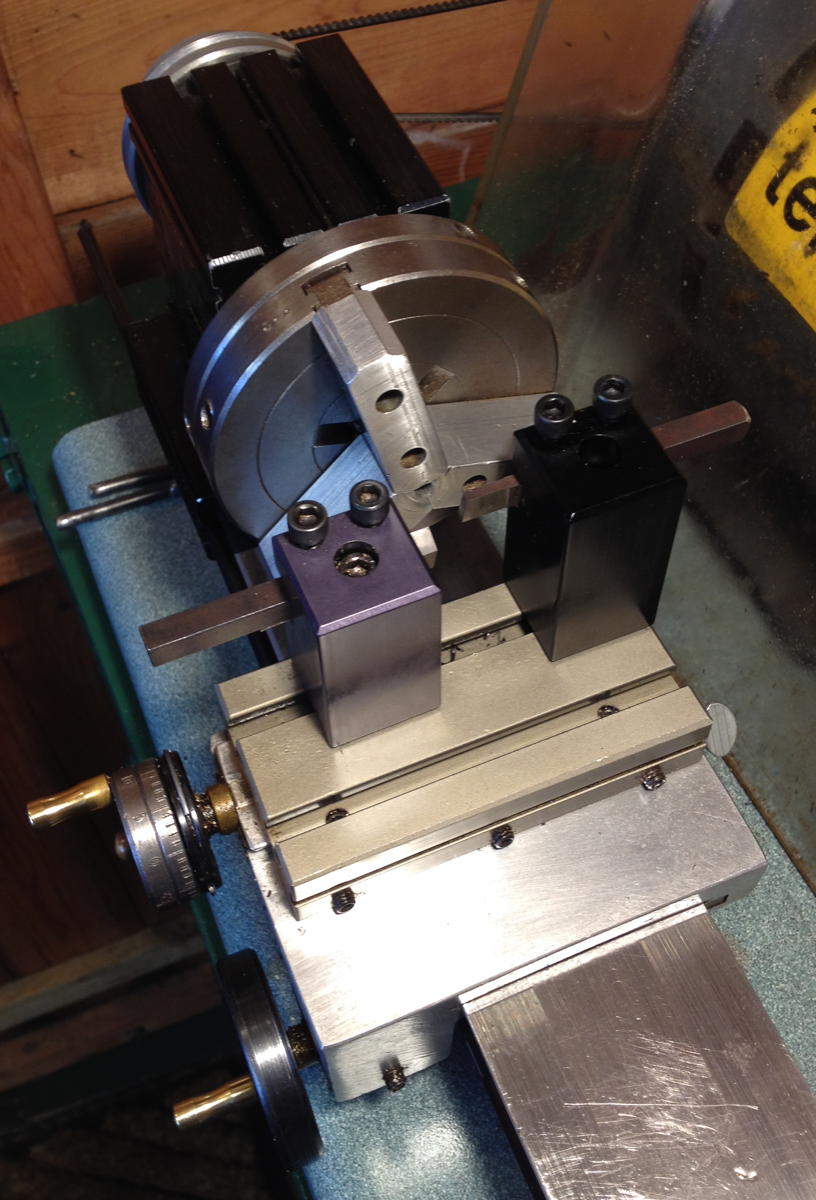
I made a couple of simple length gauges to control how much of the stock was protruding from the chuck at each stage, then turned up to the Z axis stop (set up to allow the carriage to almost touch the chuck). The short gauge is for the peg on the bottom of the button, and the long gauge is for the main body of the button. I also made full use of the graduations on the cross slide handwheel to produce the two diameters without stopping to measure the part.

buttons5

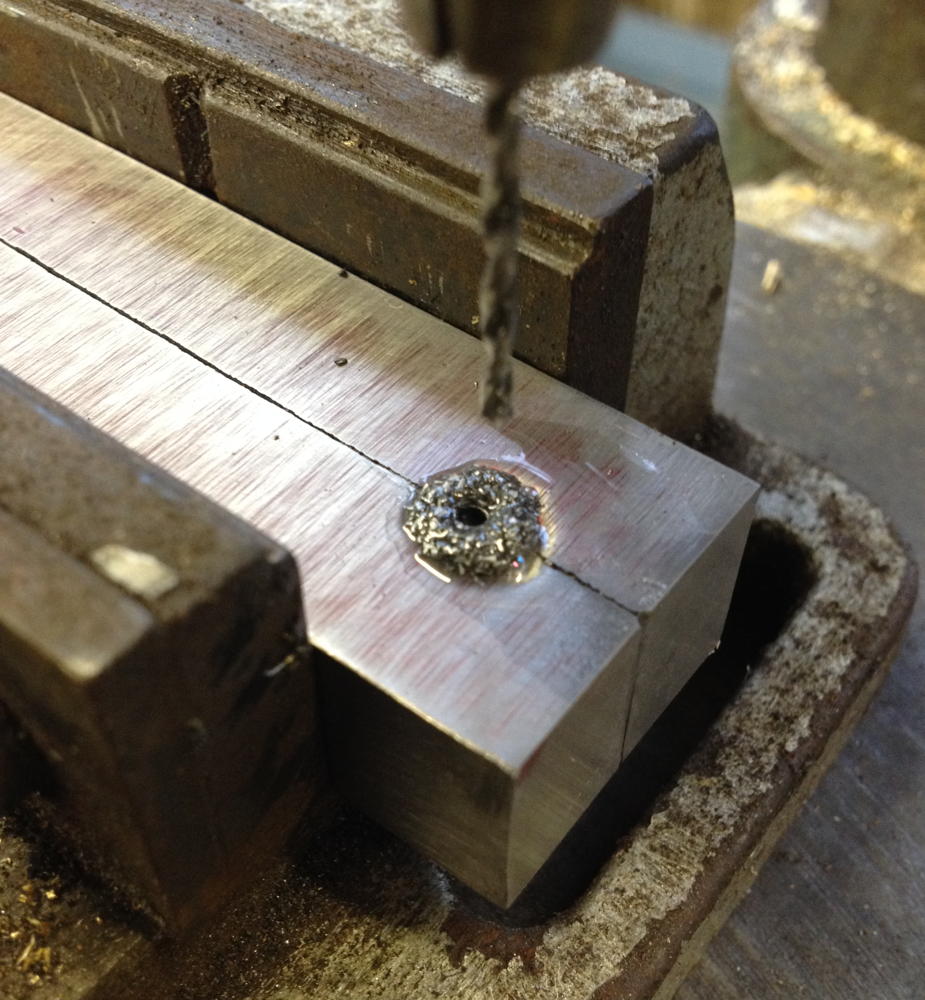
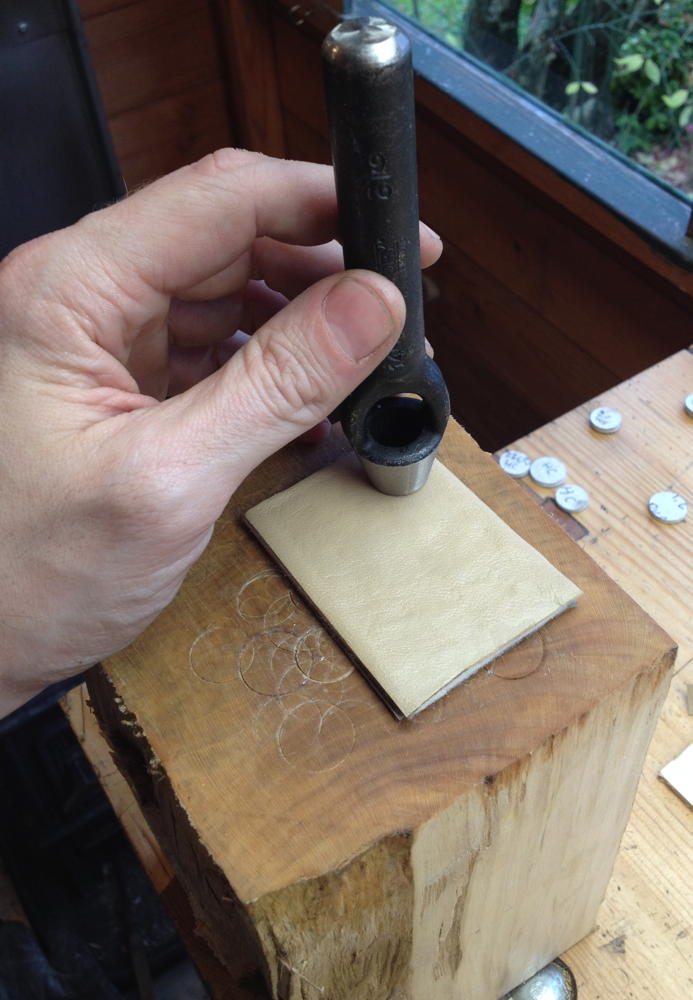
I made a special jig to hold the button while I drilled and countersunk the cross hole on both sides. It is built in such a way that you can turn it over 180 degrees and locate it using the two pins on the baseboard, which is clamped to the drill press table.

buttons6

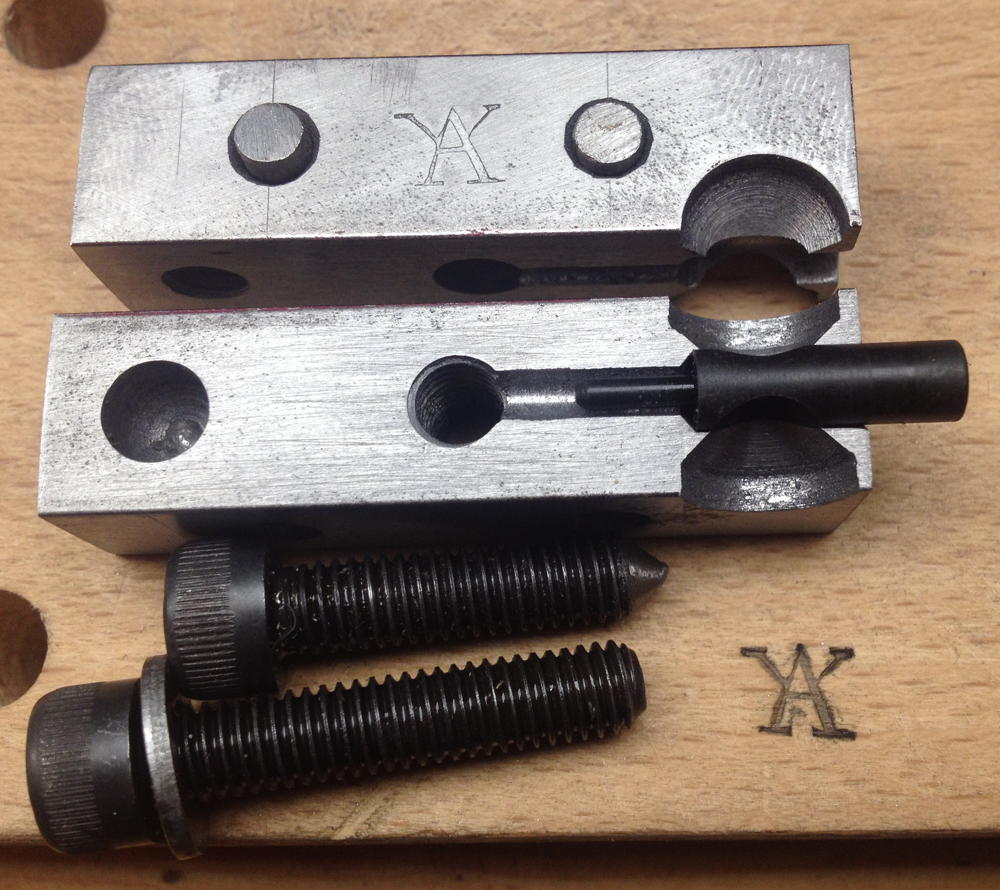
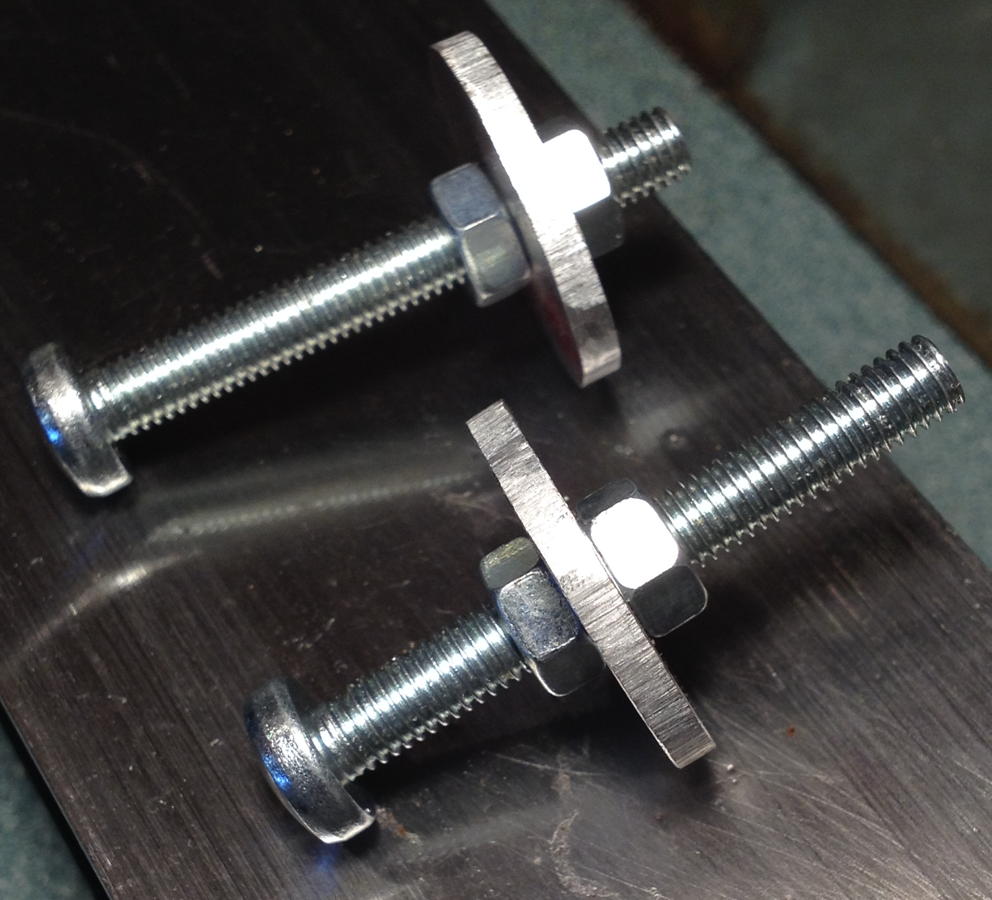
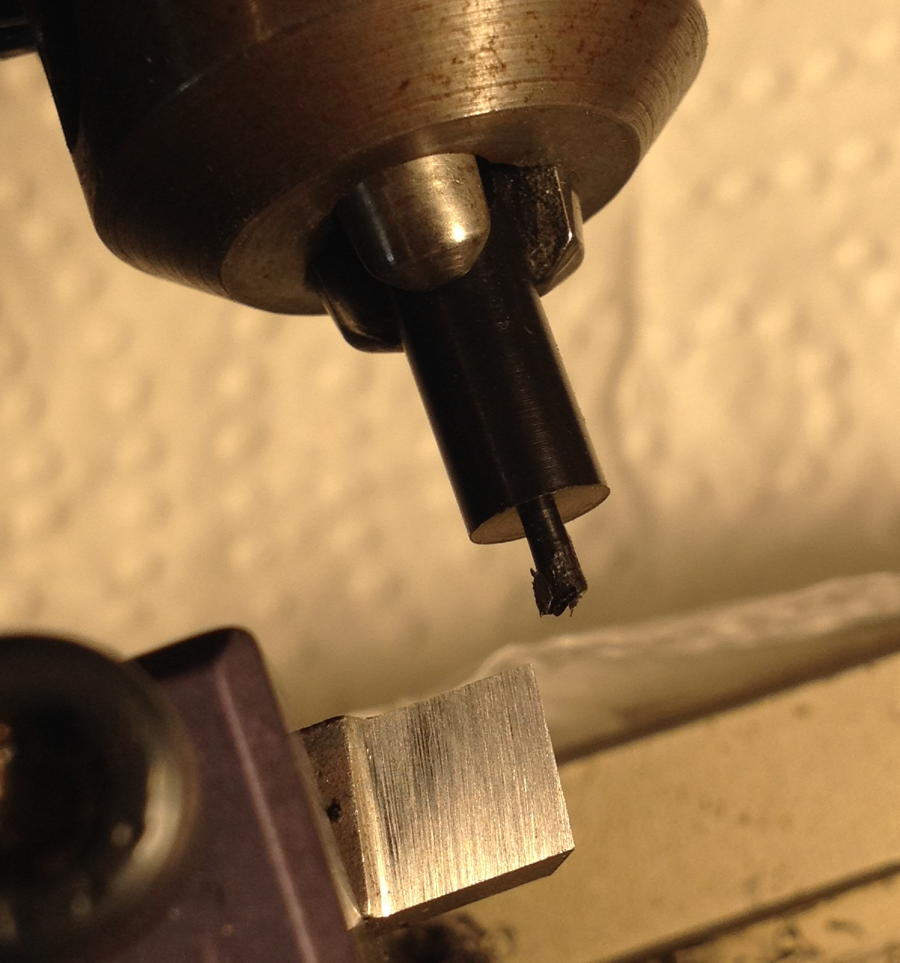
Although this photo shows a standard jobber drill bit, I found it worked better to first use a smaller, more precise drill press to spot the hole location with a small centre drill, otherwise the bit drifts to one side or the other and you end up with an off-centre hole.buttons7

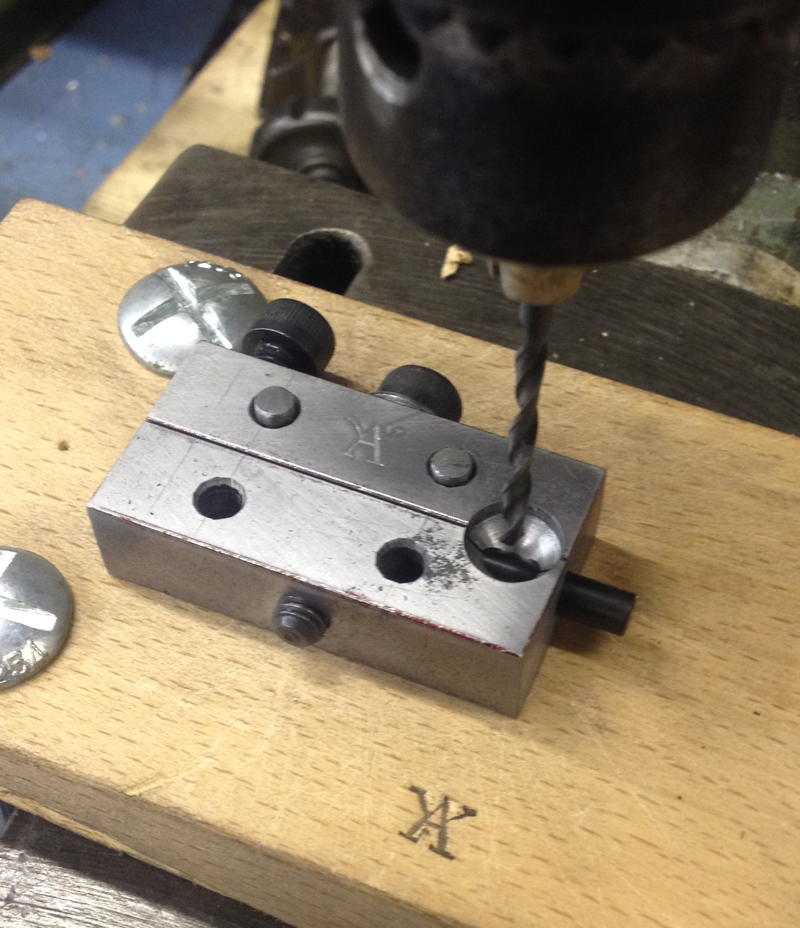
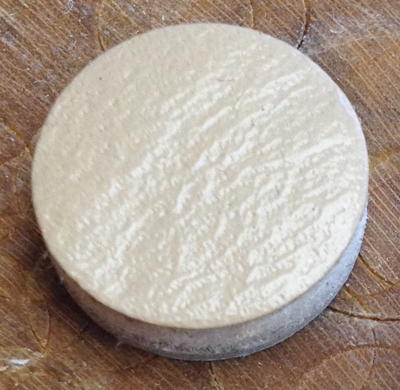
Finishing the top of the button involved facing off the parting-off stub, hand-sanding to round it off slightly, then flame polishing with a pencil torch to get a smooth glossy finish.

buttons10

buttons11

buttons12

(Close-up picture of the polished button didn’t come out well – it turns out that my camera’s autofocus struggles to lock onto glossy black objects!).

This video shows the whole process:

Here’s a finished button:buttons8

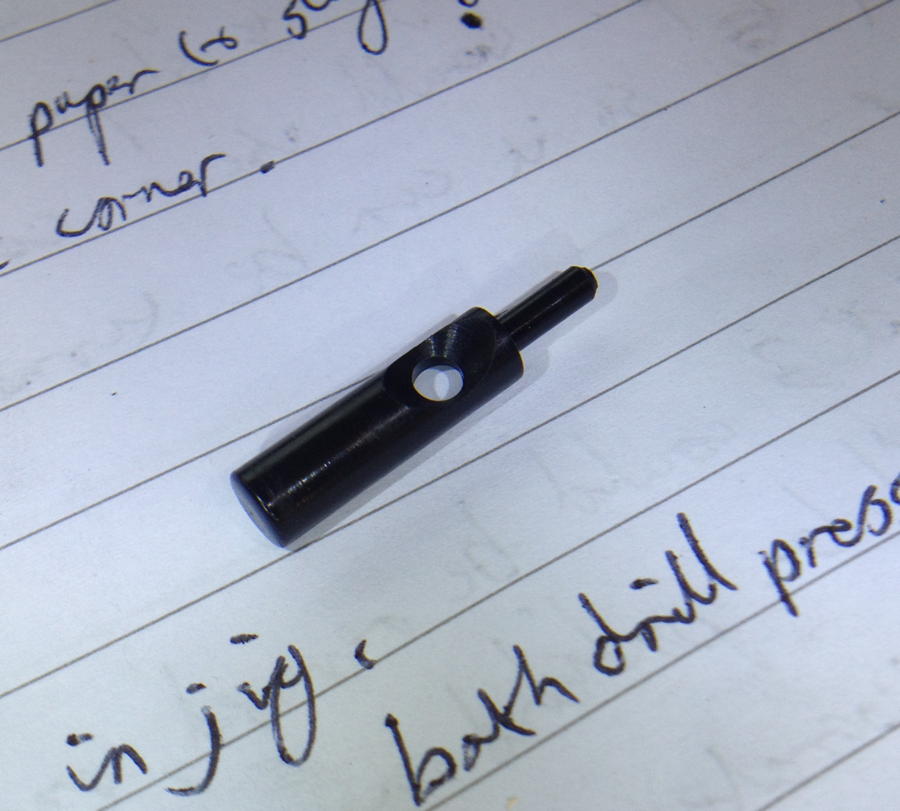
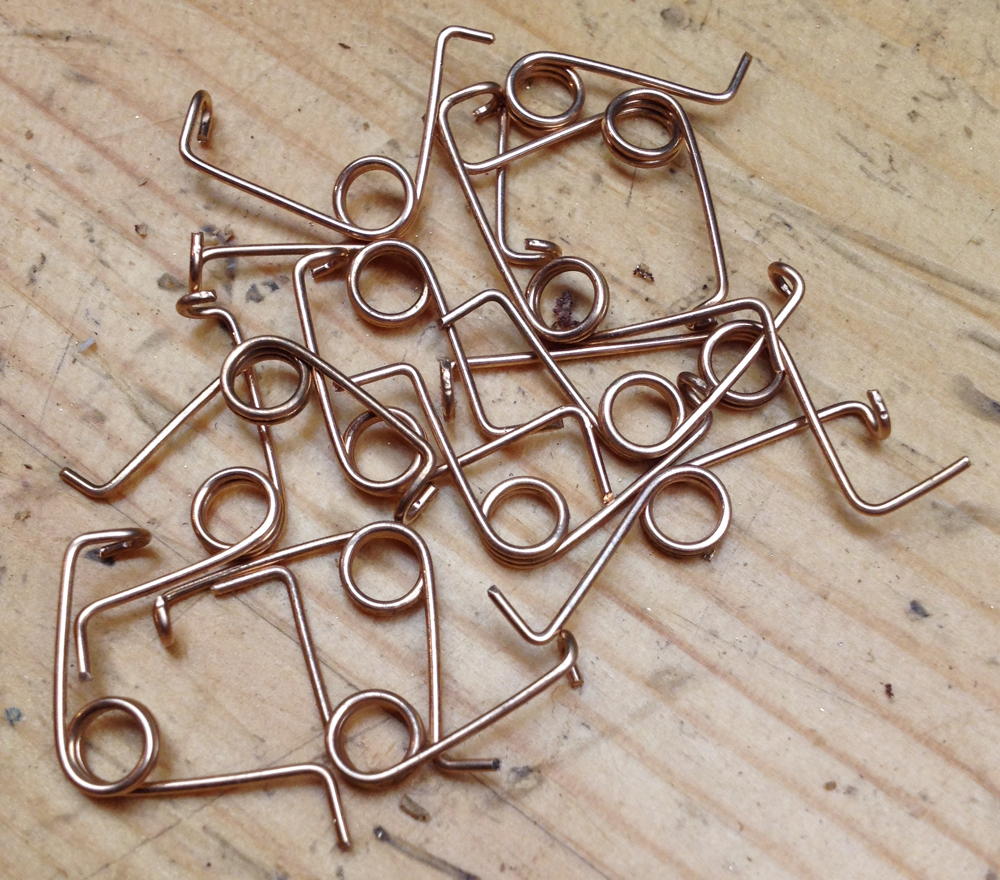
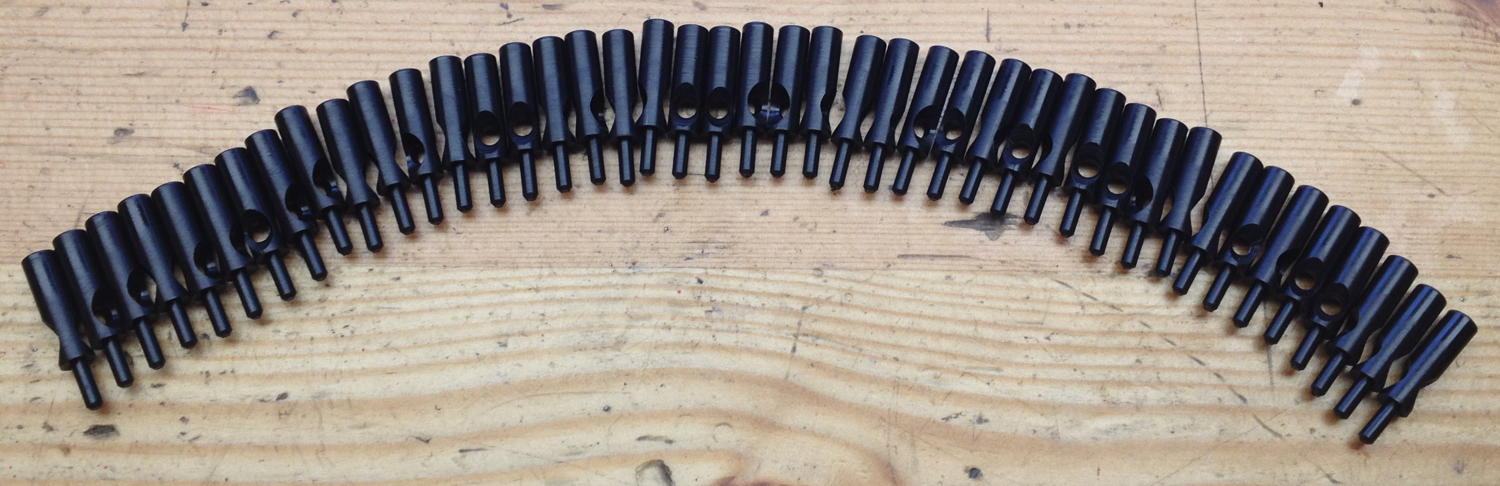
And the full batch (more than I need for the first instrument – I made extra because I wasn’t sure how many I would ruin in the process, and I can always use the extras for my second instrument):

buttons9

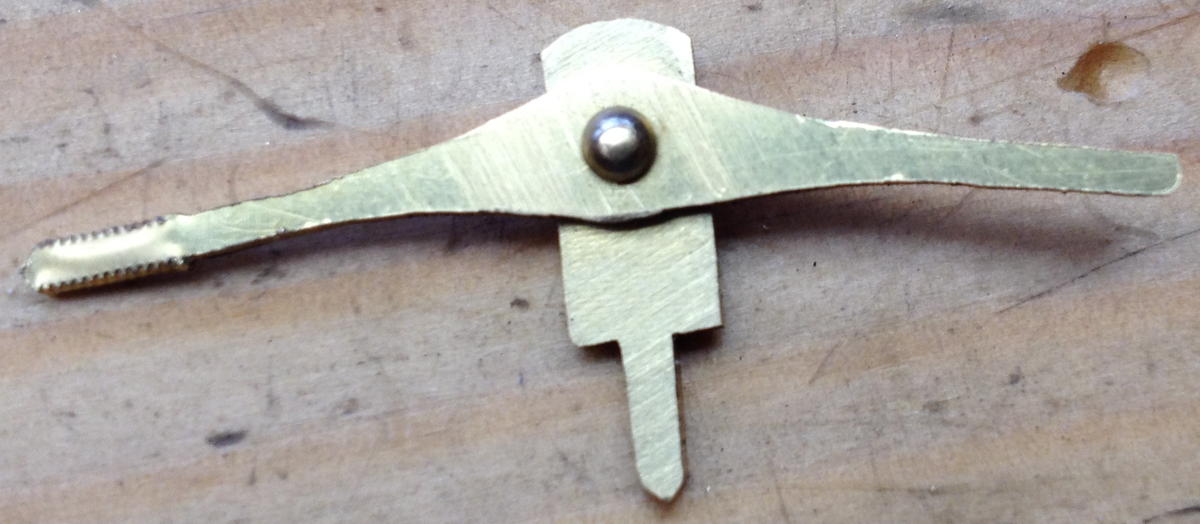
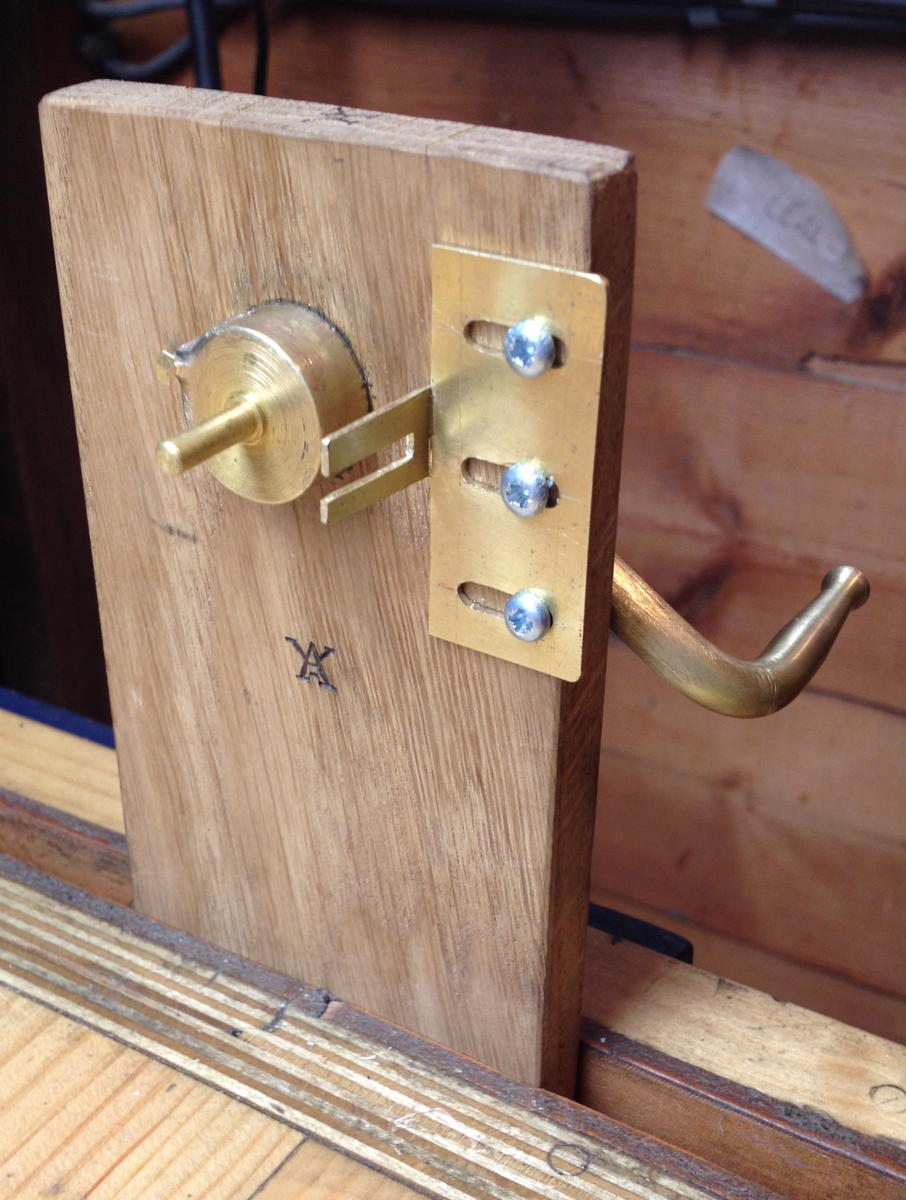
After completing the buttons, I now had prototypes of all the parts of a concertina action, so I decided to put it all together in a little test piece:

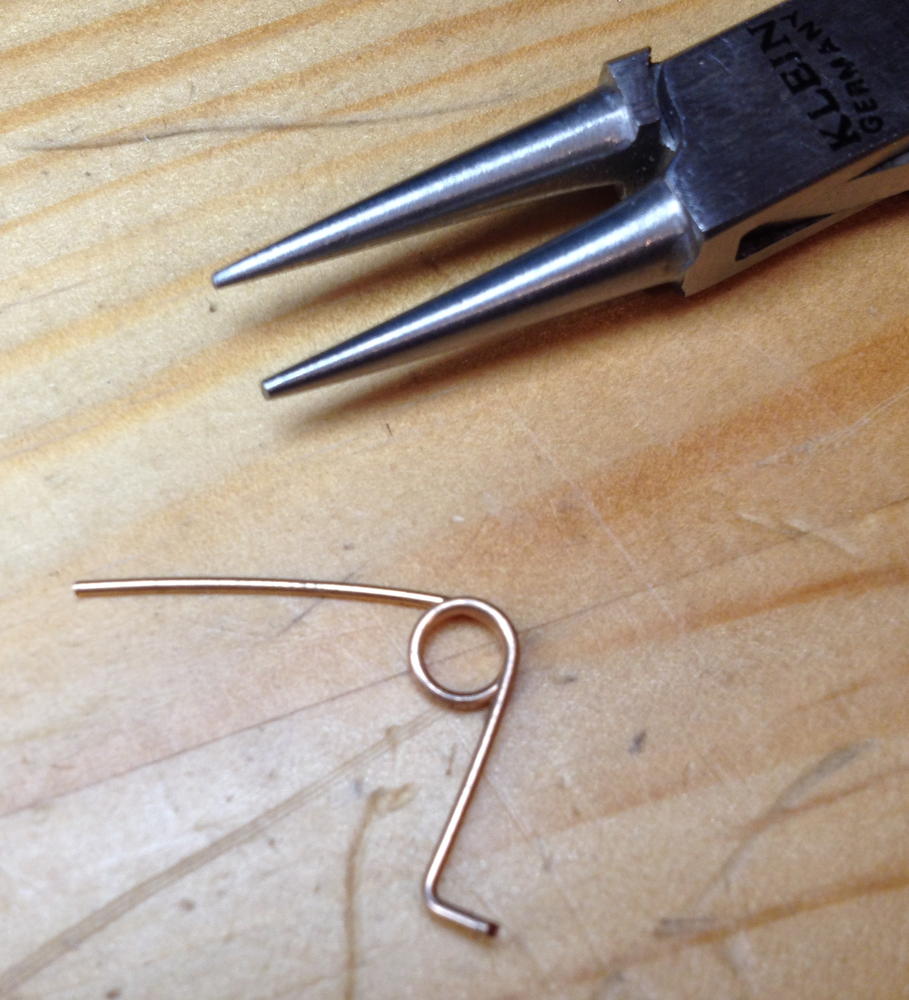
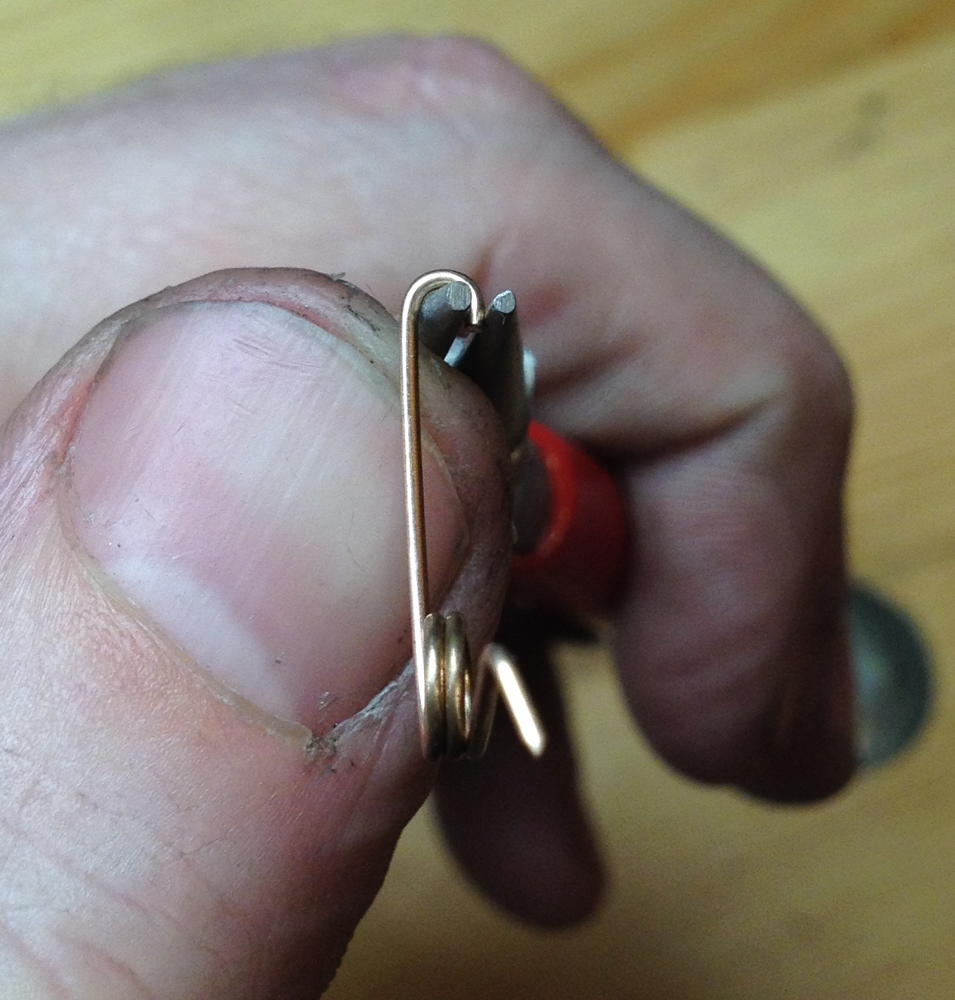
As well as the crude box itself, I made the pad, samper, grommet, lever, post, spring, felt washers, button, and both bushes. It is currently sitting on my desk as an executive toy, and I find myself reaching out and pressing the button whenever I’m thinking about a problem!

Update: After a couple of days of pressing the button whenever I happen to be at my desk, it definitely operates smoother and easier than when I first assembled it. I think the pad may be sealing more tightly too.

Prototype Action Lever

I made a prototype action lever. It’s a Wheatstone-style riveted lever hand-cut from 1mm thick brass sheet (the post is 1.5mm; possibly a bit thicker than necessary, but I didn’t want it to distort when I hammered it in).

The hardest part was making a die tool to thread the pad end so that I could screw the leather grommet onto it. Because the lever is cut from thin flat sheet rather than round bar, an ordinary thread cutting die wouldn’t have worked, so I instead made a sprung die set to form the thread.

I started with a 15mm x 25mm x 100mm bar of O1 tool steel, drilled and filed a spring shape on one end, then slit it in half:

first_lever_2

Next I clamped it tightly together in a vice, and drilled and tapped an M2 hole in the middle of the slit, near the opposite end to the spring:
first_lever_3

first_lever_4

first_lever_5

I put a couple of M5 threaded holes in the bottom so I could bolt it to a chunk of angle iron, then hardened and tempered it to 200C, differentially tempering the spring end to a higher temperature with a blowtorch so it won’t break in use:
first_lever_6

After a bit of experimentation, I found that I could get it to form an acceptable thread if I cut a section of the 1mm sheet to 2.5mm wide (this dimension is fairly critical: 2mm forms almost no threads, and 3mm distorts and creases badly). It works best to hammer the tool fairly hard four times: once with the lever vertical, once each at 30 degrees from vertical in both directions, then a final time with the lever vertical again.
first_lever_7

The lever after sawing it out with a jeweller’s saw, forming the thread, and riveting it to the post:
first_lever_8

The proportions were based on one of the shortest levers in a treble English; most of the levers will have longer straight sections. The straight section is 2mm wide; I had to make the threaded part a bit wider (the tool squishes it narrower and thicker):
first_lever_9

After screwing the grommet on. It is necessary to enlarge the hole in the leather grommet to 1.65mm before it will screw on without using excessive force and damaging the grommet:
first_lever_10

Spring Winder

I made a simple machine for winding concertina springs, inspired by Bob Tedrow‘s video.


springs_2

It has a drum with a mandrel sized for the desired coil diameter and a hook on the outside, driven by a crank handle. The small step at the base of the mandrel helps to get the first turn of the coil tight. The adjustable guide plate isn’t strictly essential, but it helps a bit with consistency.

springs_3

springs_4

The raw spring material; 22 S.W.G. (about 0.7mm) phosphor bronze spring wire. It bends easily, is fairly corrosion resistant, and I’m told it lasts a lot longer than brass. At some point I’m planning to experiment with stainless spring steel and other diameters, but I’m sure the phosphor bronze is going to work fine for my initial prototype instrument.

springs_5

Step 1; use needle nose pliers to bend a right-angle that will form the ‘pin’ that you push into the action board:

springs_6

springs_7

Step 2; insert the wire into the machine as shown. It’s important that the hooked end is parallel to the face of the drum:

springs_8

Steps 3 and 4; turn the crank handle clockwise about 2 1/4 times, then cut the wire off, using the guide plate to gauge where to cut.

springs_9

Step 5; use small round nose pliers to form the hook:

springs_10

springs_11

Step 6; use needle nose pliers to bend the hook over at a right angle:

springs_12

The finished spring:

springs_13

Here’s a quick video of the process:

Sometimes it’s necessary to use an opposite-hand spring because of limited space on the action board. You make these in the same way but doing all the bends the other way and turning the crank handle anticlockwise:

springs_14

A few experiments with various arm lengths:

springs_15

Prototype Pads

Concertina pads are small discs that cover holes in the action board; when you press a button, it causes a pad to lift off its hole, which allows air to pass through a reed and produce a note. They are made from a sandwich of leather, felt and card. The leather forms an airtight seal against the hole, the card provides a rigid backbone and a surface for the action lever to attach to, and the felt acts as a buffer between the two that stops the pad making an audible slapping sound when it closes quickly.

It took quite a few experiments to find a combination of materials, glue, and procedure that produces satisfactory pads. Along the way I made quite a few pads that fell apart, were too hard or too spongy, and/or were too thick or too thin.

pads_1

A pad ‘sandwich’ after gluing:

pads_2

I eventually settled on hide glue with some urea added to extend the open time a bit. I soaked apart an antique Lachenal pad and I’m 99% sure it was glued with hide glue. PVA would probably work too, but when I tried it, it stuck well but it seemed to soak into the felt and make it harder. I know others have used sprayable contact adhesive successfully, but it barely stuck at all for me. There’s a bit of a knack to applying just the right amount of glue, and it’s important to brush it onto the card/leather, not the felt, otherwise it will soak up far too much glue and go hard when it eventually dries. Clamp the sandwich as lightly as possible and take it out of the clamp after an hour to avoid permanently compressing the felt. Leave it at least a few hours to dry before punching the pads out.

The leather is thin smooth sheepskin skiver, with the hair side out. The card is 1mm greyboard (I also tried millboard, but it turned out to be made of two layers that delaminated when I punched the pads out). I tried five different wool felts before settling on this one, which the supplier describes as 1.5mm 25 S.G., though it starts out significantly thicker than that and compresses down a bit when you glue it.

I’m punching the pads out using Priory wad punches (carefully resharpened), a lead mallet, and an anvil made from the smoothed end grain of a beech log soaked in boiled linseed oil.

pads_3

It works best to punch with the leather side up, otherwise the card distorts and doesn’t cut cleanly.

pads_4

It’s important to keep hammering until you’ve cut through the card all the way around.

pads_5

pads_6

pads_8

A new pad next to a ‘retired’ antique Lachenal one; the new one is a bit thicker and softer, but I think it will quickly compress down to about the same thickness.

pads_7