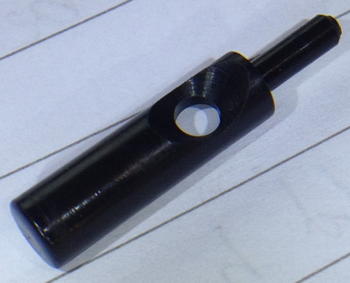
I made a batch of buttons for my first prototype instrument. For simplicity I decided to use solid black acetal (an engineering plastic, commonly called Delrin, though that is a trademark of DuPont) rather than metal. Acetal is used by most modern concertina makers and it has a number of useful properties; particularly ease of machining, low mass, low friction, and low thermal conductivity (i.e. they don’t feel cold to the touch). I believe the top quality instruments still tend to use hollow metal buttons though.
The acetal came through the post in 1m lengths protected by a plastic tube. Long lengths of it are quite bendy. I started with 6mm and turned it down to 4.8mm. Before putting it in the lathe I cut it into 250mm lengths, which was about as long as I dared (shorter would result in more wastage, any longer risks the unsupported left hand end whipping around dangerously). I got nine buttons from each length.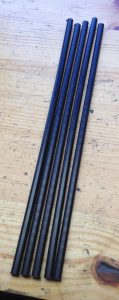
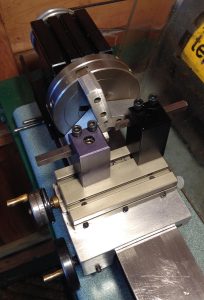
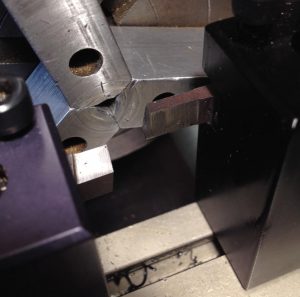
I did most of the work on my manual Taig micro-lathe. I did a few things differently than usual in order to increase efficiency. For instance I set up both a standard right hand tool in the front toolpost and a parting off tool in the back toolpost so I wouldn’t have to mess about changing tools twice per button.
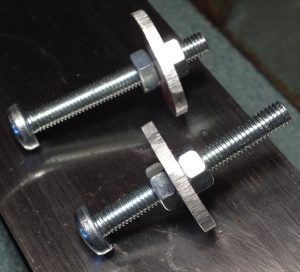
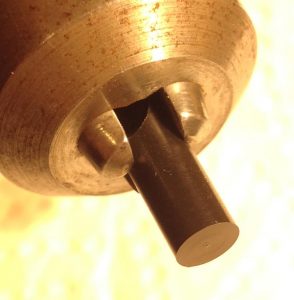
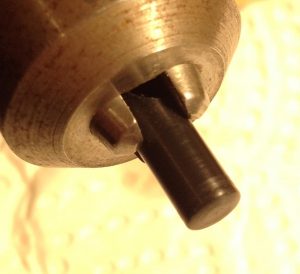
I made a couple of simple length gauges to control how much of the stock was protruding from the chuck at each stage, then turned up to the Z axis stop (set up to allow the carriage to almost touch the chuck). The short gauge is for the peg on the bottom of the button, and the long gauge is for the main body of the button. I also made full use of the graduations on the cross slide handwheel to produce the two diameters without stopping to measure the part.
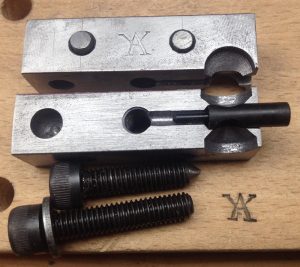
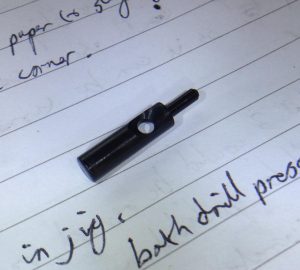
I made a special jig to hold the button while I drilled and countersunk the cross hole on both sides. It is built in such a way that you can turn it over 180 degrees and locate it using the two pins on the baseboard, which is clamped to the drill press table.
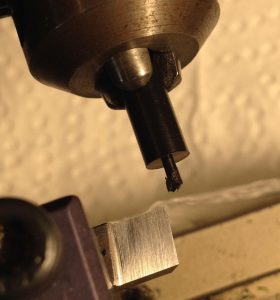
Although this photo shows a standard jobber drill bit, I found it worked better to first use a smaller, more precise drill press to spot the hole location with a small centre drill, otherwise the bit drifts to one side or the other and you end up with an off-centre hole.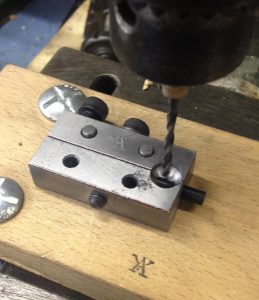
Finishing the top of the button involved facing off the parting-off stub, hand-sanding to round it off slightly, then flame polishing with a pencil torch to get a smooth glossy finish.
(Close-up picture of the polished button didn’t come out well – it turns out that my camera’s autofocus struggles to lock onto glossy black objects!).
This video shows the whole process:
And the full batch (more than I need for the first instrument – I made extra because I wasn’t sure how many I would ruin in the process, and I can always use the extras for my second instrument):
After completing the buttons, I now had prototypes of all the parts of a concertina action, so I decided to put it all together in a little test piece:
As well as the crude box itself, I made the pad, samper, grommet, lever, post, spring, felt washers, button, and both bushes. It is currently sitting on my desk as an executive toy, and I find myself reaching out and pressing the button whenever I’m thinking about a problem!
Update: After a couple of days of pressing the button whenever I happen to be at my desk, it definitely operates smoother and easier than when I first assembled it. I think the pad may be sealing more tightly too.

Pingback: Hayden Duett Part 4: Actions – Holden Concertinas