Concertina pads are small discs that cover holes in the action board; when you press a button, it causes a pad to lift off its hole, which allows air to pass through a reed and produce a note. They are made from a sandwich of leather, felt and card. The leather forms an airtight seal against the hole, the card provides a rigid backbone and a surface for the action lever to attach to, and the felt acts as a buffer between the two that stops the pad making an audible slapping sound when it closes quickly.
It took quite a few experiments to find a combination of materials, glue, and procedure that produces satisfactory pads. Along the way I made quite a few pads that fell apart, were too hard or too spongy, and/or were too thick or too thin.
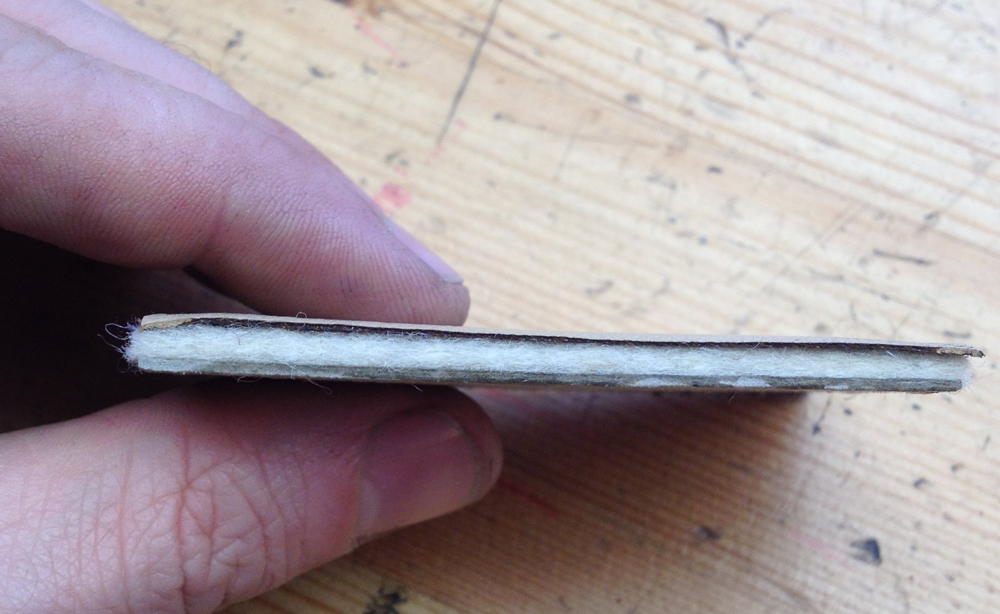
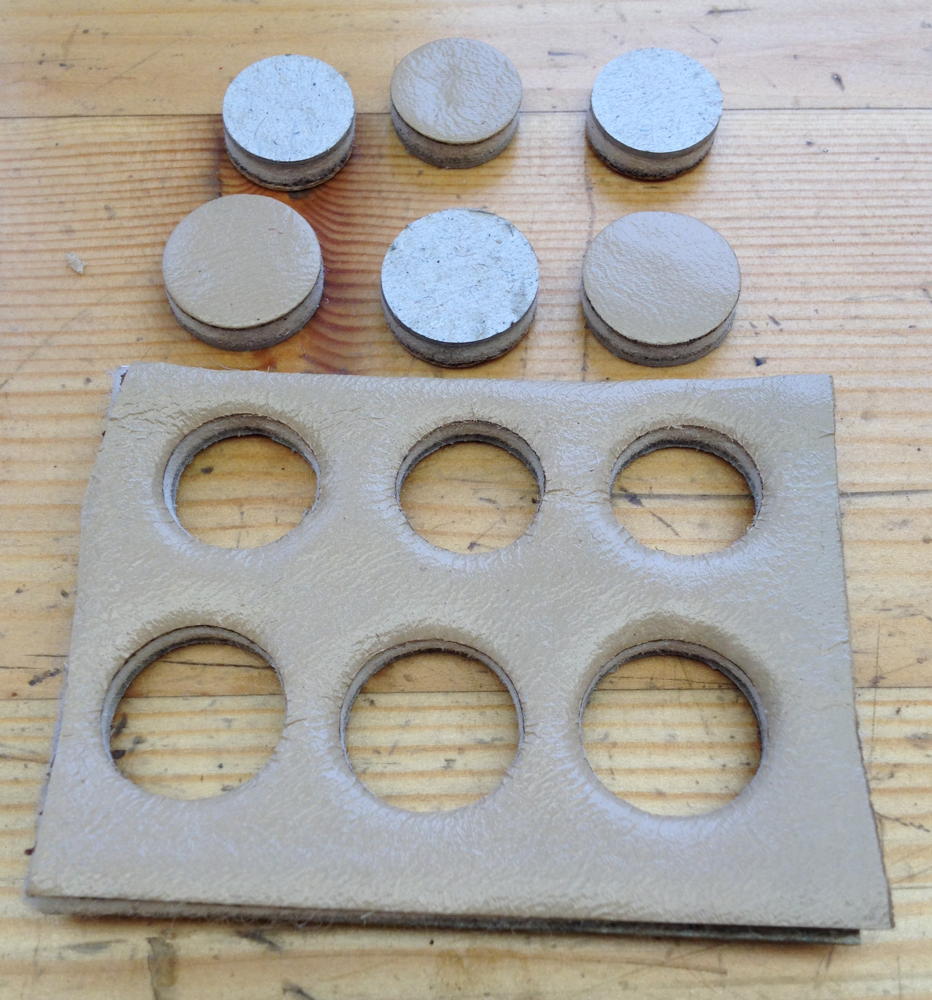
A pad ‘sandwich’ after gluing:
I eventually settled on hide glue with some urea added to extend the open time a bit. I soaked apart an antique Lachenal pad and I’m 99% sure it was glued with hide glue. PVA would probably work too, but when I tried it, it stuck well but it seemed to soak into the felt and make it harder. I know others have used sprayable contact adhesive successfully, but it barely stuck at all for me. There’s a bit of a knack to applying just the right amount of glue, and it’s important to brush it onto the card/leather, not the felt, otherwise it will soak up far too much glue and go hard when it eventually dries. Clamp the sandwich as lightly as possible and take it out of the clamp after an hour to avoid permanently compressing the felt. Leave it at least a few hours to dry before punching the pads out.
The leather is thin smooth sheepskin skiver, with the hair side out. The card is 1mm greyboard (I also tried millboard, but it turned out to be made of two layers that delaminated when I punched the pads out). I tried five different wool felts before settling on this one, which the supplier describes as 1.5mm 25 S.G., though it starts out significantly thicker than that and compresses down a bit when you glue it.
I’m punching the pads out using Priory wad punches (carefully resharpened), a lead mallet, and an anvil made from the smoothed end grain of a beech log soaked in boiled linseed oil.
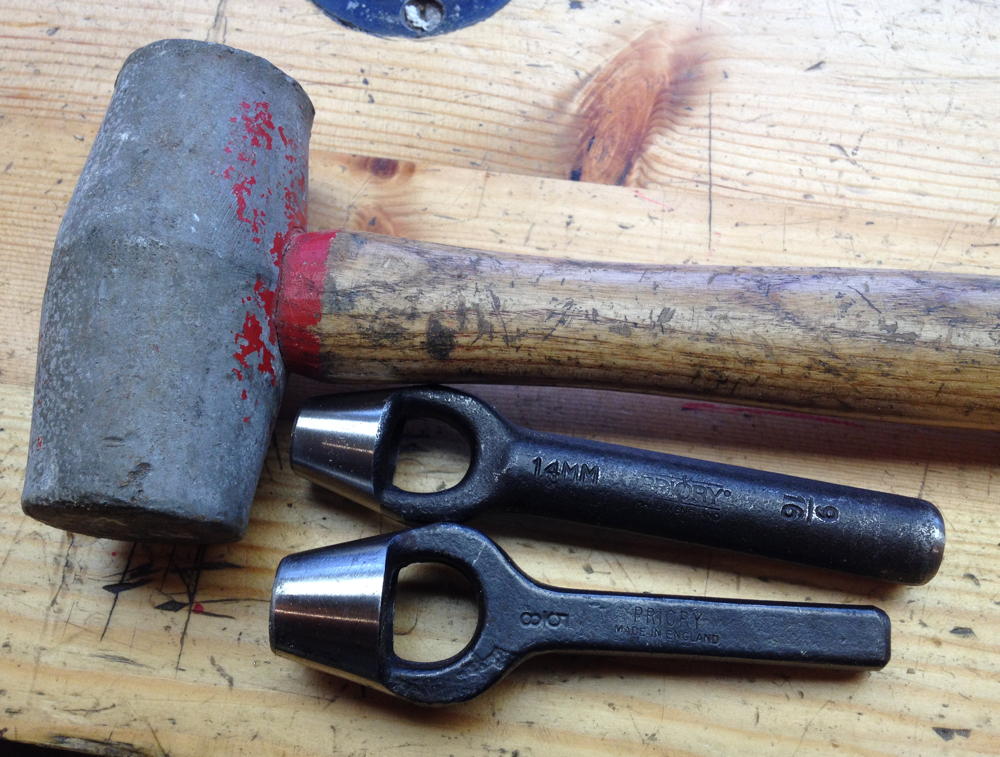
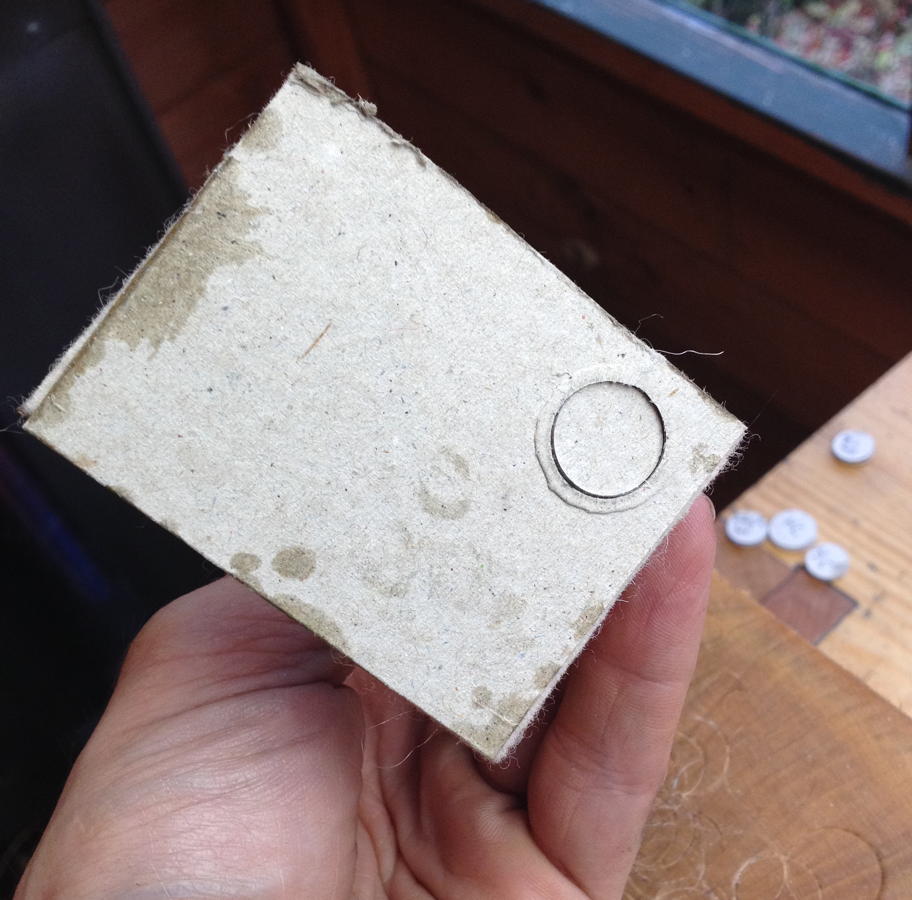
It works best to punch with the leather side up, otherwise the card distorts and doesn’t cut cleanly.
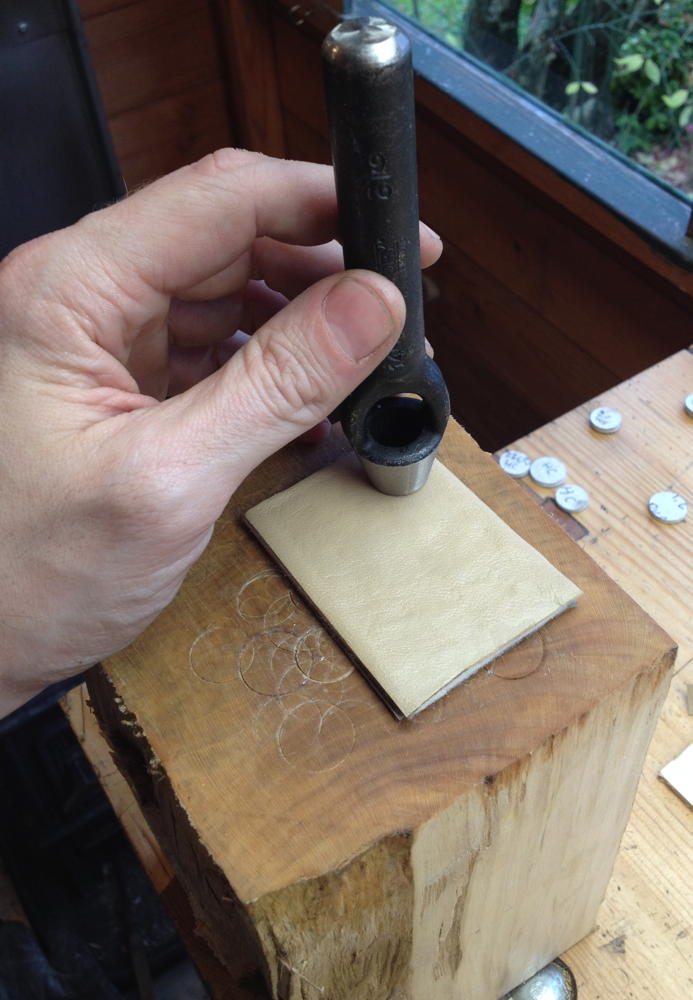
It’s important to keep hammering until you’ve cut through the card all the way around.

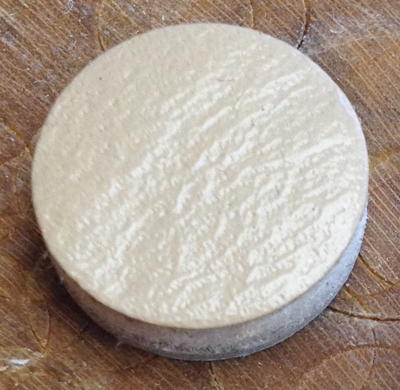
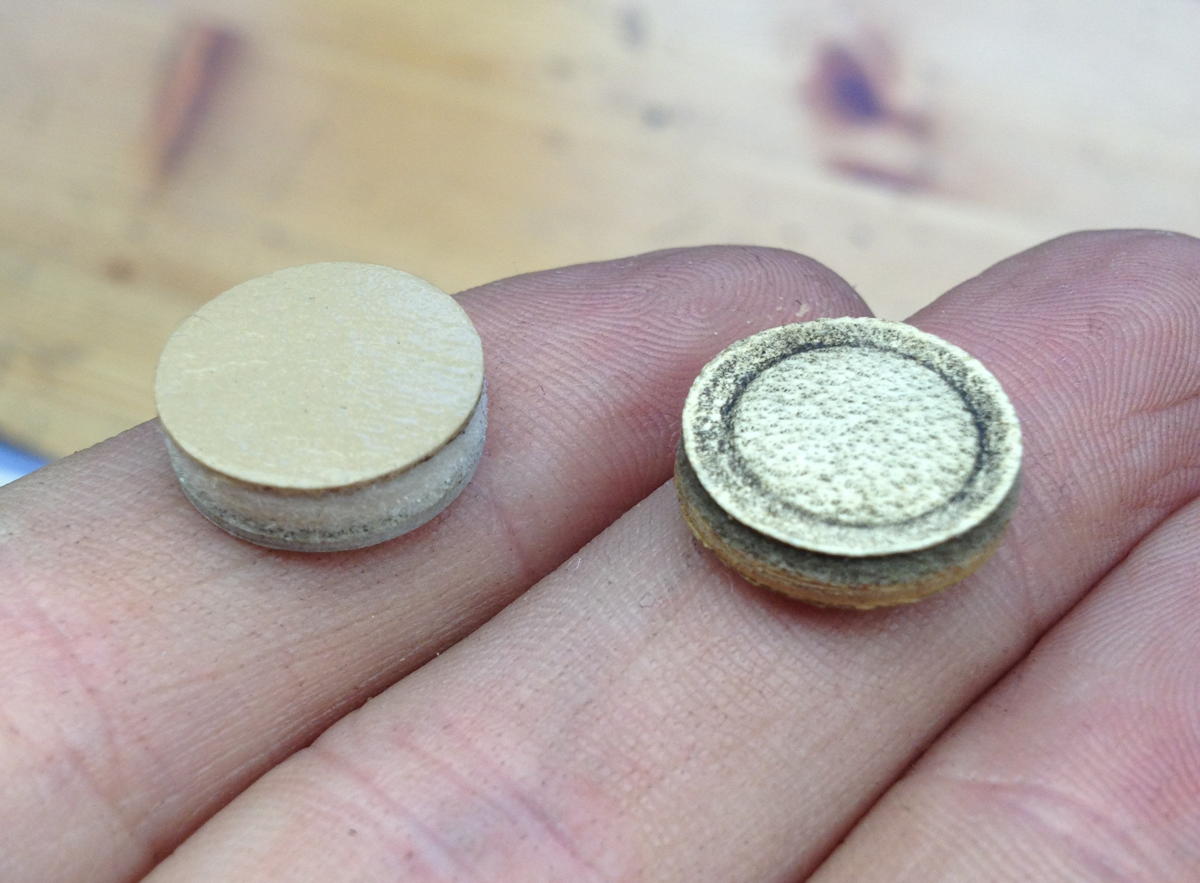
A new pad next to a ‘retired’ antique Lachenal one; the new one is a bit thicker and softer, but I think it will quickly compress down to about the same thickness.
Hi
I bought a concertina scholar one pad/ button is missing. & I want to replace it what’s your opinion. Can you suggest?
If you mean the Scholer brand, from what I’ve read they were an East German maker. They were quite cheaply constructed. You might find the buttons are very simple construction, like a plain wooden dowel with a plastic cap glued to it.