Techniques

Prototype Action Lever

I made a prototype action lever. It’s a Wheatstone-style riveted lever hand-cut from 1mm thick brass sheet (the post is 1.5mm; possibly a bit thicker than necessary, but I didn’t want it to distort when I hammered it in).

The hardest part was making a die tool to thread the pad end so that I could screw the leather grommet onto it. Because the lever is cut from thin flat sheet rather than round bar, an ordinary thread cutting die wouldn’t have worked, so I instead made a sprung die set to form the thread.

I started with a 15mm x 25mm x 100mm bar of O1 tool steel, drilled and filed a spring shape on one end, then slit it in half:

first_lever_2

Next I clamped it tightly together in a vice, and drilled and tapped an M2 hole in the middle of the slit, near the opposite end to the spring:
first_lever_3

first_lever_4

first_lever_5

I put a couple of M5 threaded holes in the bottom so I could bolt it to a chunk of angle iron, then hardened and tempered it to 200C, differentially tempering the spring end to a higher temperature with a blowtorch so it won’t break in use:
first_lever_6

After a bit of experimentation, I found that I could get it to form an acceptable thread if I cut a section of the 1mm sheet to 2.5mm wide (this dimension is fairly critical: 2mm forms almost no threads, and 3mm distorts and creases badly). It works best to hammer the tool fairly hard four times: once with the lever vertical, once each at 30 degrees from vertical in both directions, then a final time with the lever vertical again.
first_lever_7

The lever after sawing it out with a jeweller’s saw, forming the thread, and riveting it to the post:
first_lever_8

The proportions were based on one of the shortest levers in a treble English; most of the levers will have longer straight sections. The straight section is 2mm wide; I had to make the threaded part a bit wider (the tool squishes it narrower and thicker):
first_lever_9

After screwing the grommet on. It is necessary to enlarge the hole in the leather grommet to 1.65mm before it will screw on without using excessive force and damaging the grommet:
first_lever_10

Prototype Action Lever Read More »

Spring Winder

I made a simple machine for winding concertina springs, inspired by Bob Tedrow‘s video.


springs_2

It has a drum with a mandrel sized for the desired coil diameter and a hook on the outside, driven by a crank handle. The small step at the base of the mandrel helps to get the first turn of the coil tight. The adjustable guide plate isn’t strictly essential, but it helps a bit with consistency.

springs_3

springs_4

The raw spring material; 22 S.W.G. (about 0.7mm) phosphor bronze spring wire. It bends easily, is fairly corrosion resistant, and I’m told it lasts a lot longer than brass. At some point I’m planning to experiment with stainless spring steel and other diameters, but I’m sure the phosphor bronze is going to work fine for my initial prototype instrument.

springs_5

Step 1; use needle nose pliers to bend a right-angle that will form the ‘pin’ that you push into the action board:

springs_6

springs_7

Step 2; insert the wire into the machine as shown. It’s important that the hooked end is parallel to the face of the drum:

springs_8

Steps 3 and 4; turn the crank handle clockwise about 2 1/4 times, then cut the wire off, using the guide plate to gauge where to cut.

springs_9

Step 5; use small round nose pliers to form the hook:

springs_10

springs_11

Step 6; use needle nose pliers to bend the hook over at a right angle:

springs_12

The finished spring:

springs_13

Here’s a quick video of the process:

Sometimes it’s necessary to use an opposite-hand spring because of limited space on the action board. You make these in the same way but doing all the bends the other way and turning the crank handle anticlockwise:

springs_14

A few experiments with various arm lengths:

springs_15

Spring Winder Read More »

Prototype Pads

Concertina pads are small discs that cover holes in the action board; when you press a button, it causes a pad to lift off its hole, which allows air to pass through a reed and produce a note. They are made from a sandwich of leather, felt and card. The leather forms an airtight seal against the hole, the card provides a rigid backbone and a surface for the action lever to attach to, and the felt acts as a buffer between the two that stops the pad making an audible slapping sound when it closes quickly.

It took quite a few experiments to find a combination of materials, glue, and procedure that produces satisfactory pads. Along the way I made quite a few pads that fell apart, were too hard or too spongy, and/or were too thick or too thin.

pads_1

A pad ‘sandwich’ after gluing:

pads_2

I eventually settled on hide glue with some urea added to extend the open time a bit. I soaked apart an antique Lachenal pad and I’m 99% sure it was glued with hide glue. PVA would probably work too, but when I tried it, it stuck well but it seemed to soak into the felt and make it harder. I know others have used sprayable contact adhesive successfully, but it barely stuck at all for me. There’s a bit of a knack to applying just the right amount of glue, and it’s important to brush it onto the card/leather, not the felt, otherwise it will soak up far too much glue and go hard when it eventually dries. Clamp the sandwich as lightly as possible and take it out of the clamp after an hour to avoid permanently compressing the felt. Leave it at least a few hours to dry before punching the pads out.

The leather is thin smooth sheepskin skiver, with the hair side out. The card is 1mm greyboard (I also tried millboard, but it turned out to be made of two layers that delaminated when I punched the pads out). I tried five different wool felts before settling on this one, which the supplier describes as 1.5mm 25 S.G., though it starts out significantly thicker than that and compresses down a bit when you glue it.

I’m punching the pads out using Priory wad punches (carefully resharpened), a lead mallet, and an anvil made from the smoothed end grain of a beech log soaked in boiled linseed oil.

pads_3

It works best to punch with the leather side up, otherwise the card distorts and doesn’t cut cleanly.

pads_4

It’s important to keep hammering until you’ve cut through the card all the way around.

pads_5

pads_6

pads_8

A new pad next to a ‘retired’ antique Lachenal one; the new one is a bit thicker and softer, but I think it will quickly compress down to about the same thickness.

pads_7

Prototype Pads Read More »

Punching Washers and Grommets

I decided I wanted to try making some punch tooling in order to manufacture a couple of the parts involved in a traditional concertina action: the felt washers that go under the buttons and the leather grommets that screw onto the ends of the action levers.

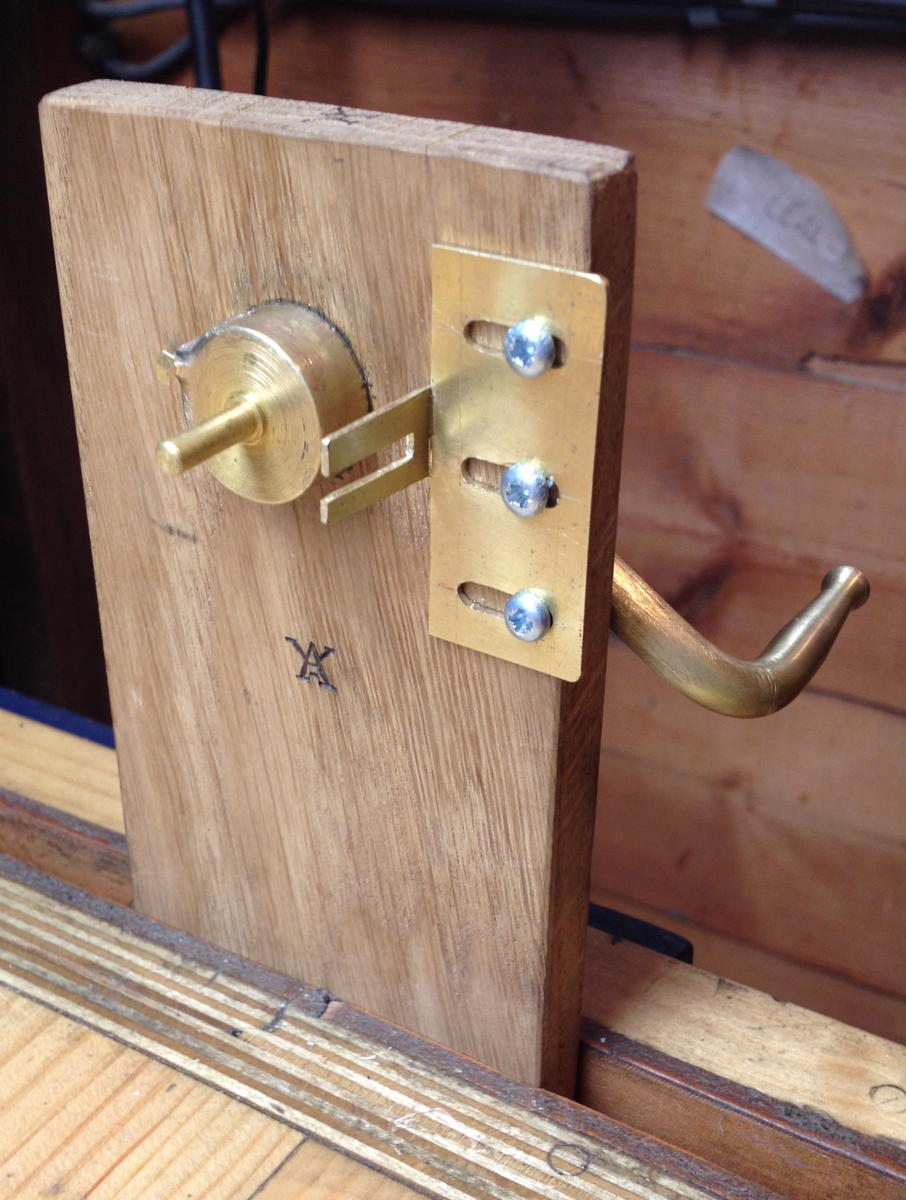
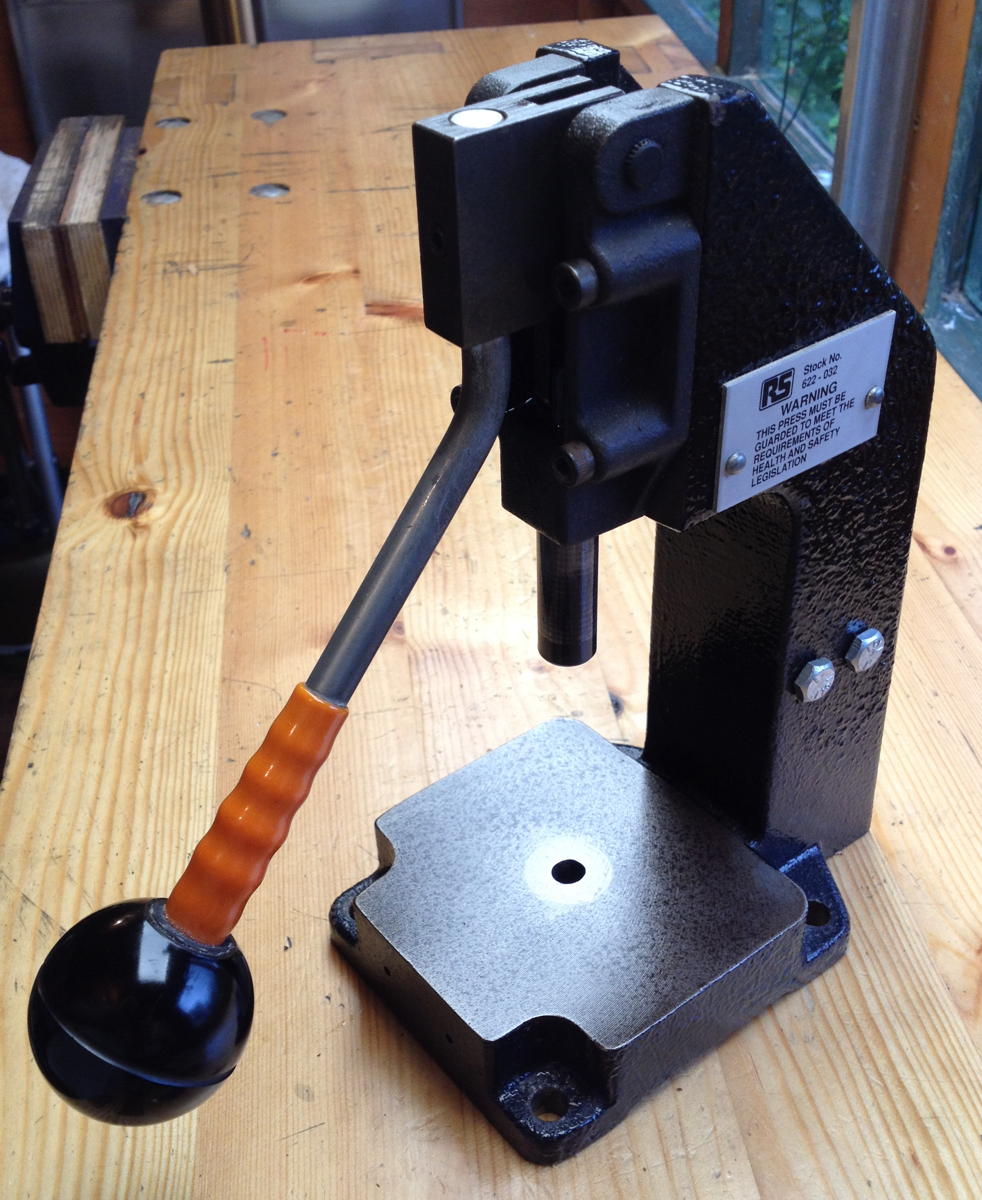
As well as the big Smart & Brown 2-ton toggle press mentioned previously, I also have a little 600N Brauer one (if my calculations are correct, the big one is rated to deliver about 30 times the force of the little one). I got it second hand some time ago, with some odd custom tooling attached to it that I never figured out what it was supposed to do. Here it is after removing the tooling and cleaning it up a little (yes, that is an old gear knob on the end of the handle – actually quite a nice addition so I left it on):

washerpunches1

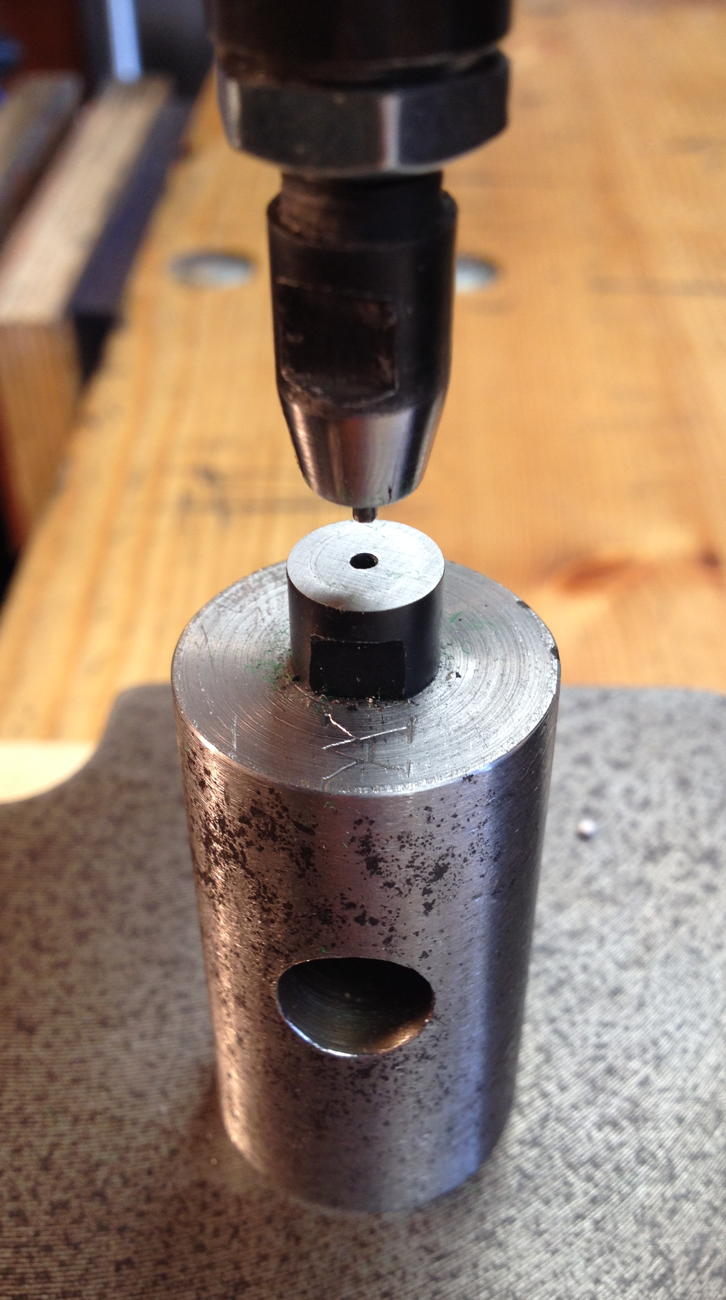
Because the throat height of the press is considerably more than the thickness of a piece of felt or leather, I turned up a 50mm tall spacer block from scrap 1″ mild steel bar. It bolts to the table of the press and has an M8 threaded hole in the top for the punch anvil, and a cross hole for the ejection of waste punched through the hole in the middle of the anvil.

washerpunches2

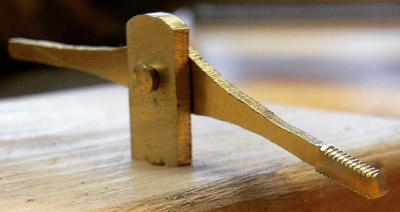
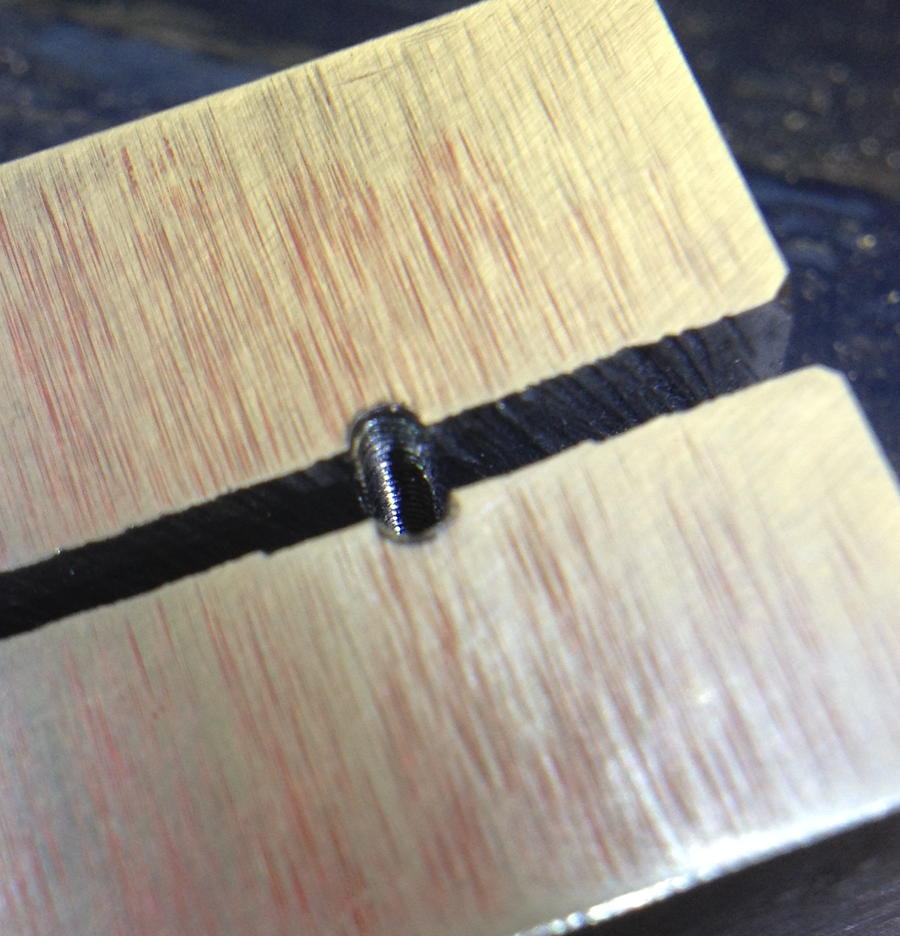
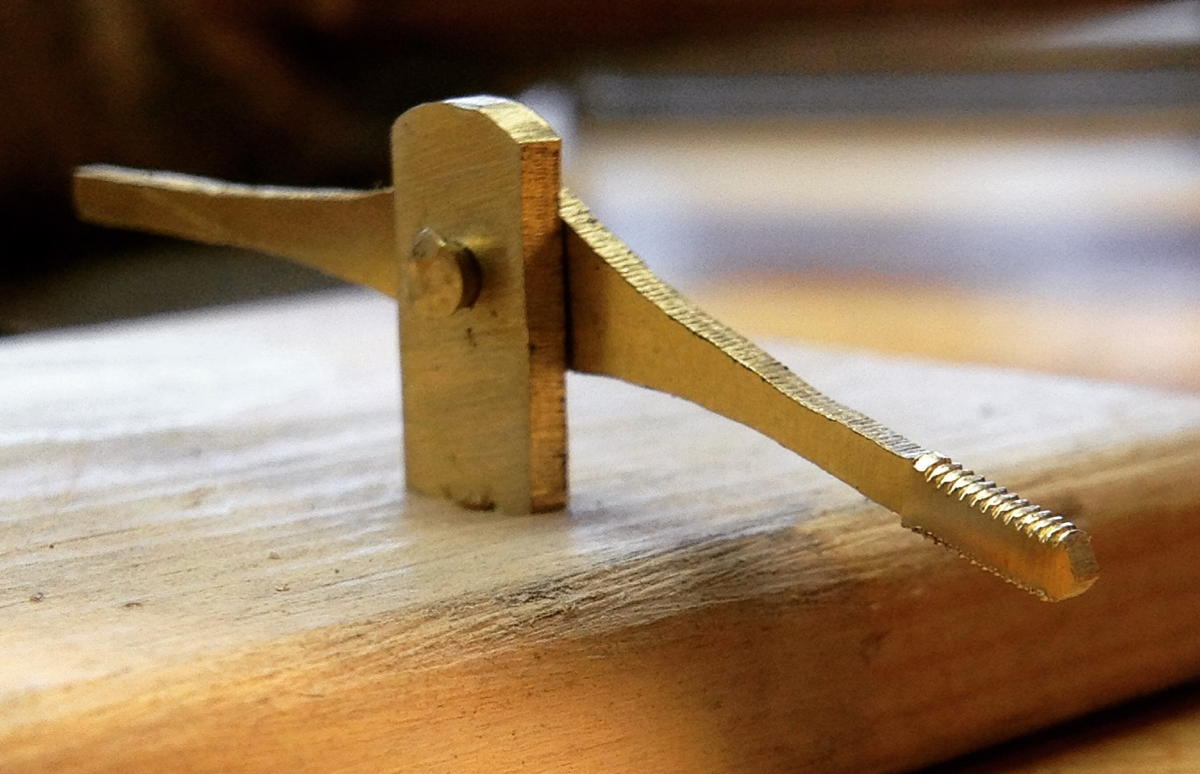
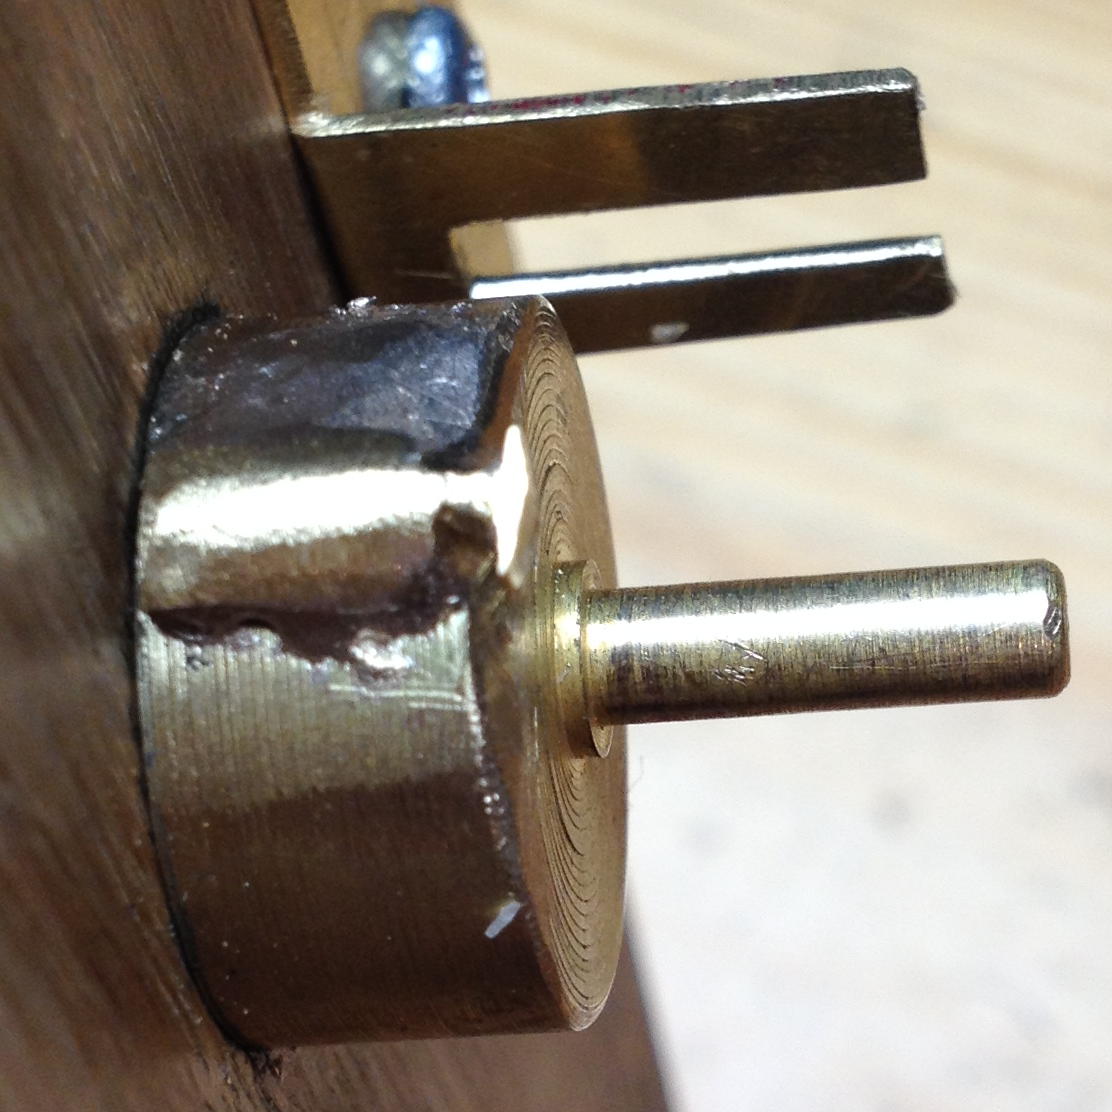
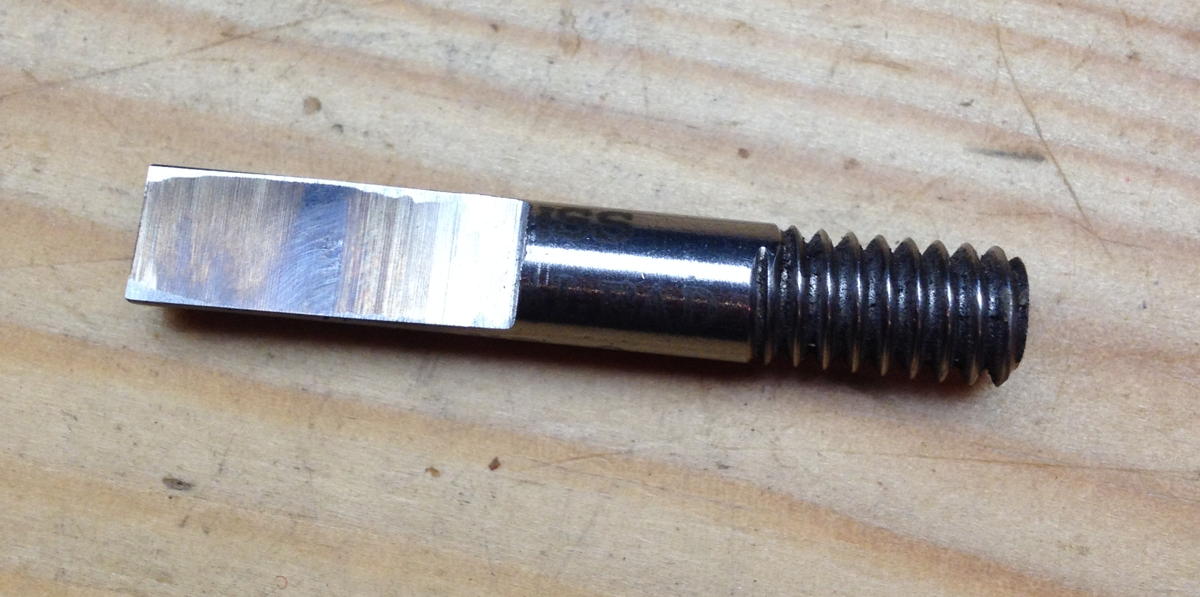
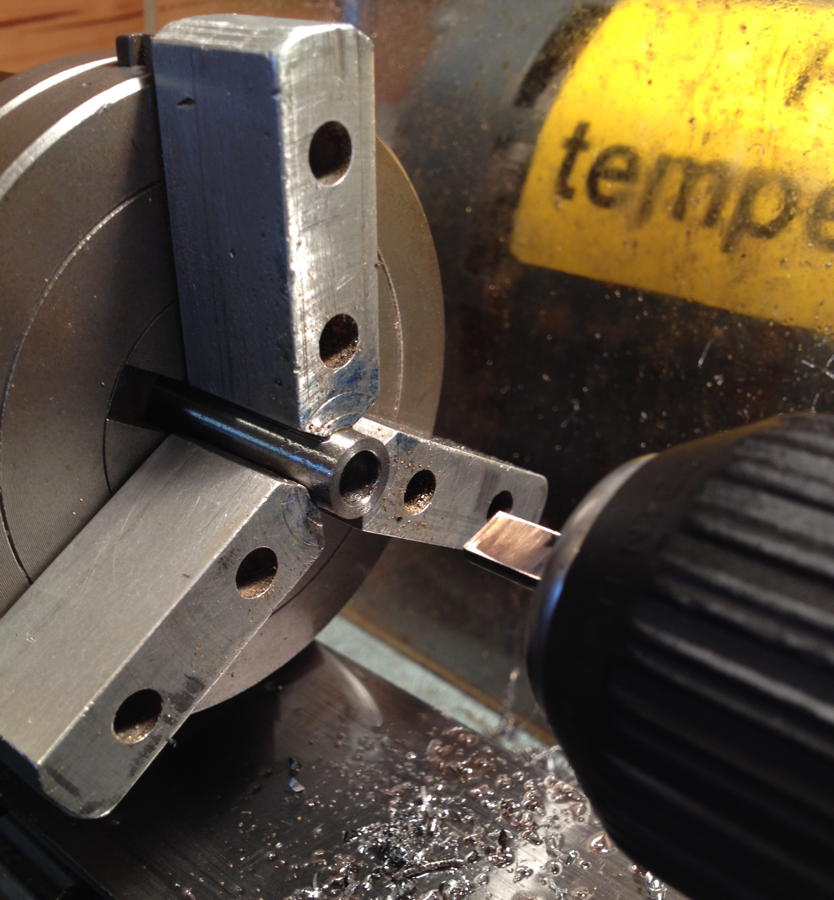
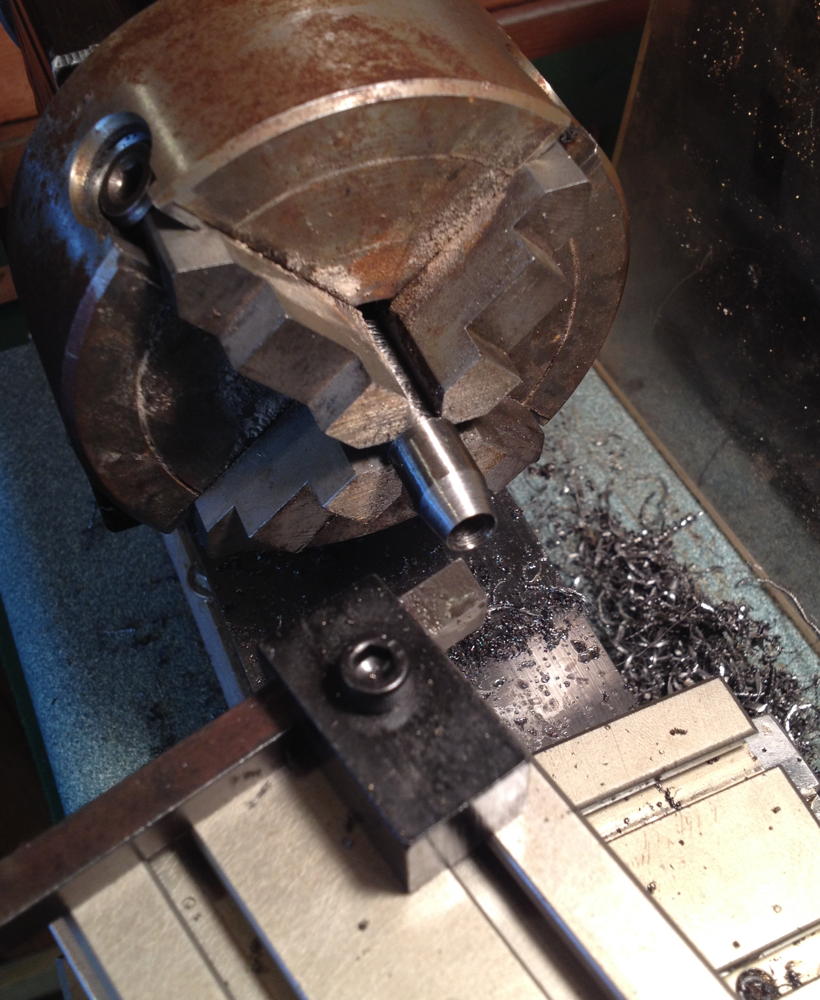
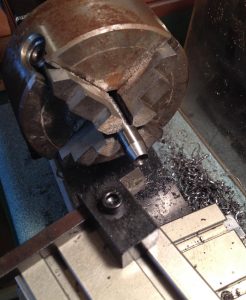
I needed to cleanly bore out the inside of the felt washer punch, so I ground a simple D bit from the 1/4″ shank of a broken HSS end mill:

washerpunches3

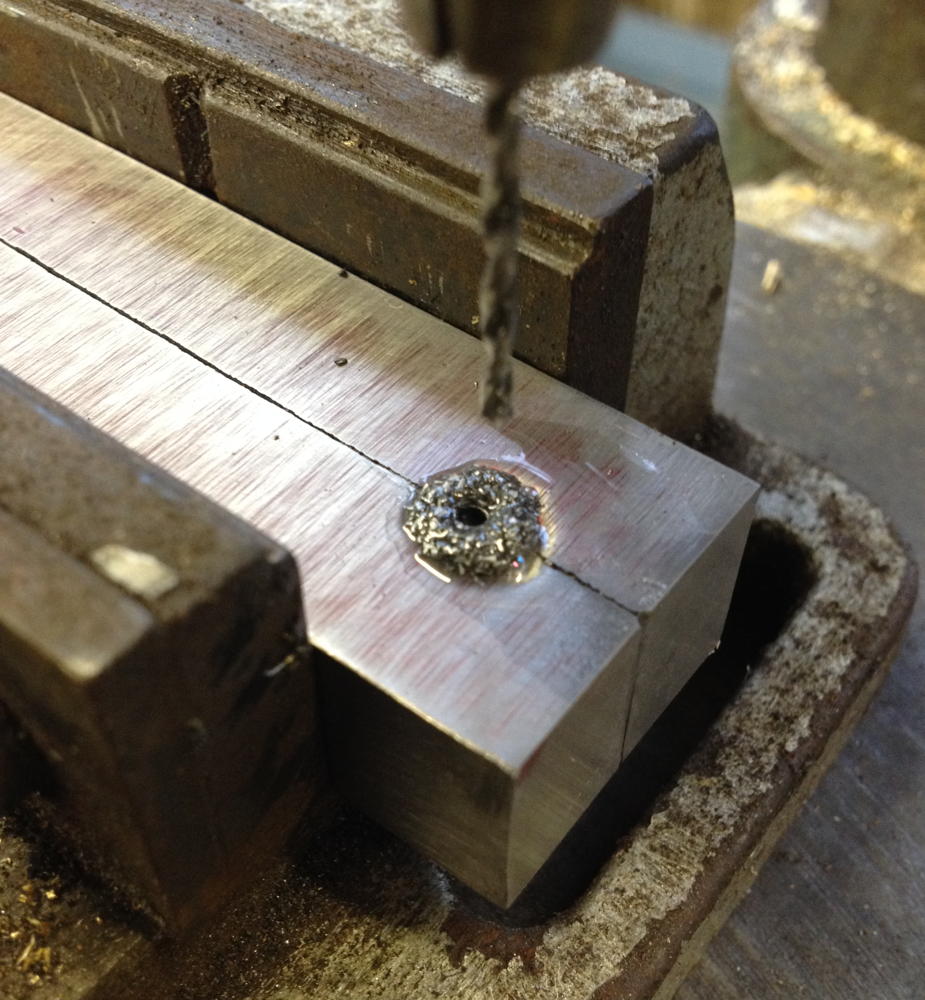
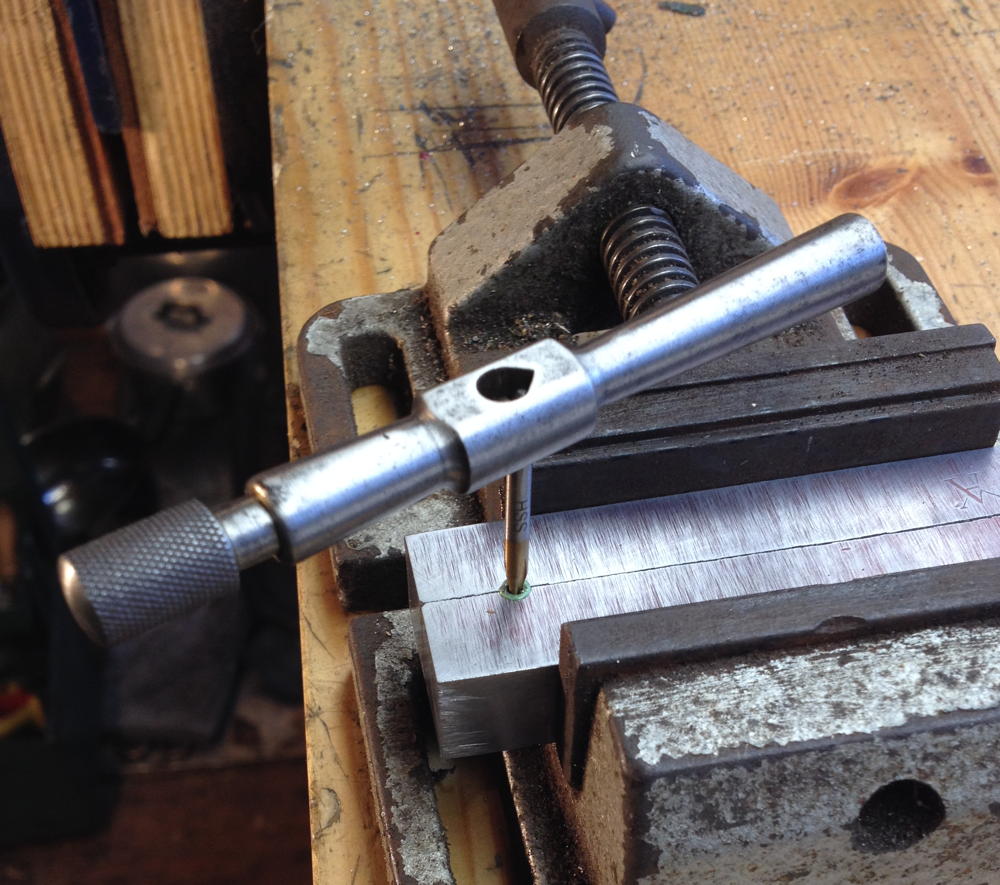
I drilled most of the waste out first, then used the D bit to open it out to 1/4″ and cut a flat bottom on the hole. At this stage I also drilled a 1.5mm hole for the centre pin:

washerpunches4

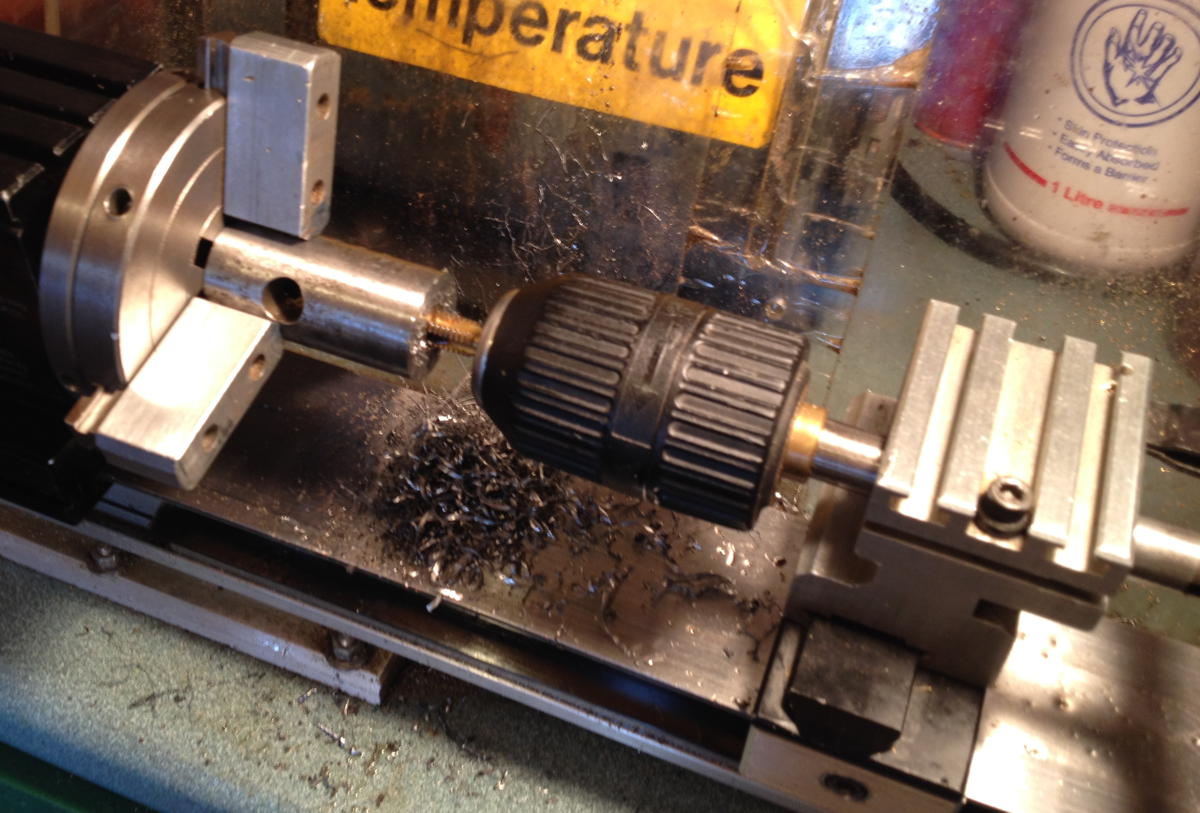
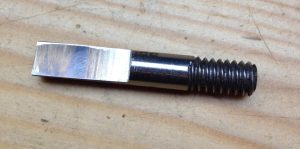
I used the compound slide to turn the tapered sections of the top punches, stopping while the edge was still fairly blunt. After hardening and tempering, I put them back in the lathe and used emery paper to clean up the taper and sharpen the edge.

washerpunches5

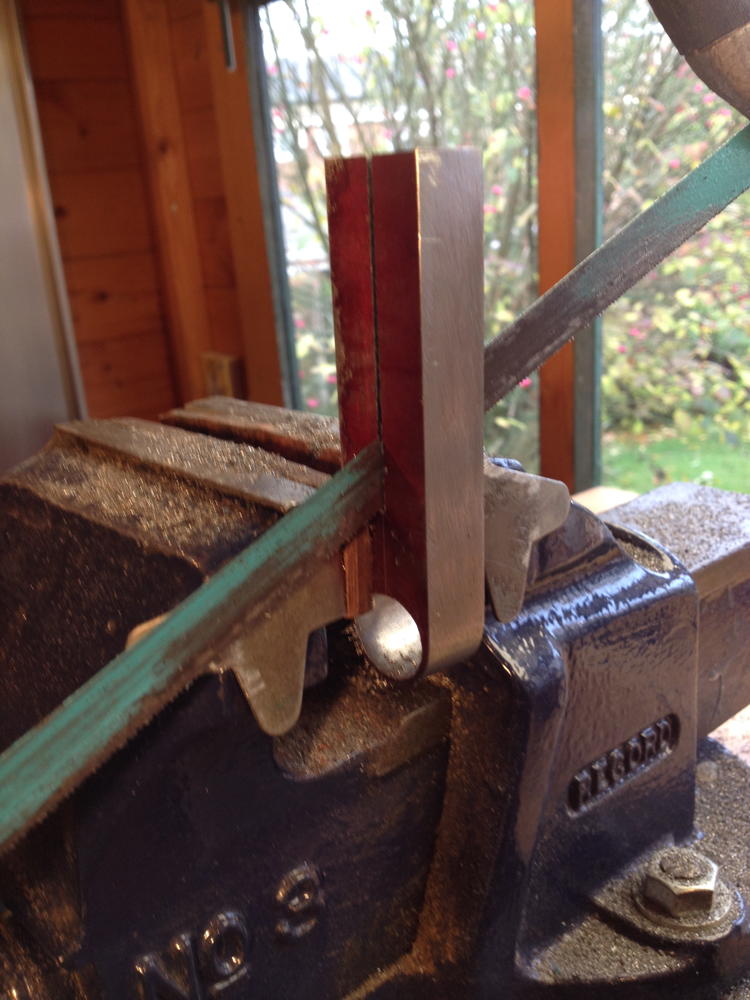
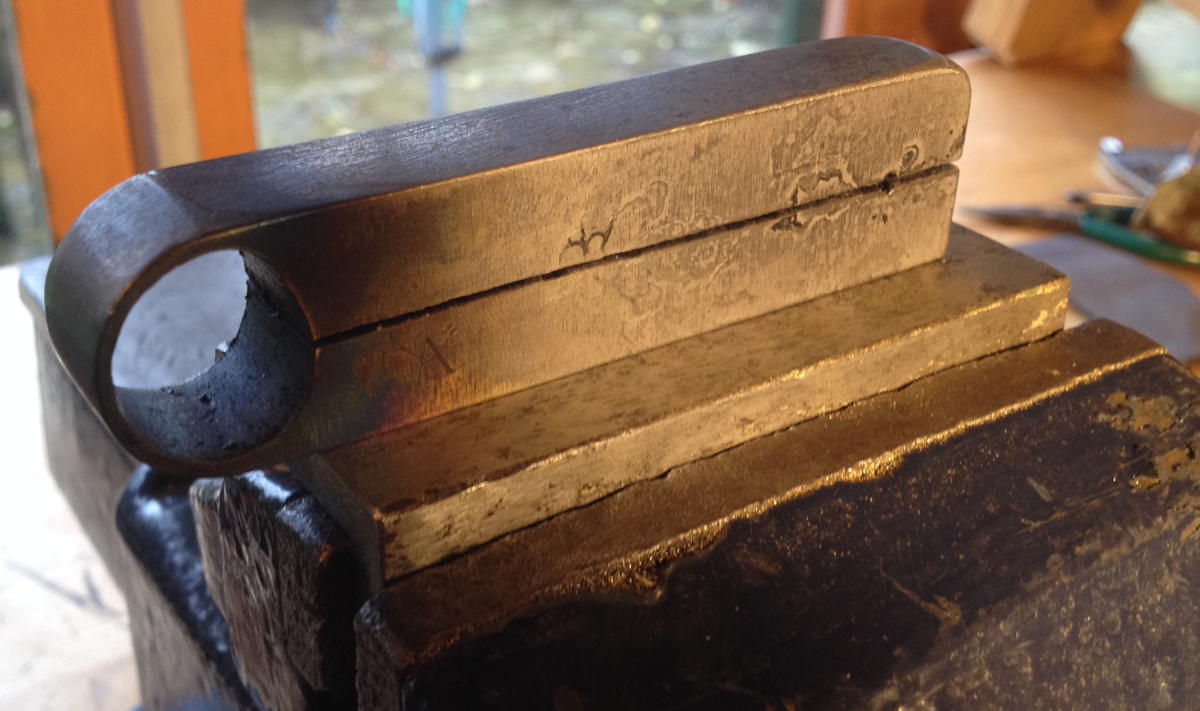
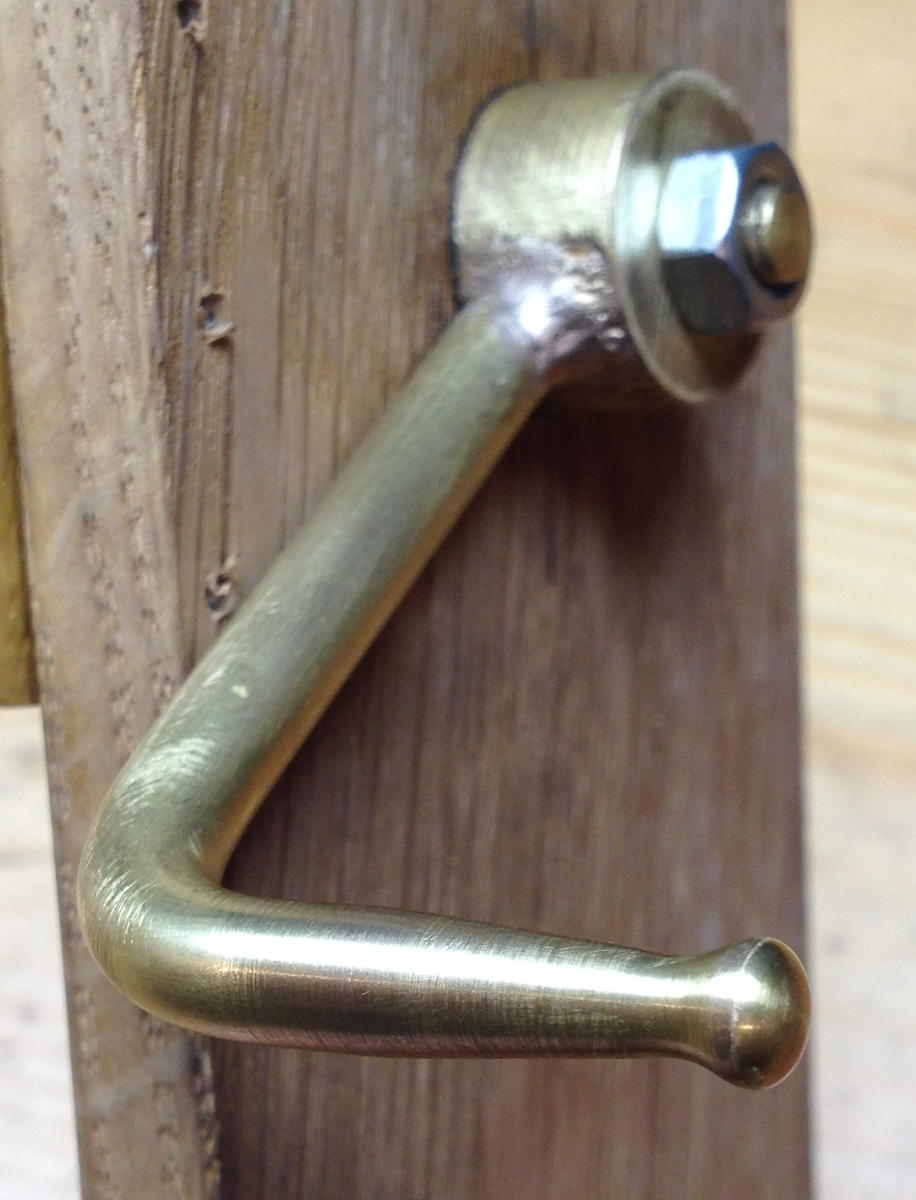
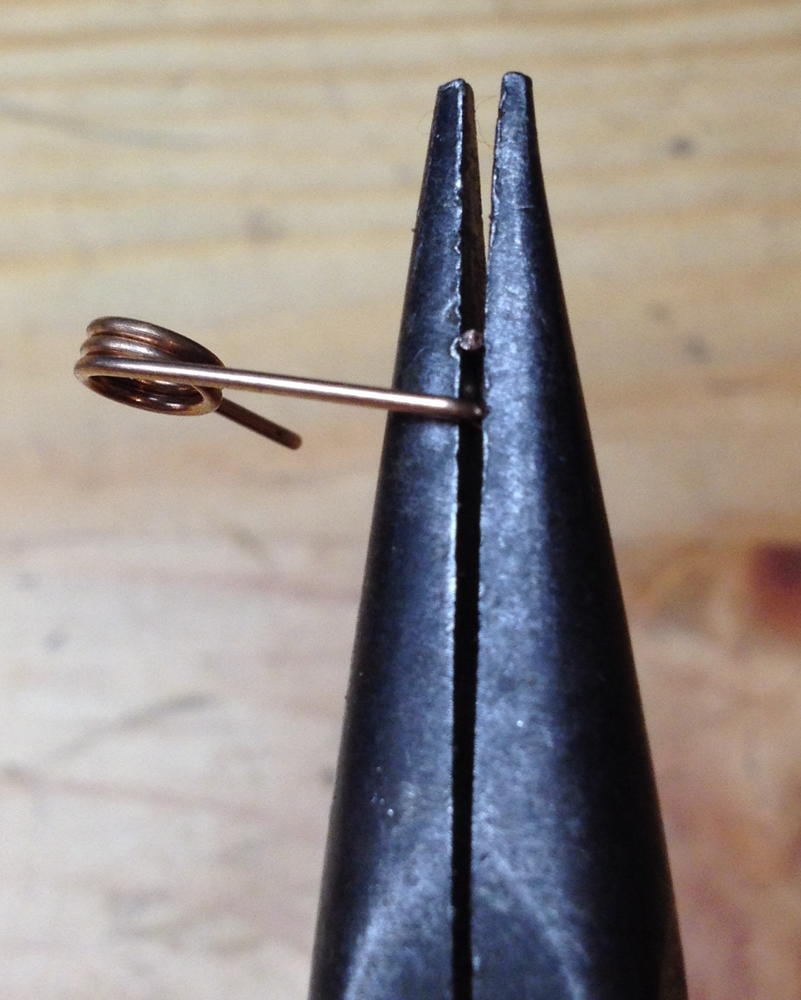
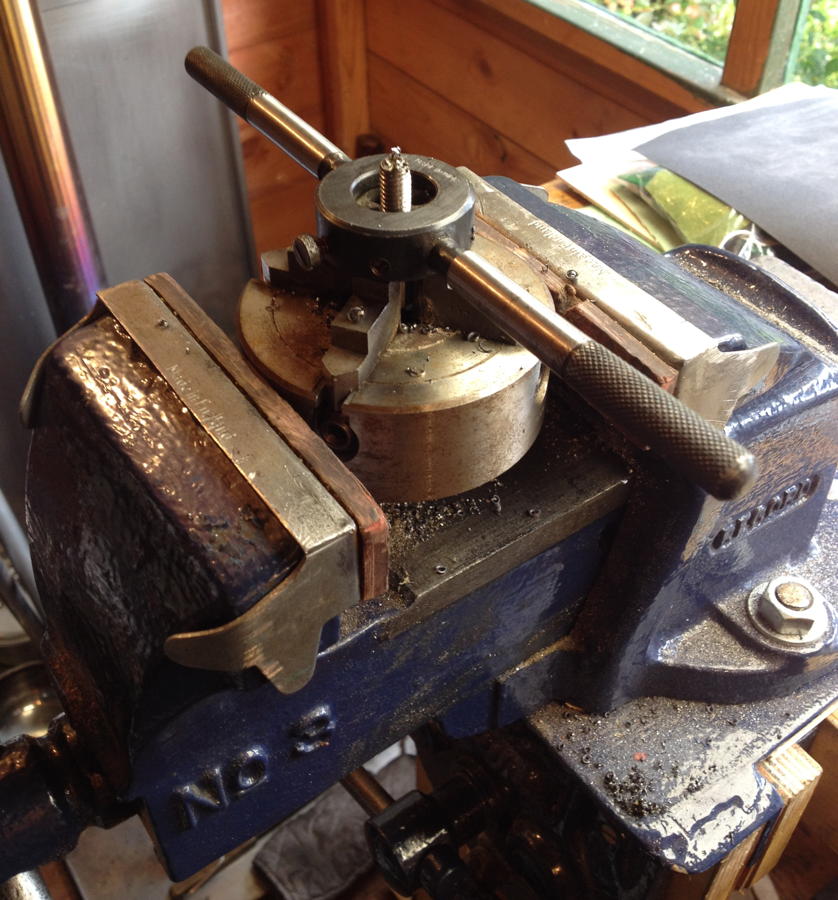
Threading the other end of a punch with an M8 die so it can screw into the press arbor:

washerpunches6

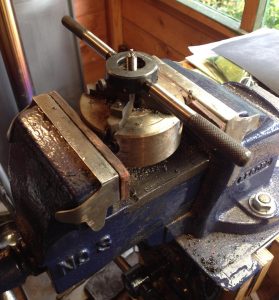
The anvil and felt washer punch installed in the press. I made the half-nuts that are used to lock the tool at the desired height by facing ordinary full nuts on an arbor.

washerpunches7

Here’s a quick video clip showing the felt washer punch in use:

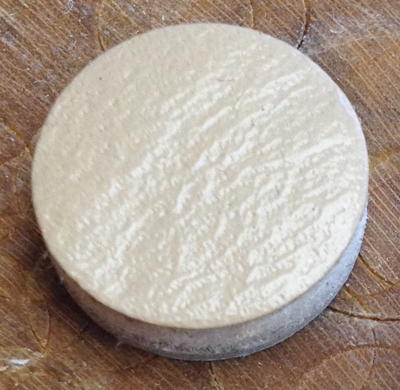
This shows where the washers go on the buttons, to stop them making a clacking noise when they bottom out:

washerpunches8

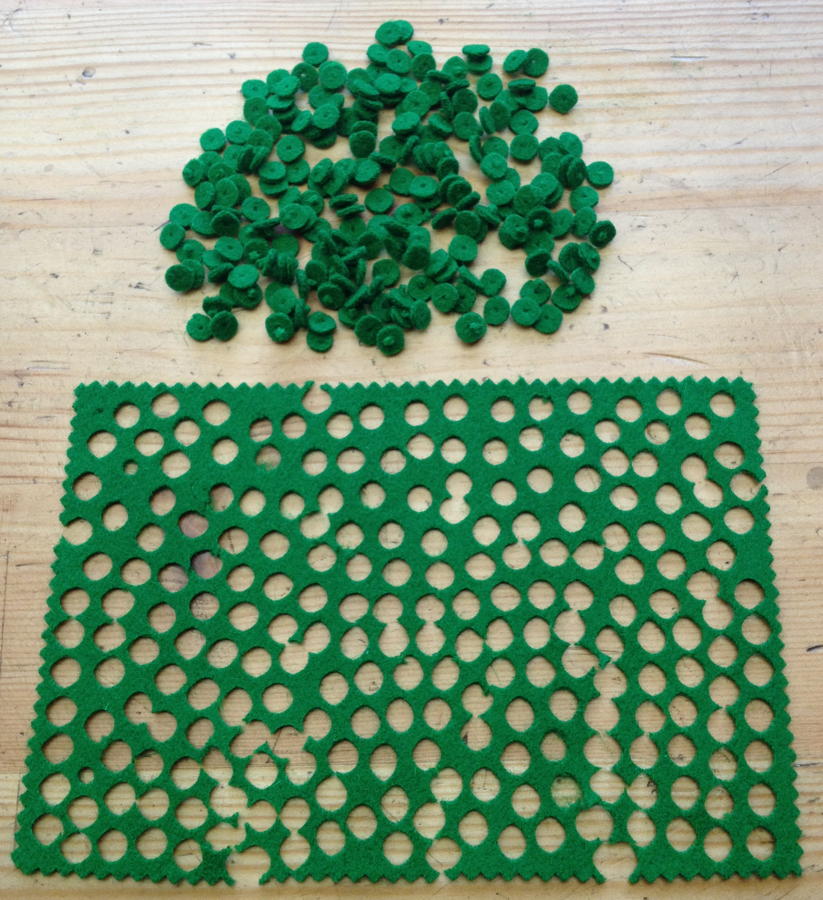
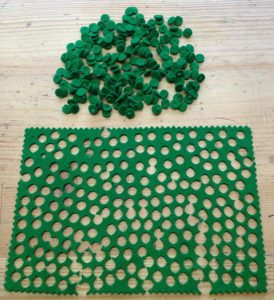
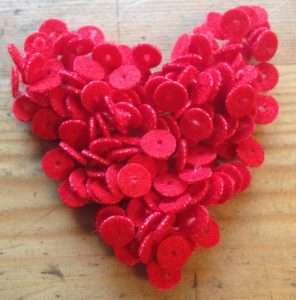
A nice stockpile of washers for my first few instruments. I made these from a sample piece of ‘baize’ woven wool cloth as used on gaming tables. I also have several other sample pieces in various different colours. I think the original washers may have been made from an actual fine, thin felt rather than a woven cloth, though – I need to get hold of some samples to experiment with.

washerpunches9

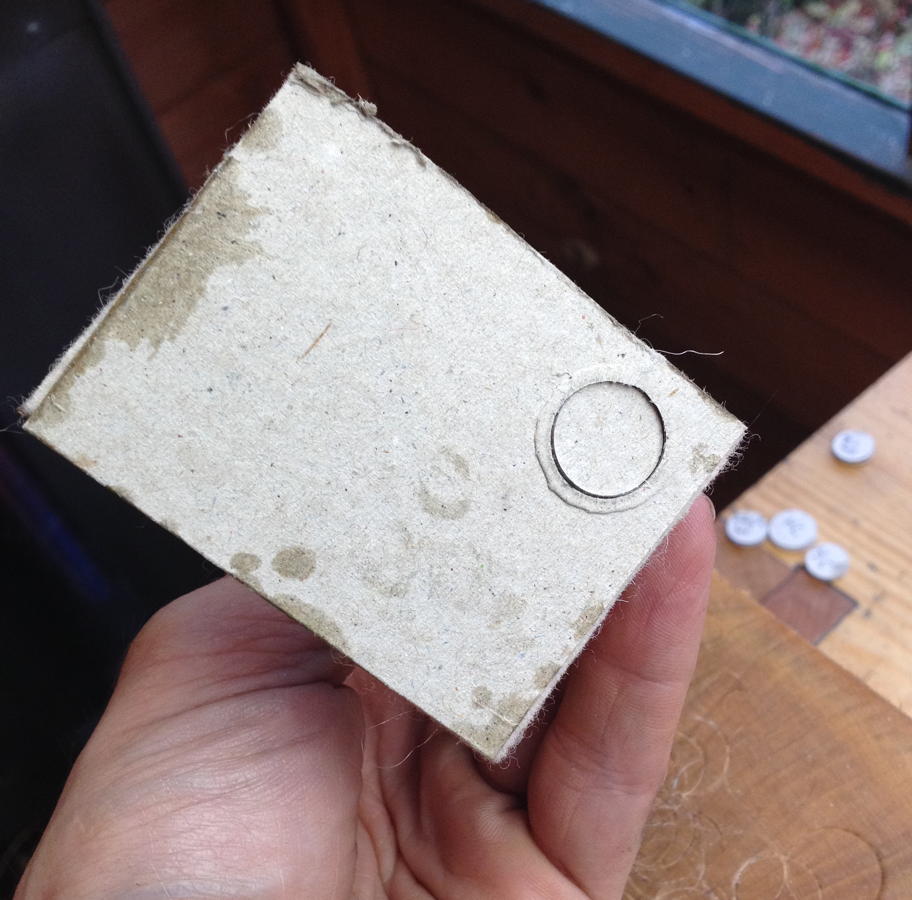
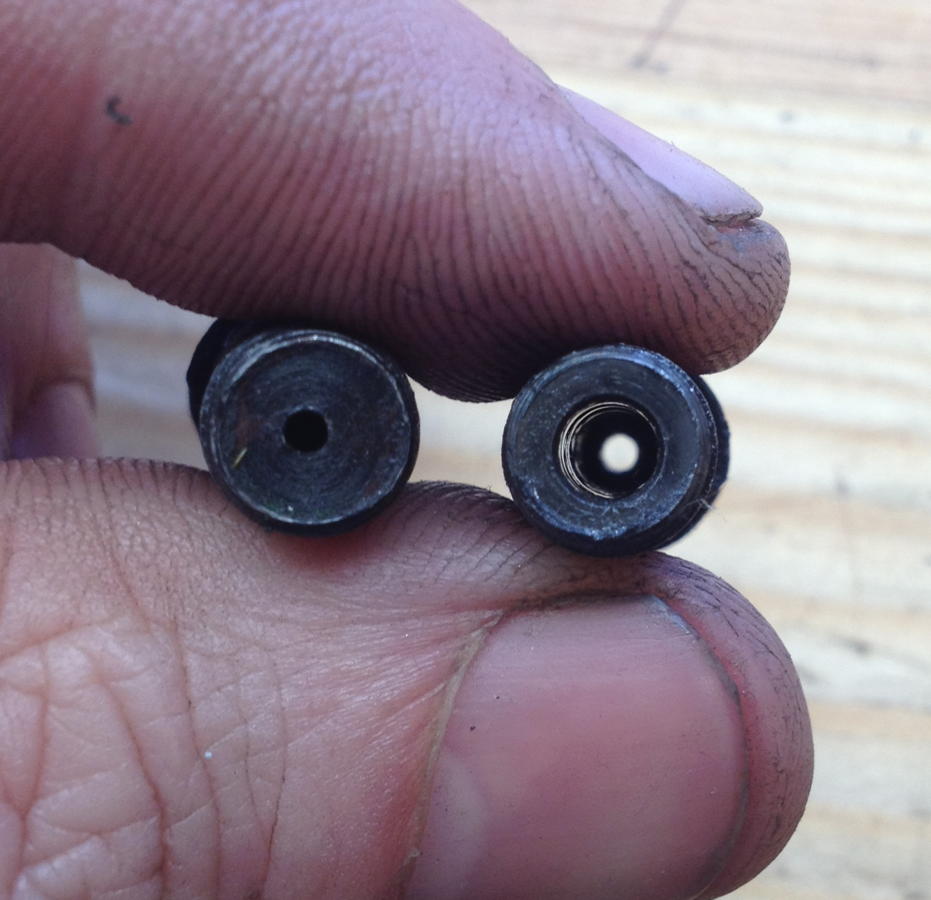
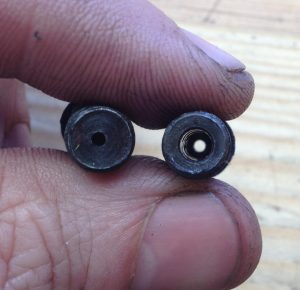
The first anvil I made had a design flaw: the hole through the middle for the ejection of waste material was drilled 1.5mm diameter all the way through the tool. In practise it quickly became constipated and I had to repeatedly remove it and drill out the waste. The one on the right is a second, improved version that is relieved to a larger diameter until a couple of mm from the top surface:

washerpunches10

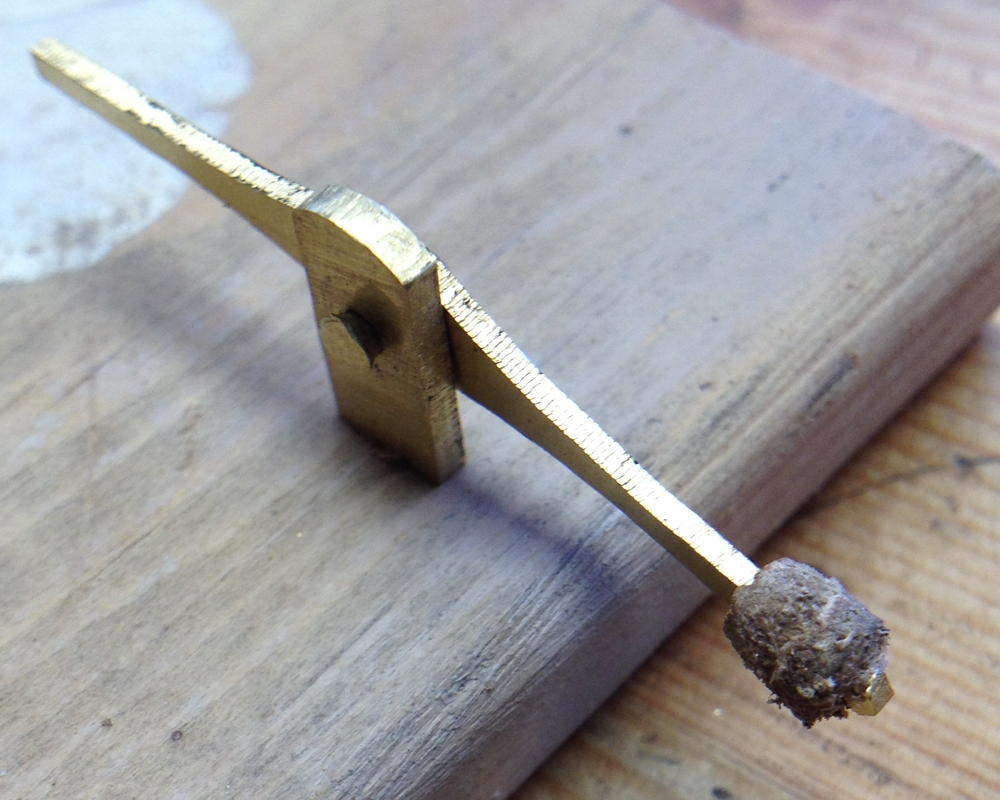
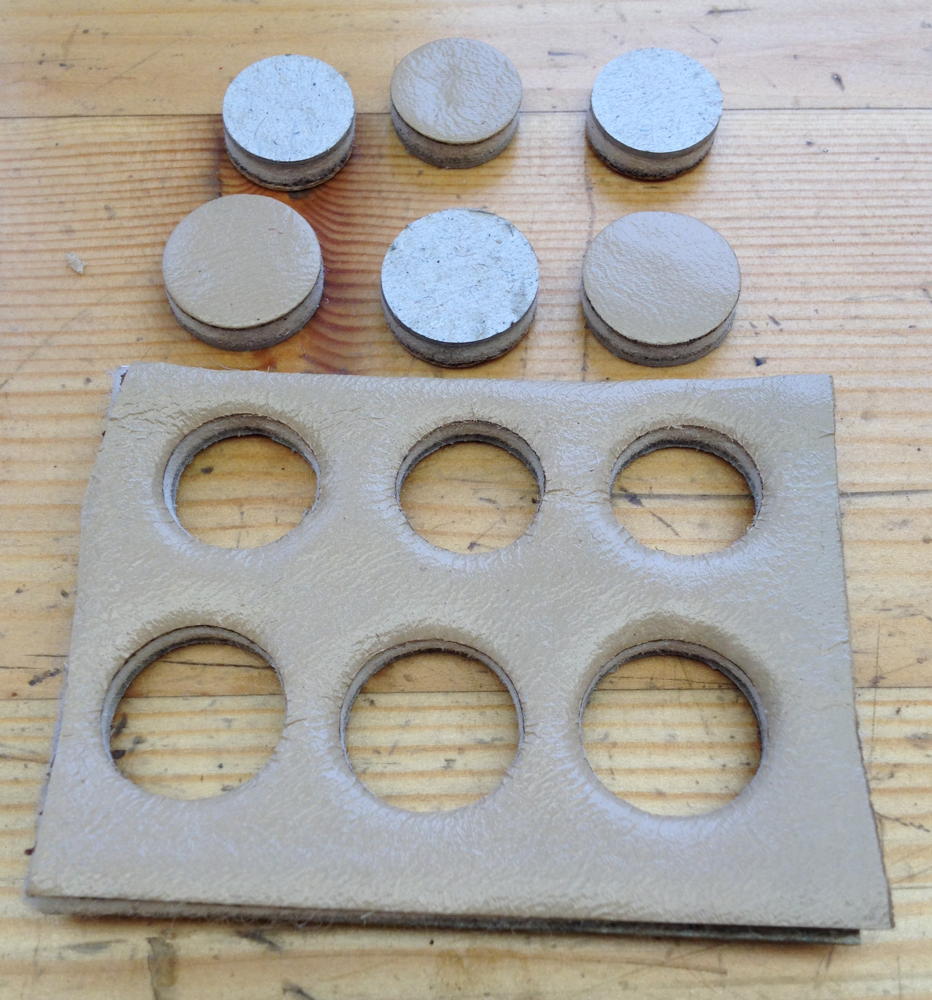
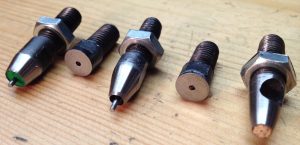
Here are all the punches and anvils I made. The first one is the felt washer punch. Inside it is a couple of layers of spongy foam and then a couple of felt washers; with careful adjustment of the pressing force this seems to be just right to prevent the washers getting stuck inside. The second one I had optimistically hoped might work the same way, but the grommets just got stuck inside it and wouldn’t come out, so I instead decided to use it to punch out the centre hole and mark the location of the outside of the grommet, then switch to the third punch which has a slot milled in the side to allow the grommets to be pushed through and removed from the top.

washerpunches11

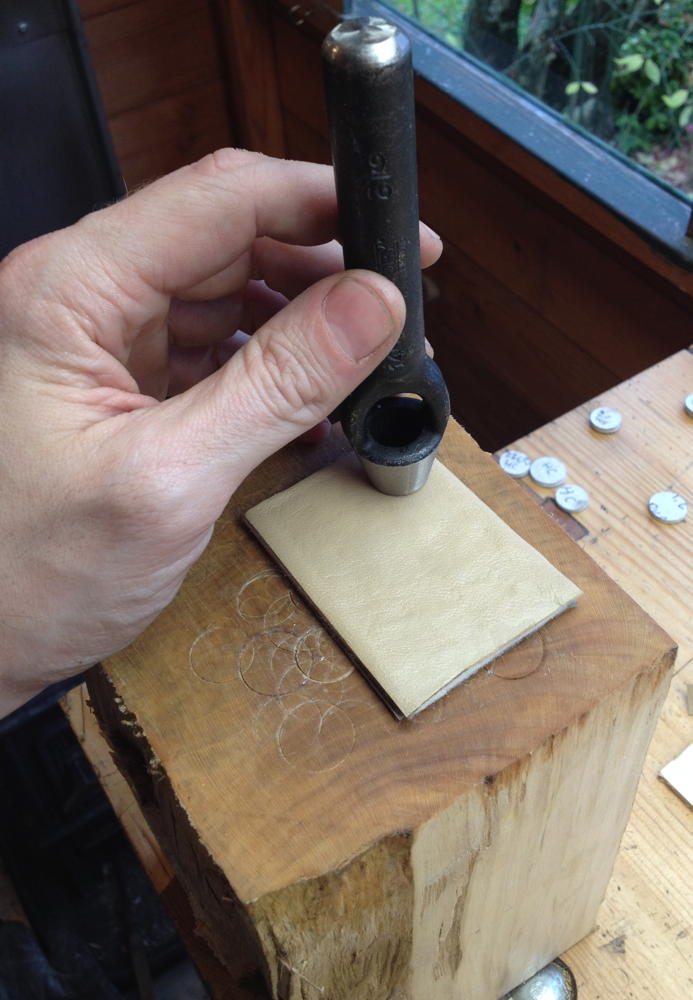
Here is a video clip showing the leather grommet punches in use. Note that in the video I was using 2.5mm veg tan cowskin, however I subsequently found that I got much better results from 4mm leather instead (the 2.5mm leather compressed down to 1.5mm in the punching process and the 4mm to about 3.2mm). I also removed the stripper plate seen in the video because I found it was getting in the way and causing more trouble than it was worth:

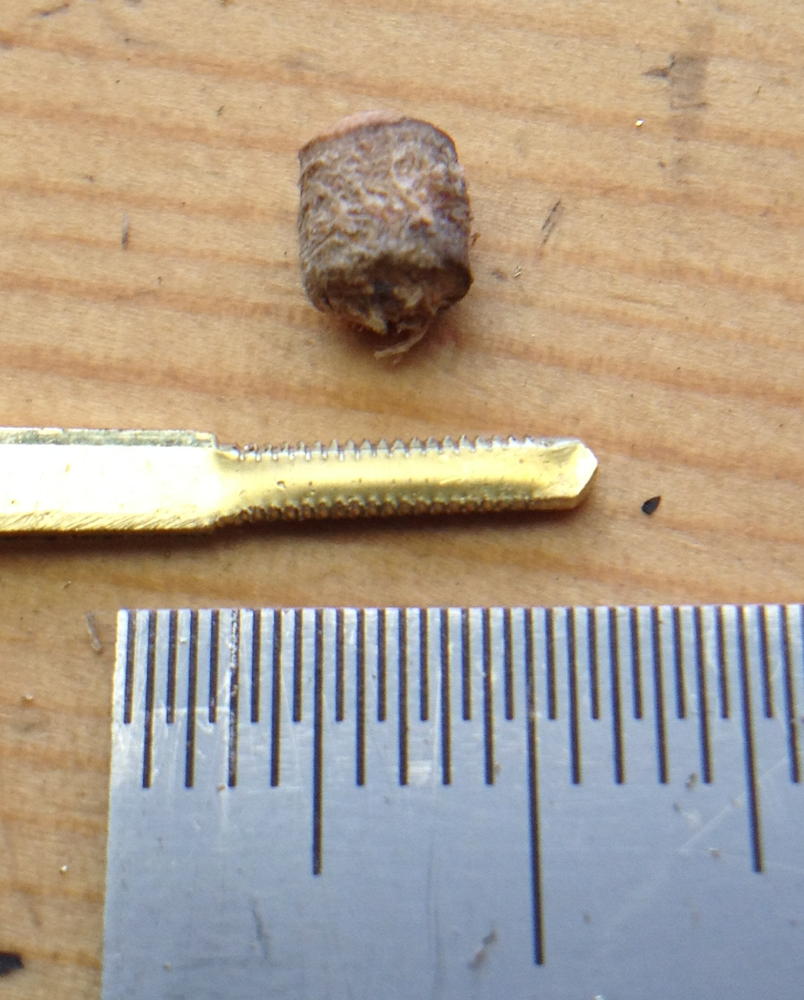
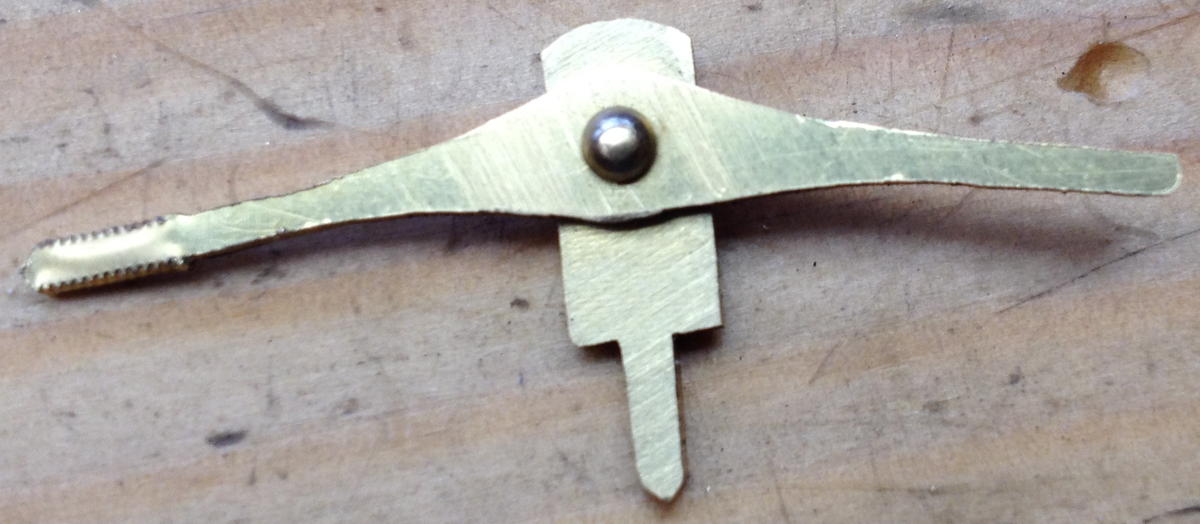
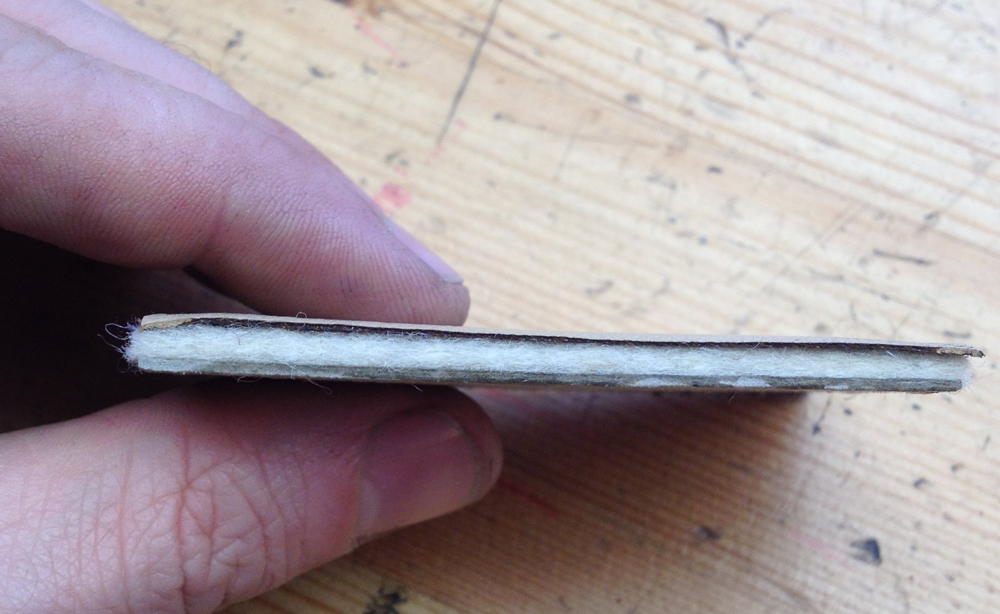
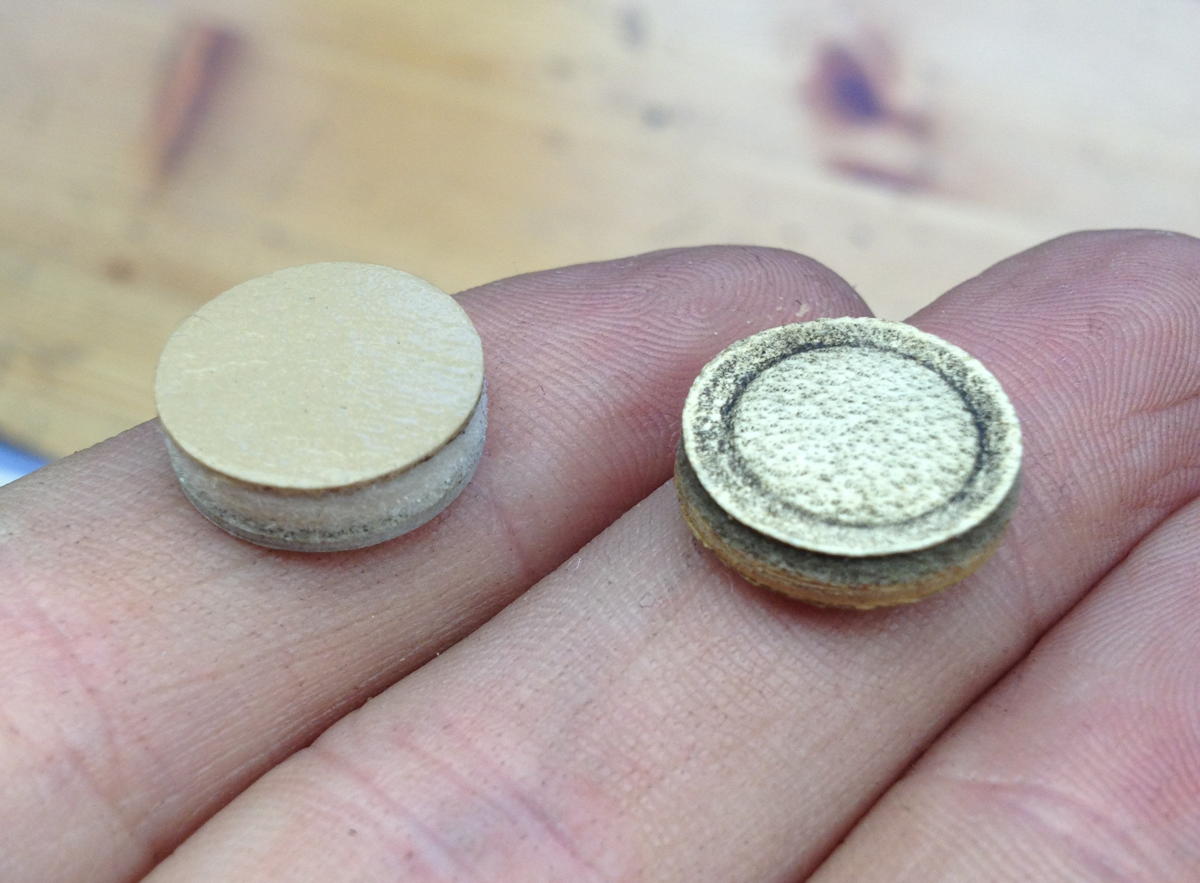
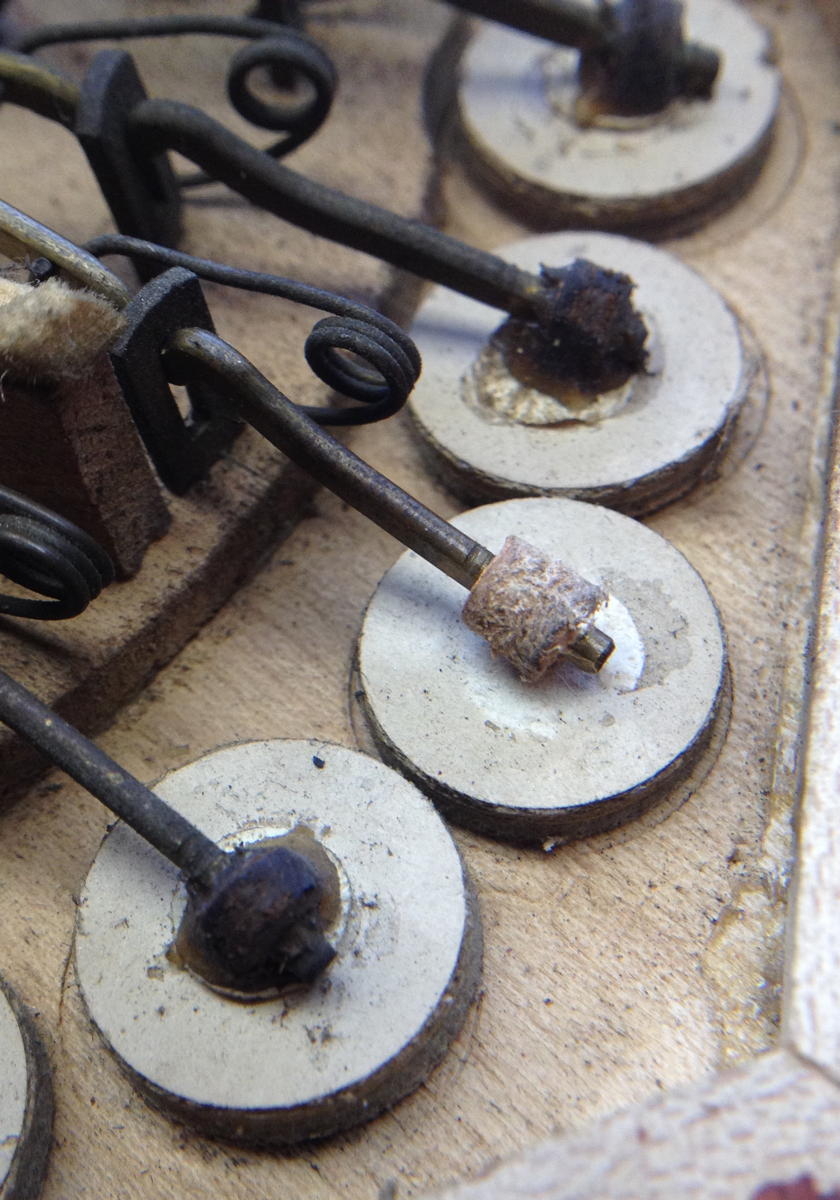
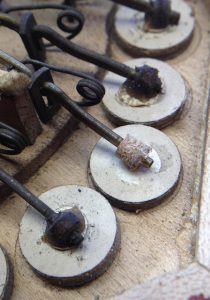
This shows where the leather grommets go inside the instrument. They screw onto the end of the lever arm (which is lightly threaded), then glue to the samper disc on top of the pad:

washerpunches12

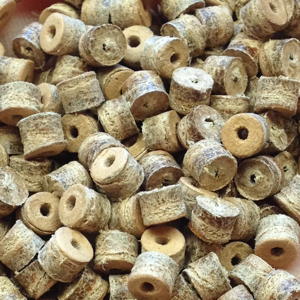
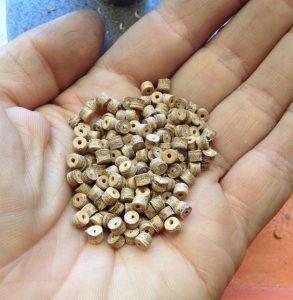
A couple of hundred leather grommets for my first few instruments:

washerpunches13

Although these are fairly trivial parts, it certainly feels like progress to be stockpiling significant quantities of production-quality parts that I have made using my own tooling.

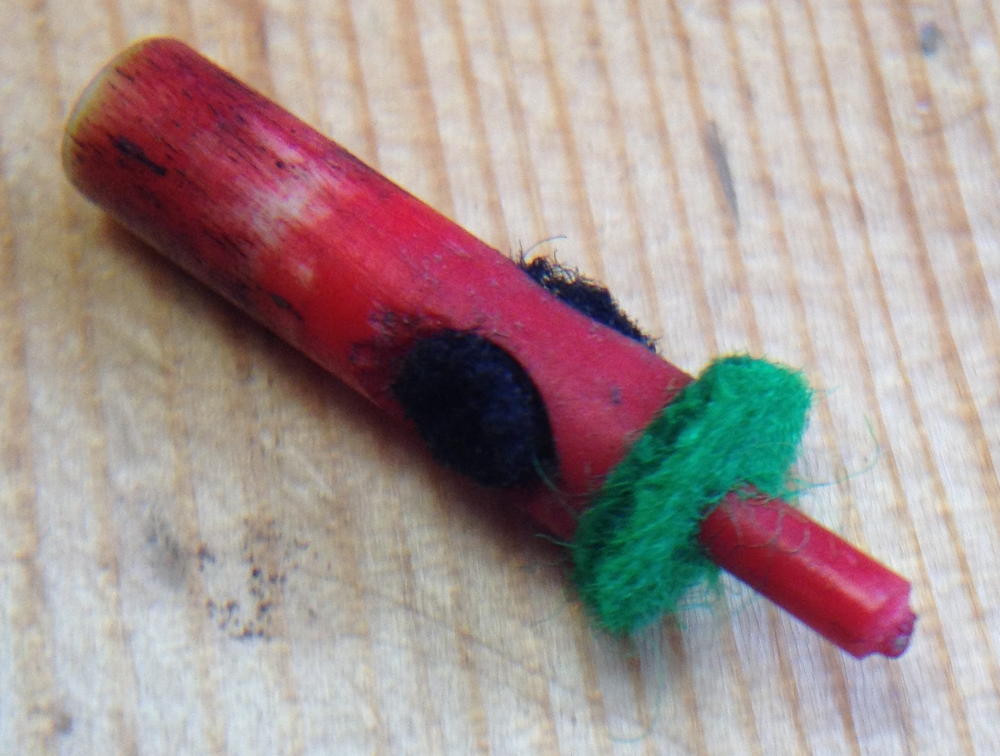
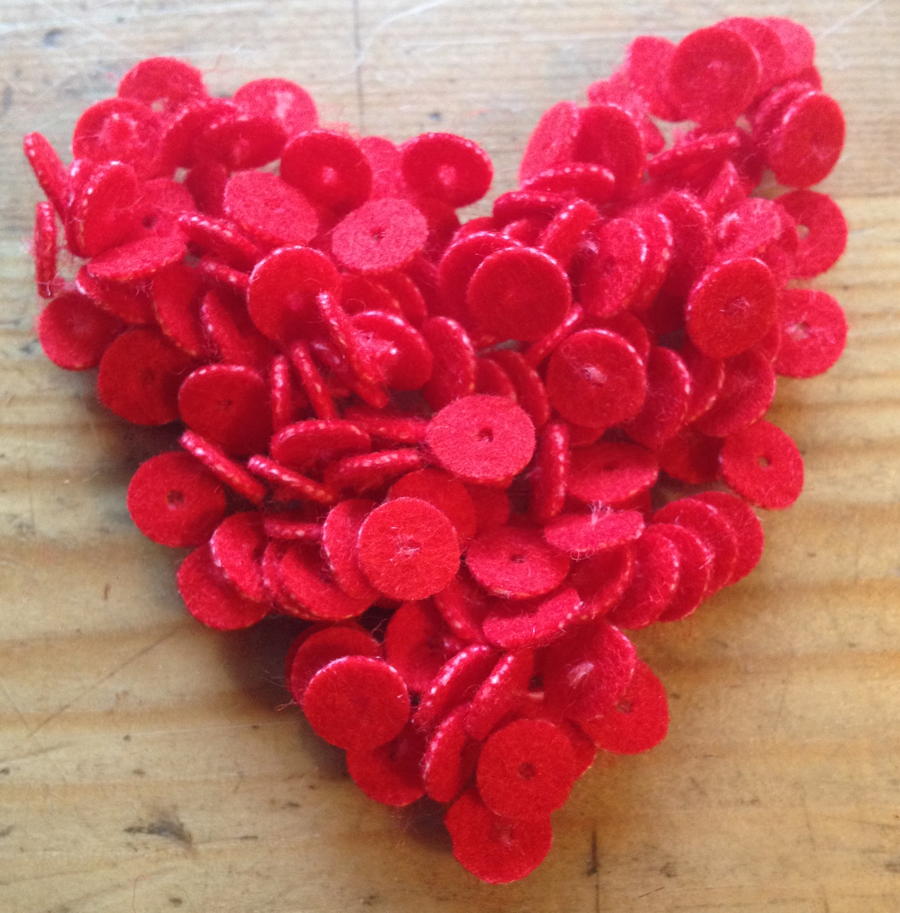
UPDATE: I’ve since got hold of some 0.8mm piano bushing cloth and punched more washers from it:

red_washers

The piano bushing cloth is thinner, finer, and more tightly woven than the baize. Unfortunately I’ve only been able to find it in bright red with a white core. I may experiment with dyeing some of it black.

Punching Washers and Grommets Read More »