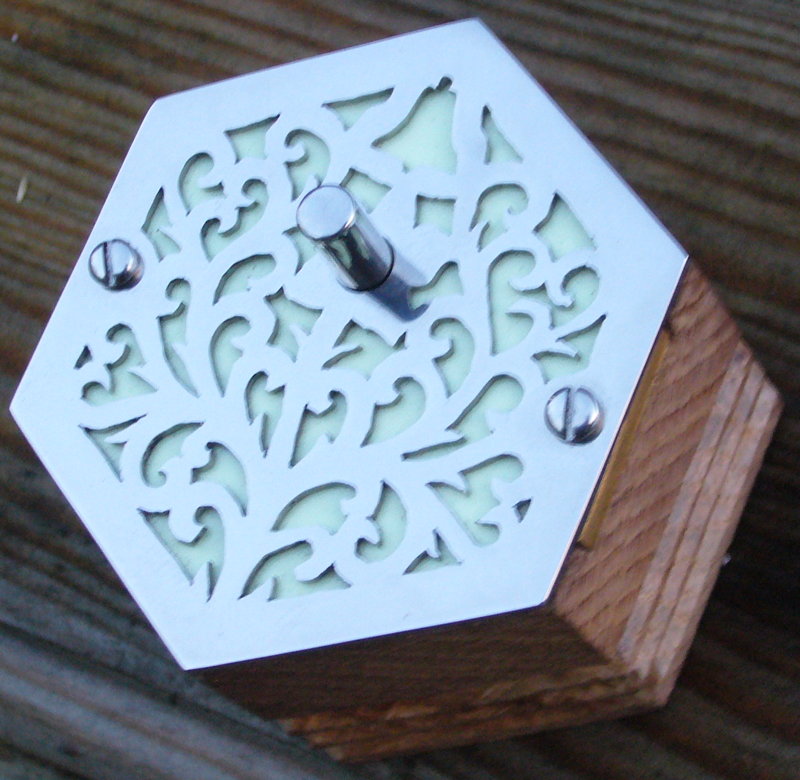
Bellpush Spring
Not much progress on the bellpush over the past week because most of my attention has been focussed on another non-concertina-related project. Yesterday was a day off though, so in the evening I managed to stop thinking about the other project for long enough to tackle the problem of the spring that provides the button resistance.
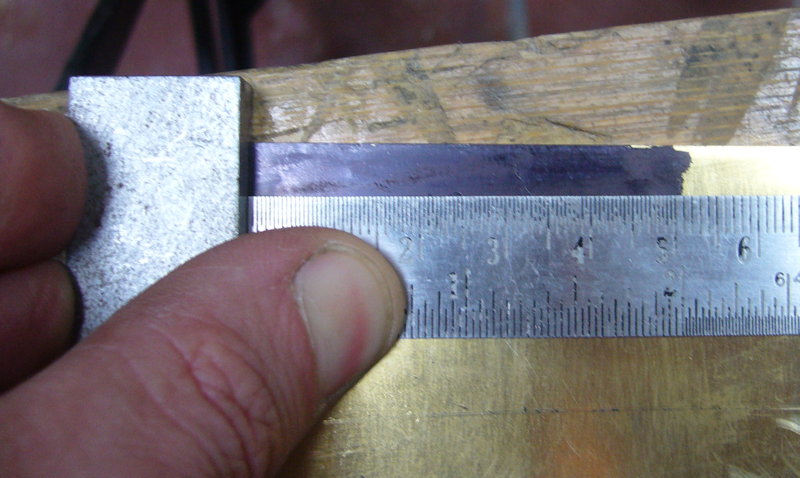
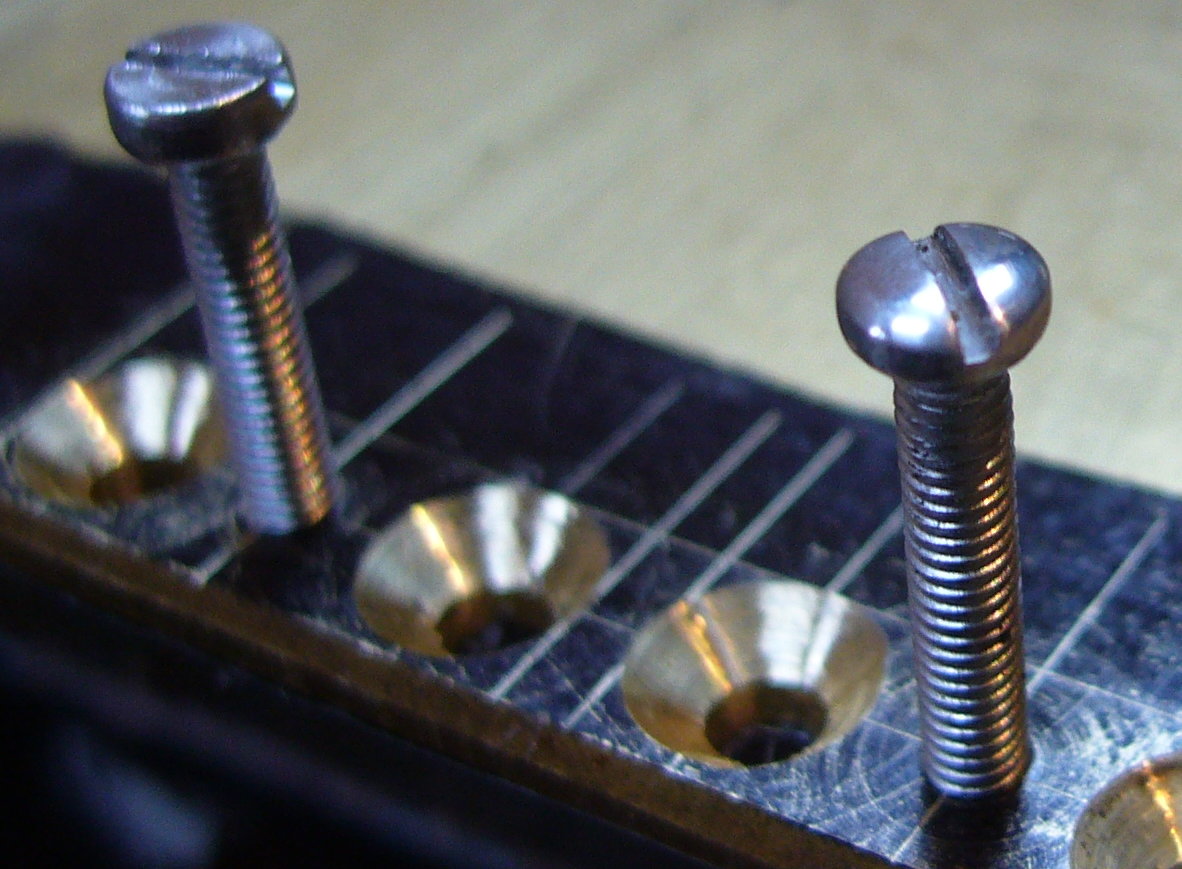
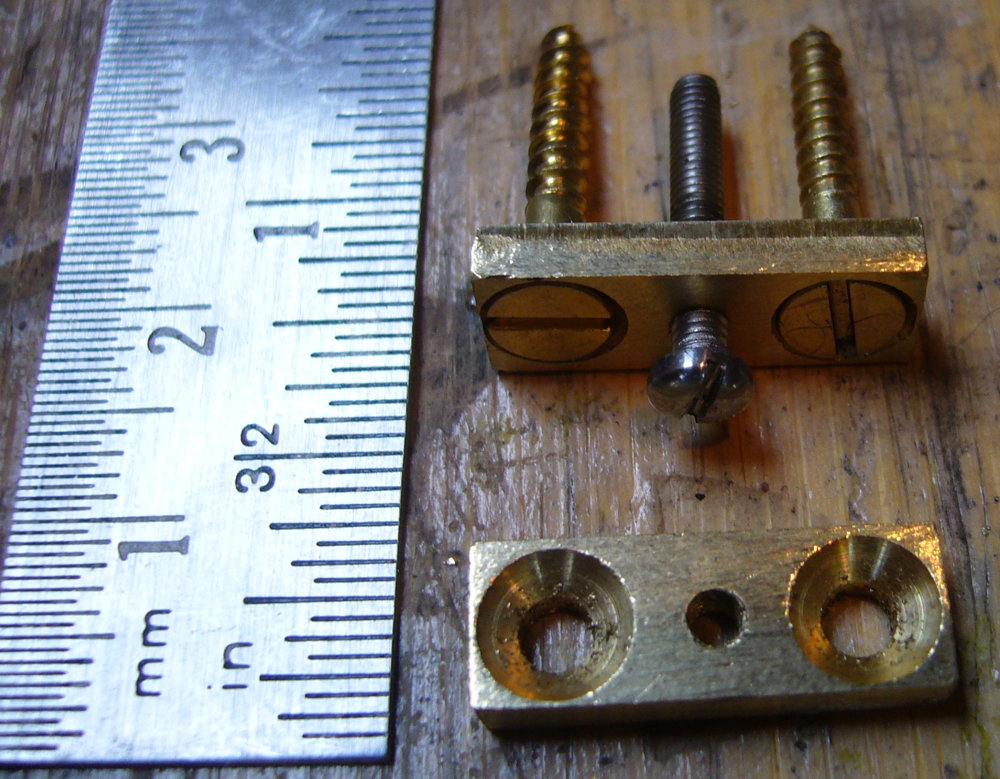
My original plan had been to use a single strip of brass as both the button spring and one of the switch conductors. This turned out to be impractical though because the button has a vertical travel of 5mm and there isn’t enough room inside the box (once you’ve allowed room for mounting screws and electrical screw terminals and things) for a really long spring strip. A short strip probably wouldn’t be able to flex by 5mm without permanently deforming and even if it could, it would likely result in fatigue failure before long. I experimented with folding a brass strip back and forth in a zig zag to increase its effective length, but it looked like it would take up far too much space and probably still wouldn’t work very well.
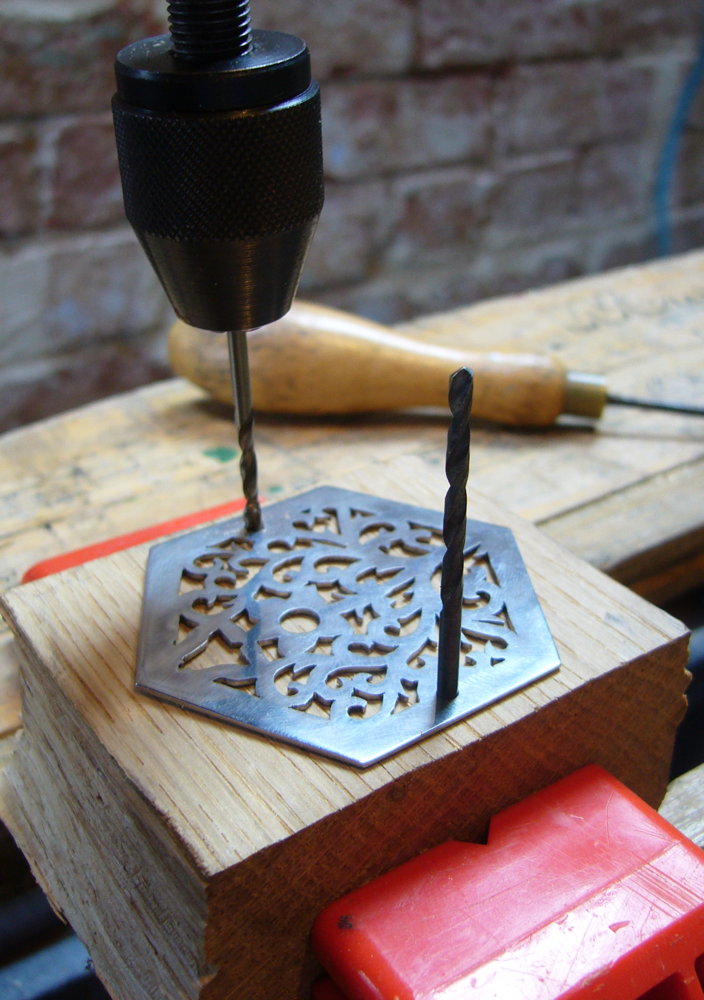
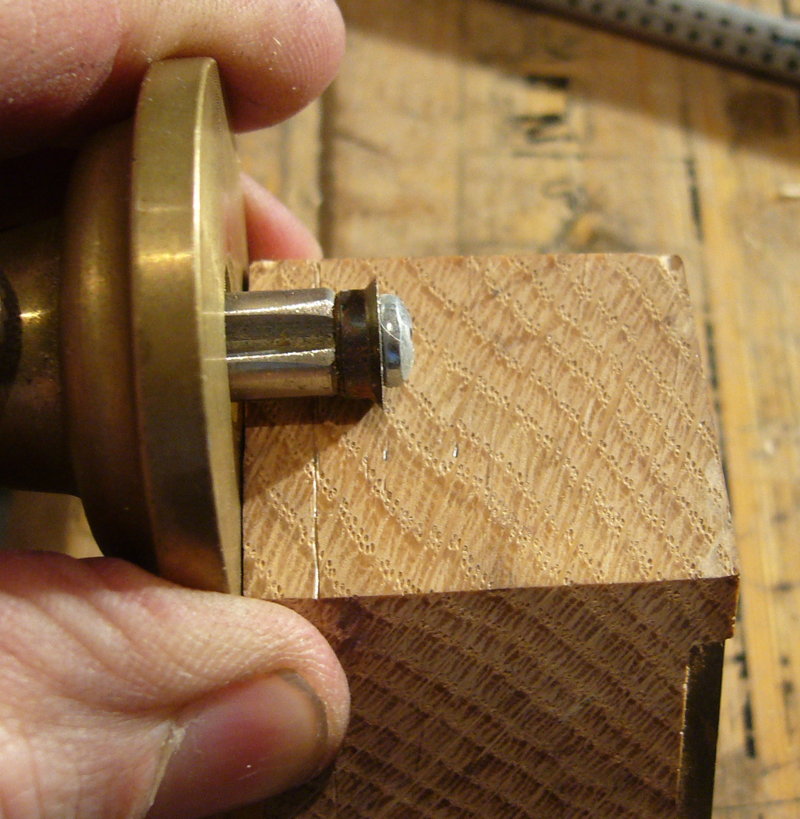
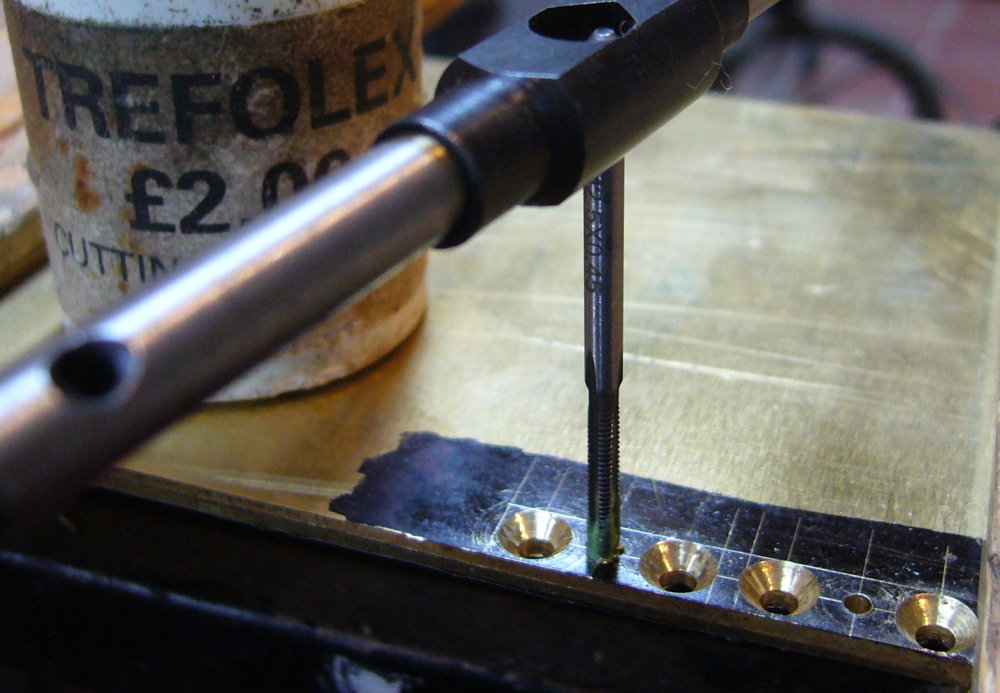
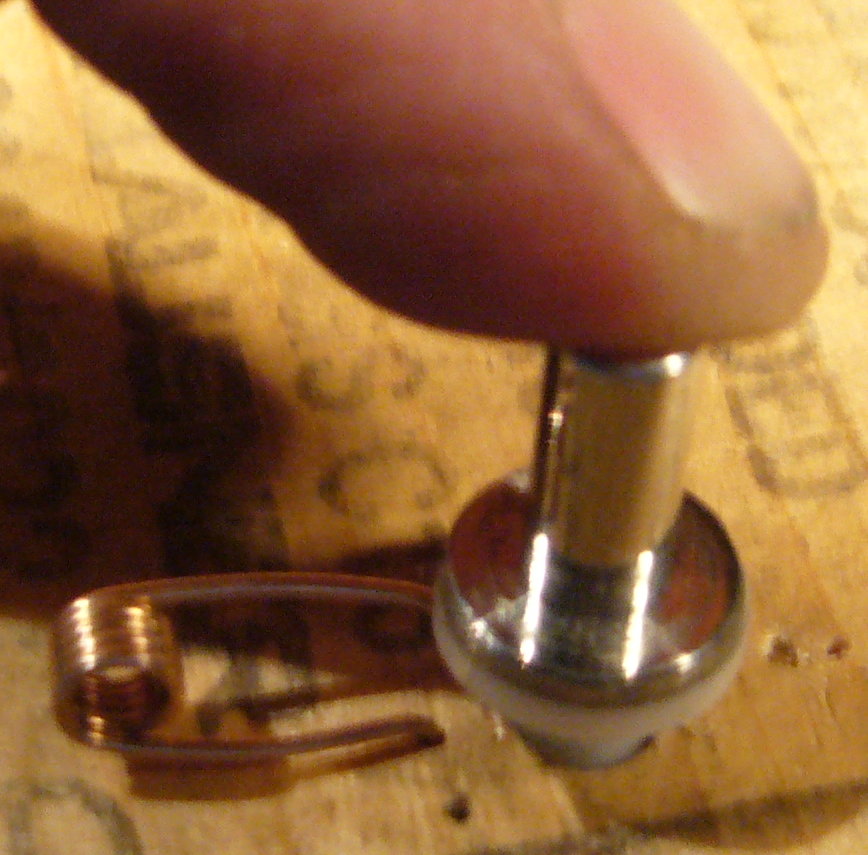
So the solution I eventually came up with was to separate the two functions. Make a concertina-style spring from coiled phosphor bronze wire with 5mm travel, and a separate brass strip switch that only has to move by 1mm or less at the bottom of the button travel. I haven’t yet made the switch but I have made the spring. It took me four attempts before I developed a shape I was happy with, using a hole in a block of scrap wood as a test rig. It has more turns than a standard concertina spring because of the large amount of movement relative to its length.
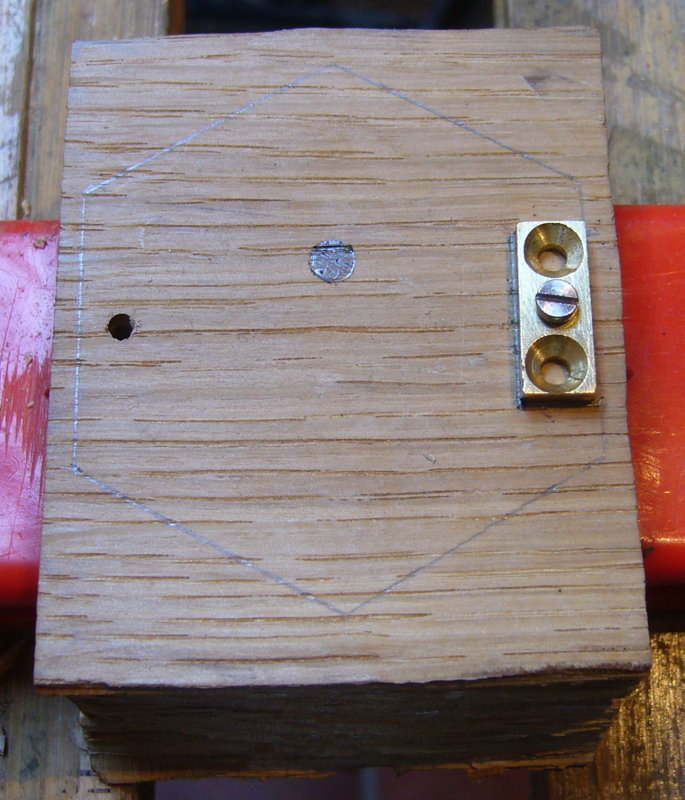
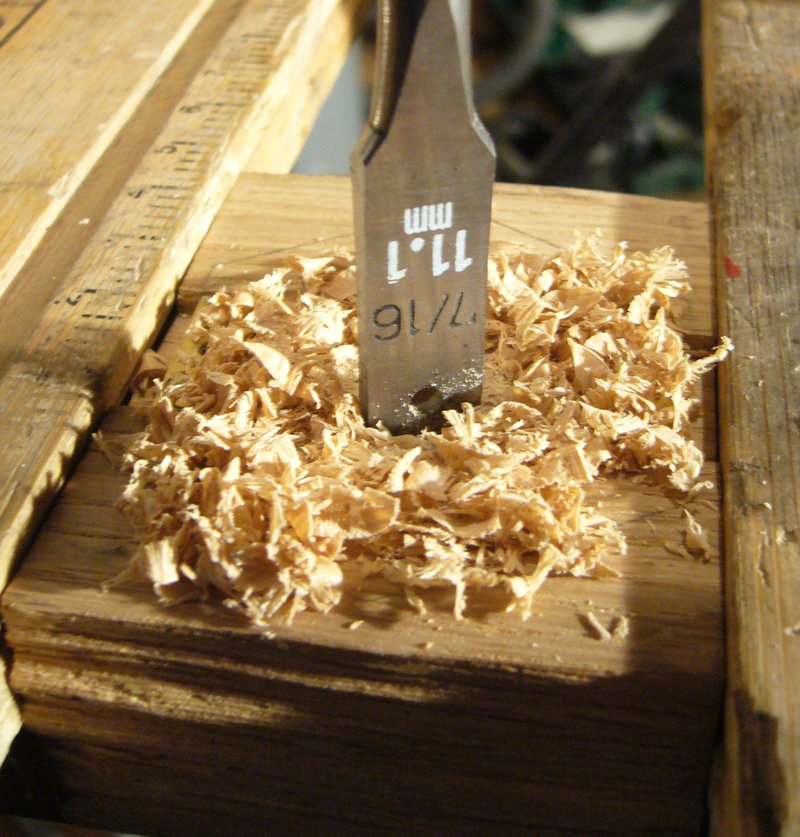
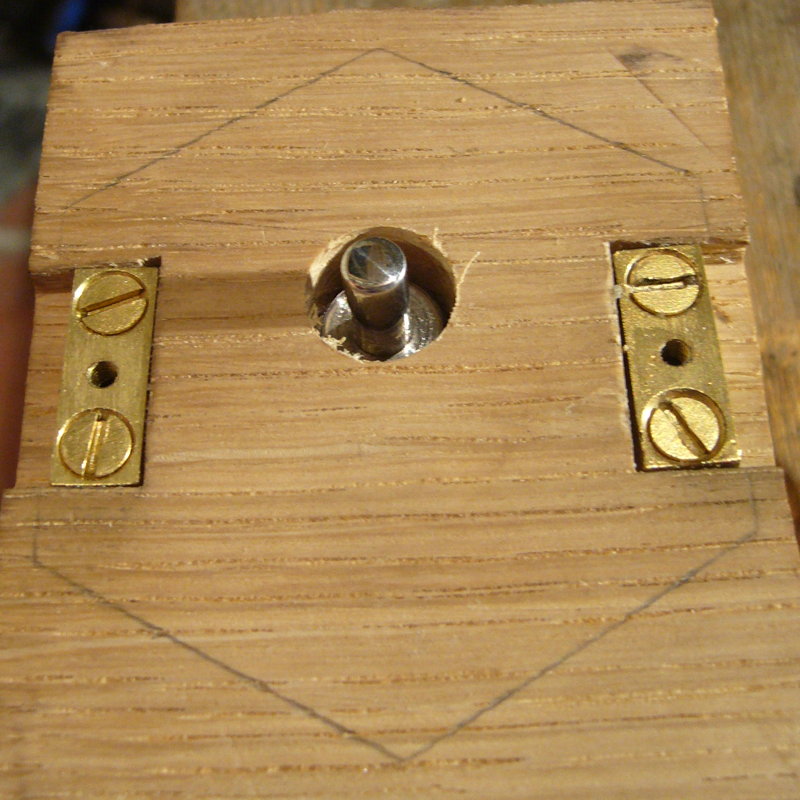
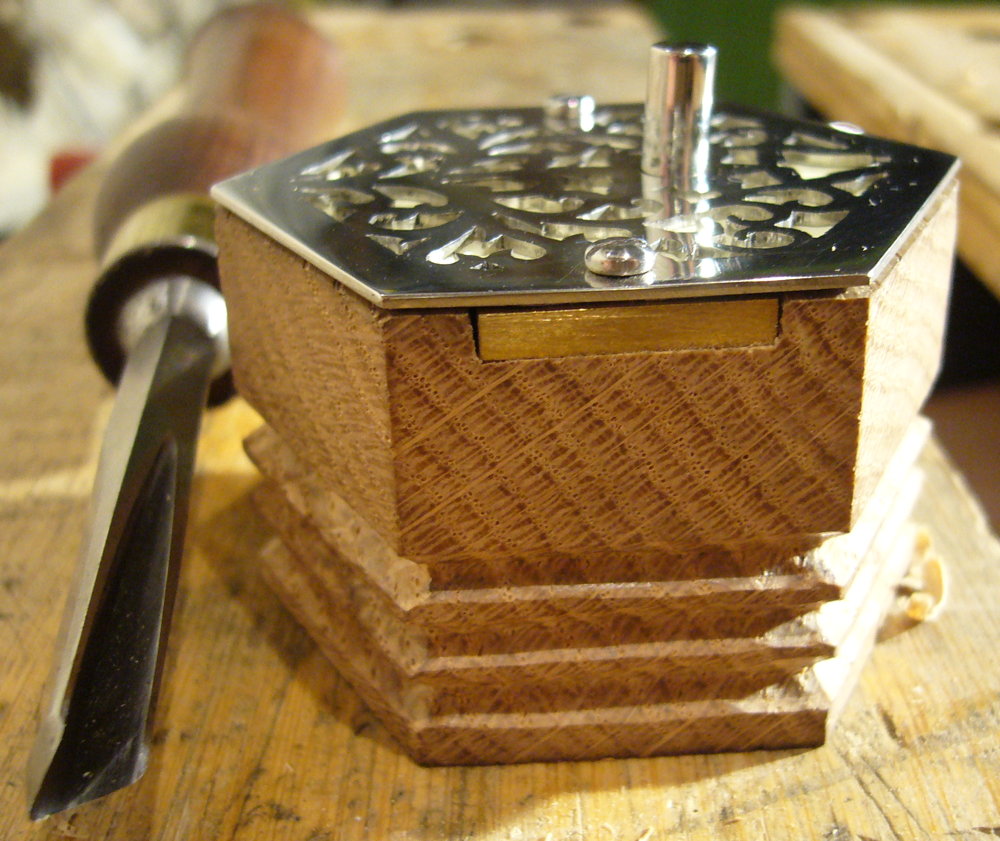
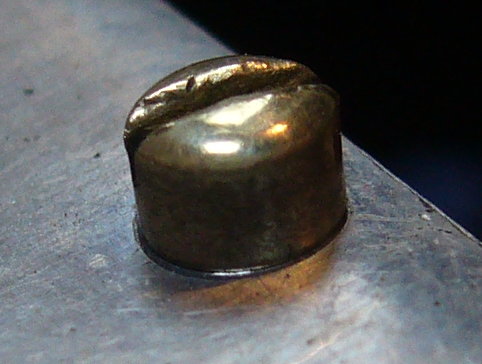
Here it is installed in a recess chiselled into the back box. It’s in a slightly weird location because of where I intend to put the mounting screws and switch contacts:
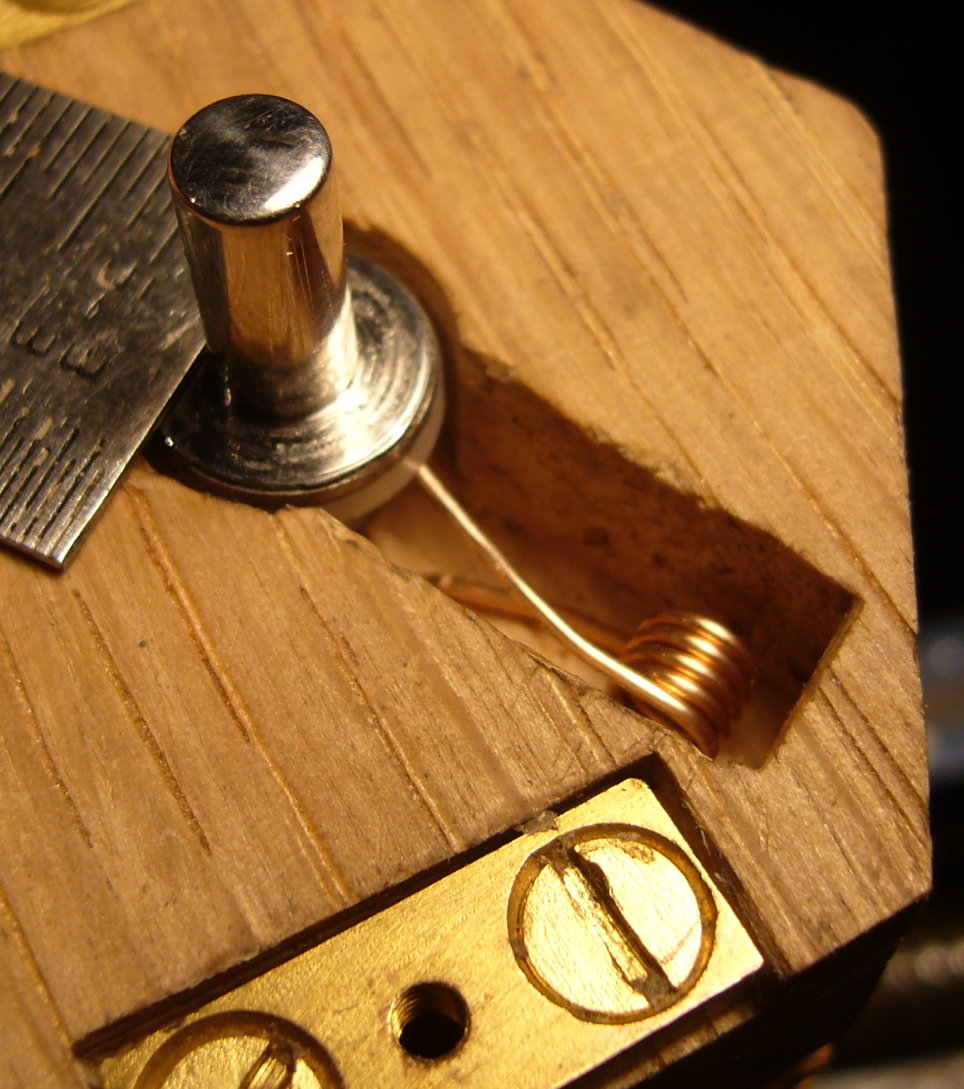
I won’t bother posting a photo with the top installed because it doesn’t look any different on the outside! The action feels pretty nice though.