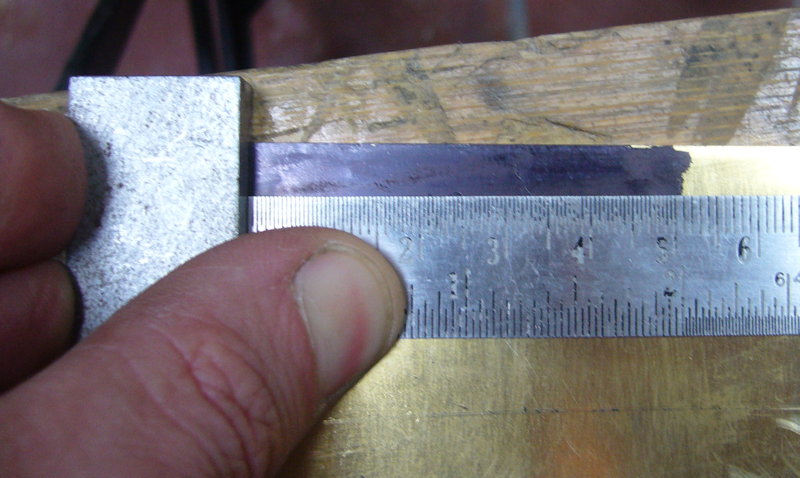
Following my earlier, unsatisfactory, attempt at making a pair of captive nut plates for the bell push by soldering stainless steel nuts onto thin brass sheet, I bought a set of M2.5 taps and a piece of much thicker (3mm) brass sheet for my second try.
I stained the brass with a permanent marker to make the lines show up more clearly, and marked it out using a steel ruler and scriber under magnification:
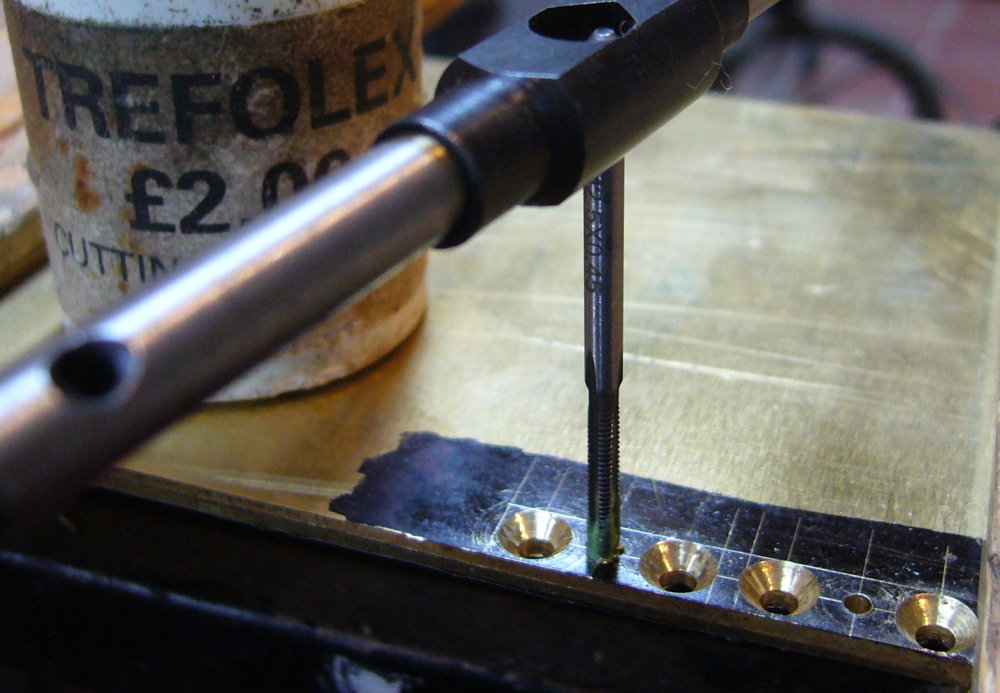
I also upgraded from a cheap, dull wood-cutting countersink bit to a small good quality (Dormer) HSS three flute metal-cutting countersink. The resulting countersunk holes for the wood screws that will hold the plates to the back box are way smoother, cleaner and more accurate as a result. I tapped the M2.5 holes by hand using Trefolex tapping compound (I bought that small pot at a Model Engineering exhibition about 20 years ago and it’s still half full!).
A brief aside about the heads of the visible machine screws/end bolts that hold the top on. This is what the brass bolt heads look like on my antique Lachenal:
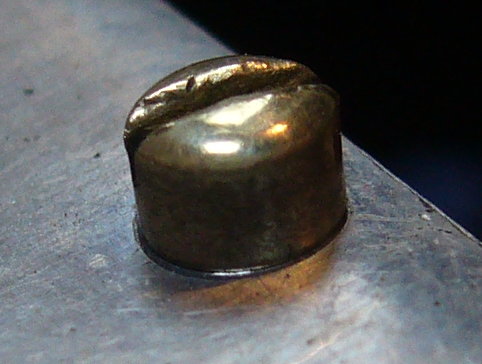
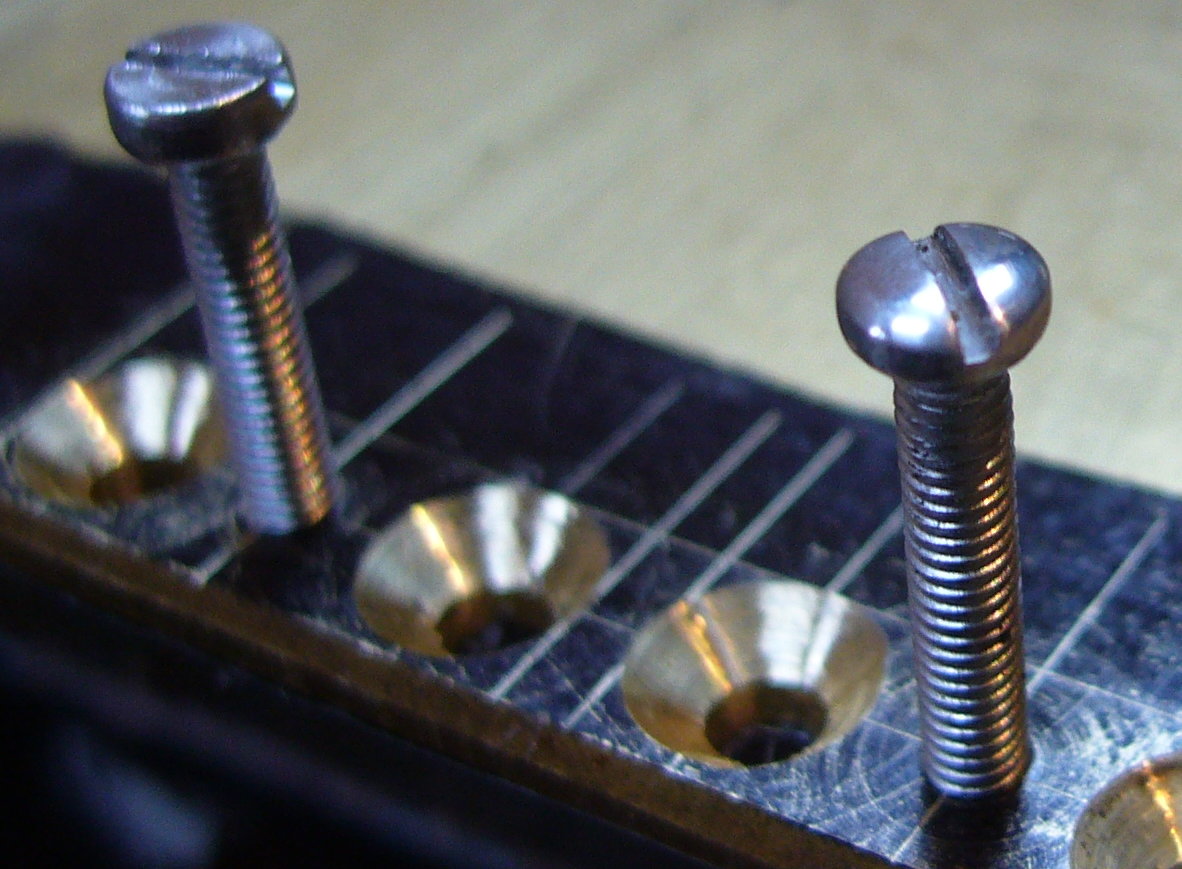
It turns out that head style is called a slotted fillister (I’d not heard that word before I started searching through screw catalogues, and it isn’t in my computer’s spell checking dictionary). I couldn’t find any suitable ready-made M2.5 stainless steel slotted fillister head screws for sale (I much prefer the appearance of slotted heads for this application), so I instead got some cheese-head screws and domed and polished them in the lathe. The next photo shows them before and after modification. Not quite right but I think they look reasonably good.
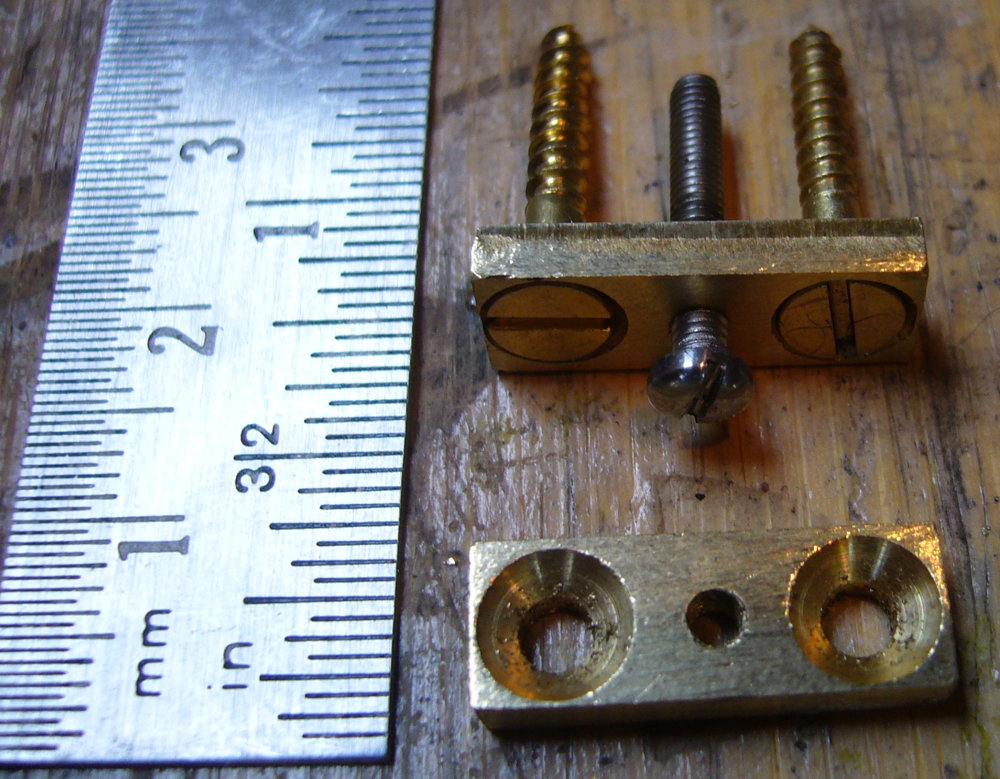
The final photo shows the two finished nut plates. I’m far happier with how these turned out than I was with my first attempt. The brass wood screws are bigger than necessary, but I happened to have a packet of them sitting around and there is enough room to use them. I don’t think there’s much risk of them pulling out of the oak!