More Earrings

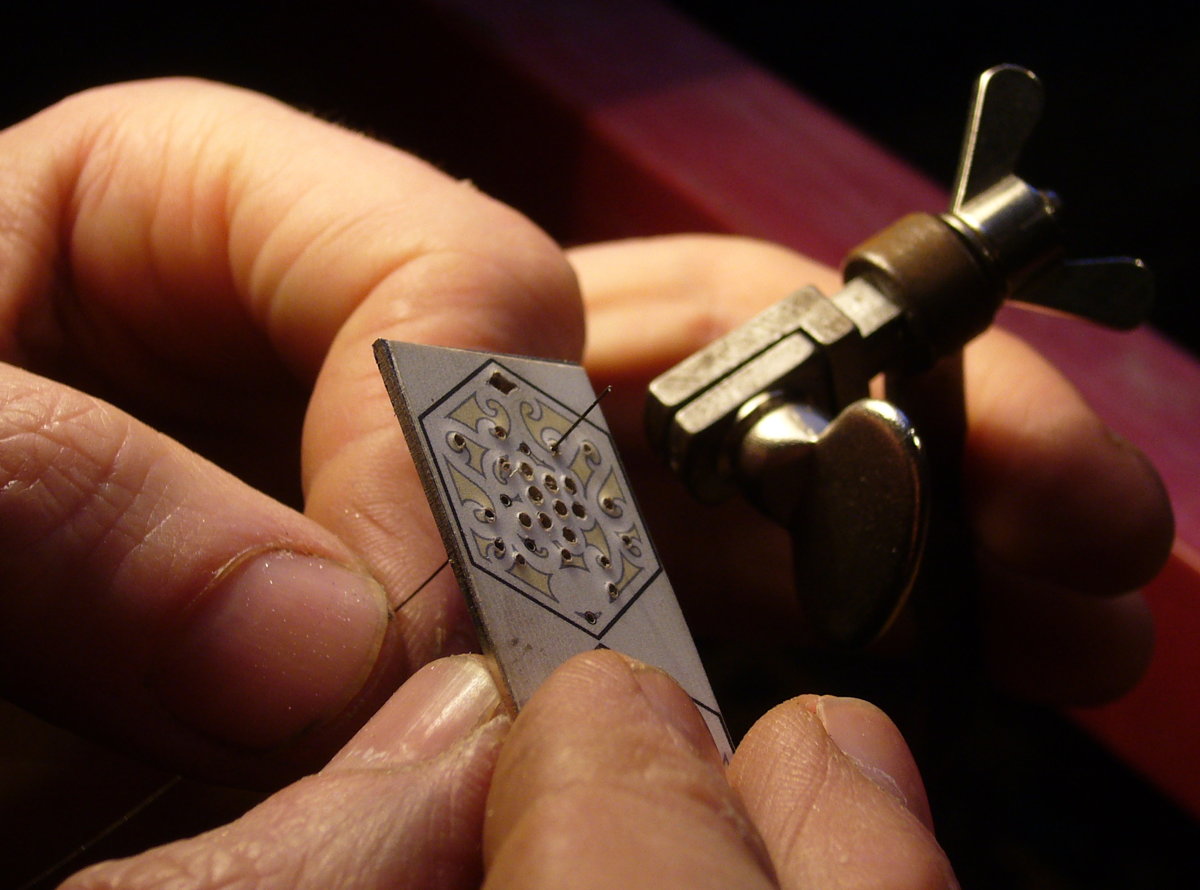
I’ve been commissioned to make another couple of pairs of the hexagonal English earrings. Here are some photos from this afternoon’s work drilling and cutting.

I’m still drilling manually using the Taig mill. I used a 1.2mm bit for the button holes, a 0.9mm bit for most of the piercings, and a 0.7mm bit for the tiniest piercings. All re-sharpened PCB drilling solid carbide bits, and for a change I didn’t break any!
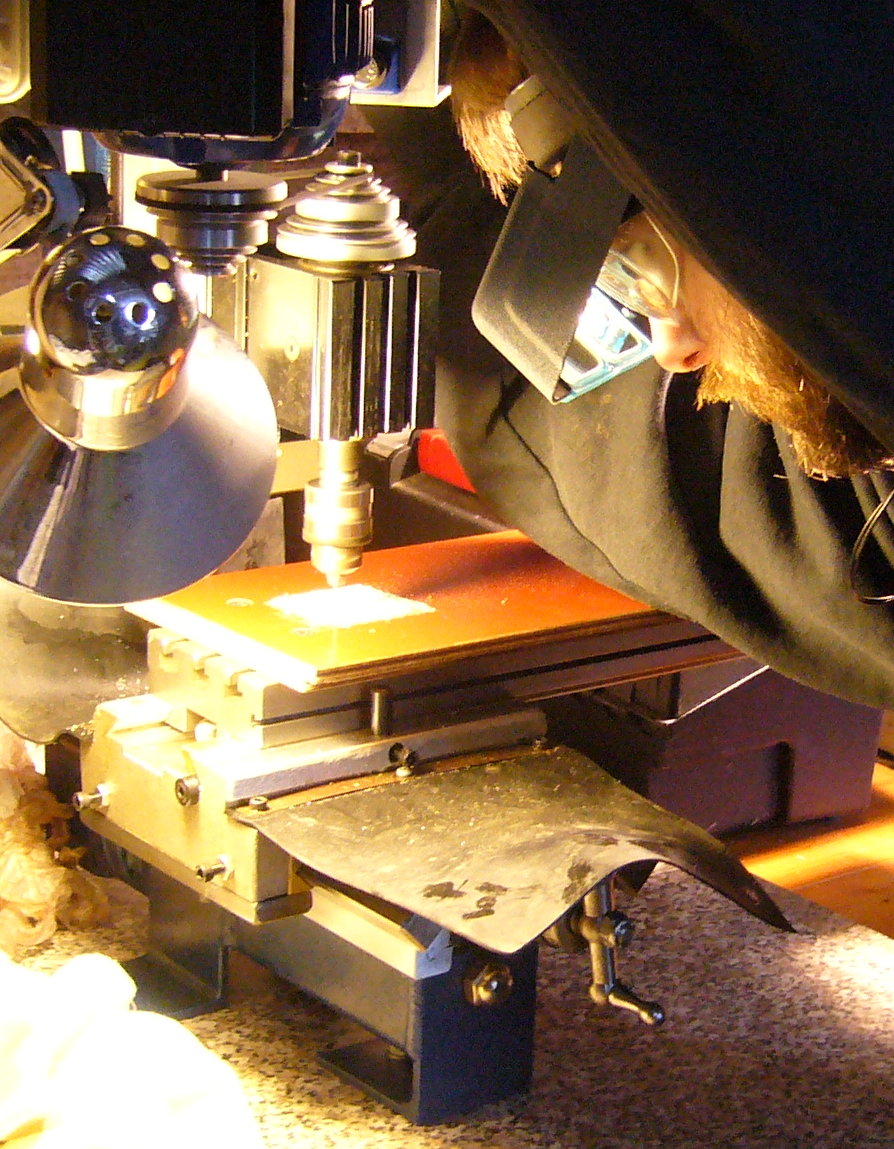
earring_making_1

Lots of silver swarf. Unfortunately it’s not very practical to collect it, though I do keep the scrap from the piercings. One day I may have enough to melt down and cast them into something useful!earring_making_2
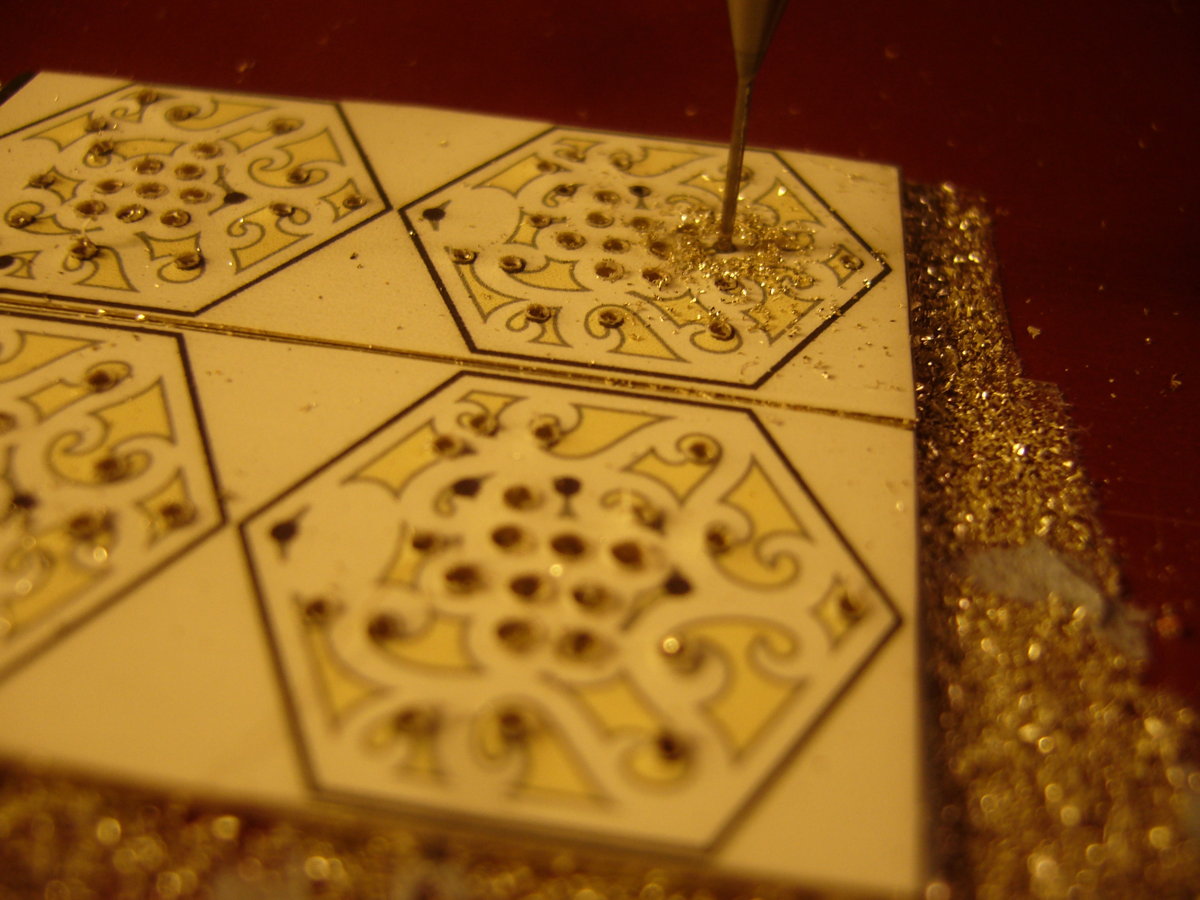
The saw blade has to be unclamped and threaded into each piercing in turn. The teeth are too fine to easily see so you have to figure out which way to put it in the frame by running your finger along it. The wing nut is used to set the tension.earring_making_3
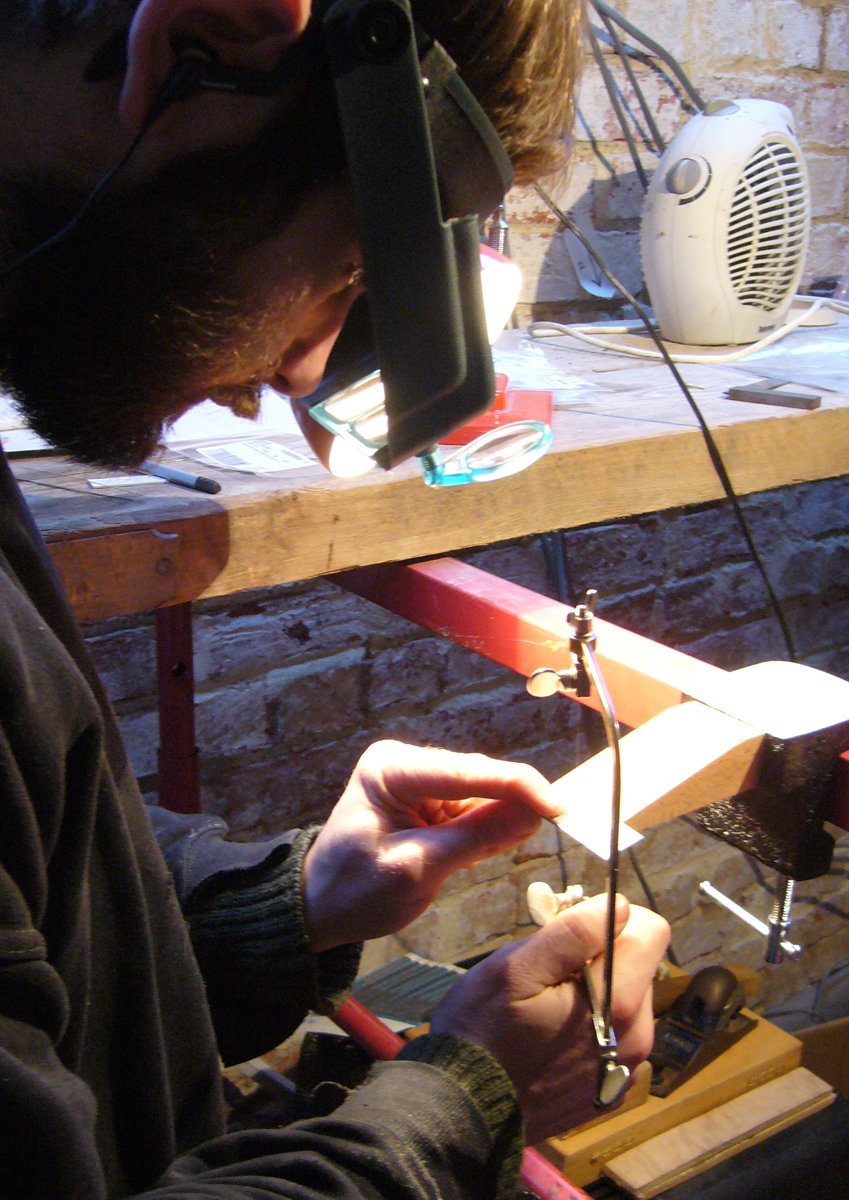
In this picture you can see my new bench peg clamped to the crossbar of a builder’s trestle stand. I like to work standing up with the saw table quite high so that I can get my eyes close to the template without needing to bend over, which would hurt my back after a while.earring_making_4
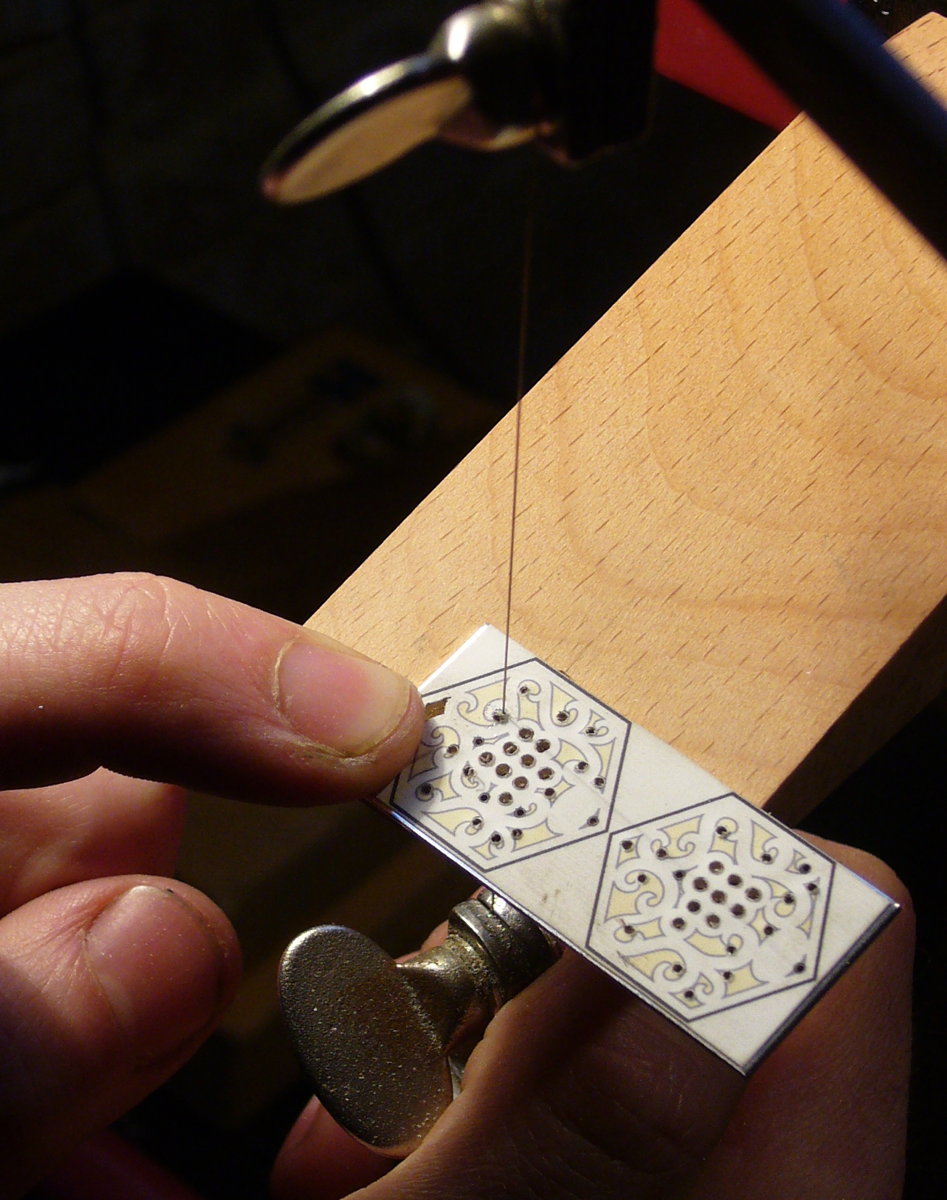
After a lot of frustration with paper templates that inevitably came unstuck or became illegible, I think I’ve finally found a template material that works reasonably well for very fine metal piercing: inkjet-printable matte white self-adhesive vinyl film. It’s not cheap but then you don’t need much of it for a pair of earrings, and if it enables me to produce a better end product with fewer headaches then it was well worth it!earring_making_5
Thanks to Juliet for the photos of me working. 🙂
 

Happy New Year!

My new year’s resolution for 2015: build at least one complete playable concertina from scratch.

Note: I didn’t mention the adjectives good or saleable, although it would be nice if I achieved those too. This may not seem very ambitious, however tied up in this task is:

  • Finish my part in the house renovation that I’m currently involved with and move back to Burnley.
  • Set up a usable workshop space in the garden shed and part of a leaky garage that is currently full of junk (I’d also like to be able to store my car in it).
  • Make and sell things to raise funds to buy more concertina-making tools and materials.
  • Design and make a lot of specialist tools and jigs.
  • Design the concertina.
  • Teach myself many new skills.
  • Make lots of mistakes and learn from them.
  • Blog about the entire process.

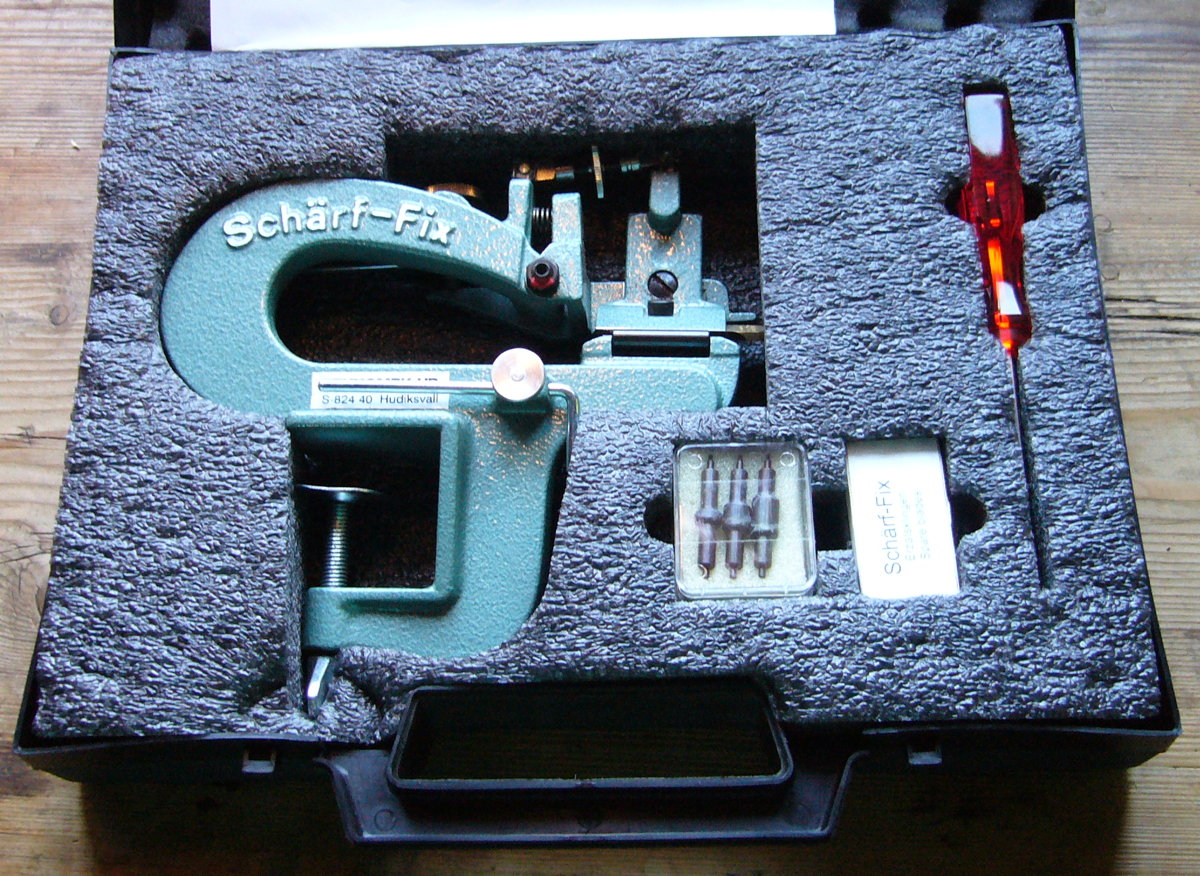
Schärf-Fix 2000

This was my Christmas present to myself.

scharffix1

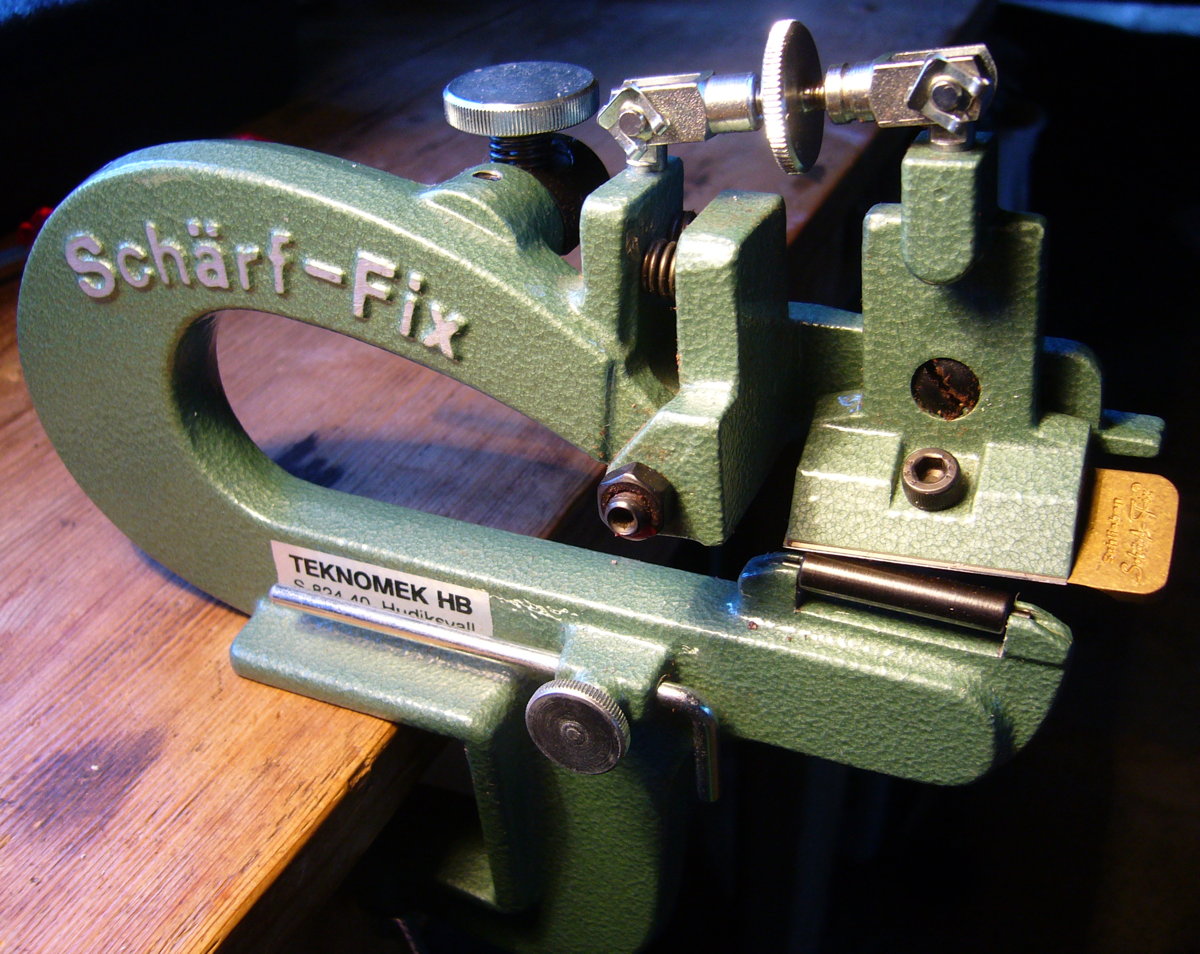
scharffix2

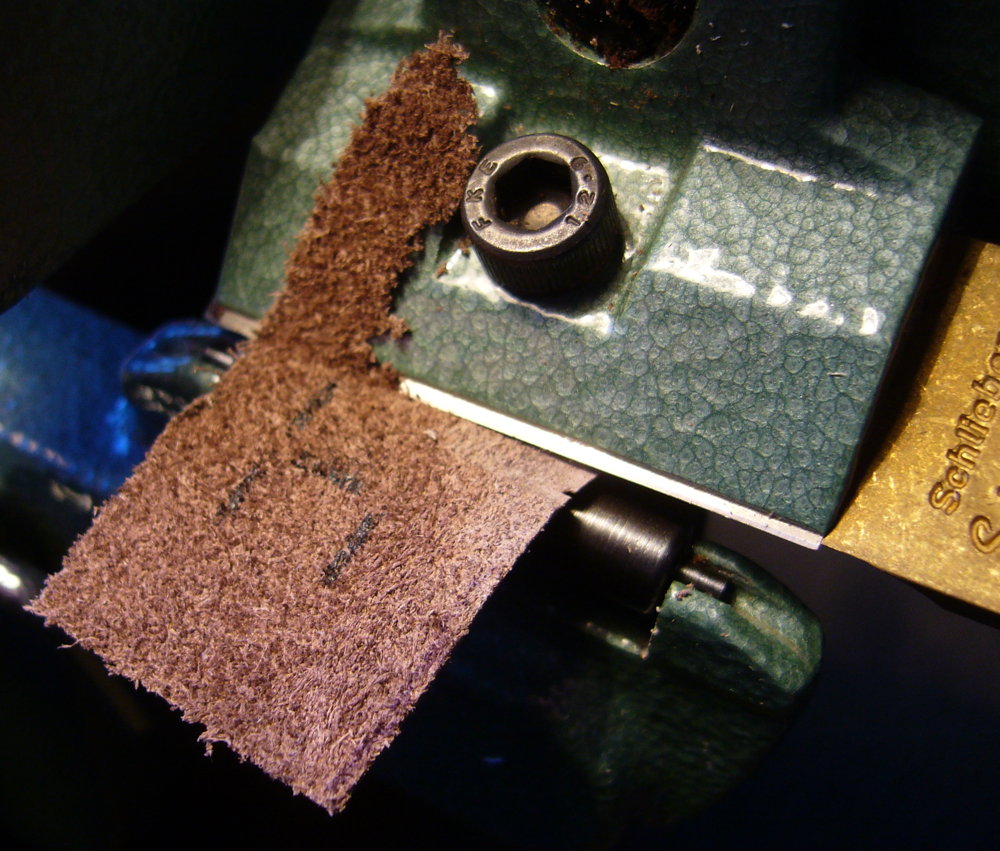
scharffix3

It is a Schärf-Fix 2000 manual leather paring machine made by Teknomek HB in Sweden. I think the name means something like quick-sharp in German (presumably the model number ‘2000’ was chosen because it sounded futuristic when they were developing it!). It is used for easily and consistently thinning down leather in three different modes.

It is primarily intended for traditional bookbinders who cover books with leather, but it turns out that the construction of English-style concertina bellows has a lot in common with bookbinding. They are nicely designed and well-made machines but they are very expensive new, are highly sought-after by hobbyist bookbinders, and AFAIK no other manufacturers currently make a similar machine. I had to wait about a year for a second hand one to come up for sale on eBay. My backup plan had been to build my own by adding a roller and an adjustable blade holder to the frame of an old sewing machine.

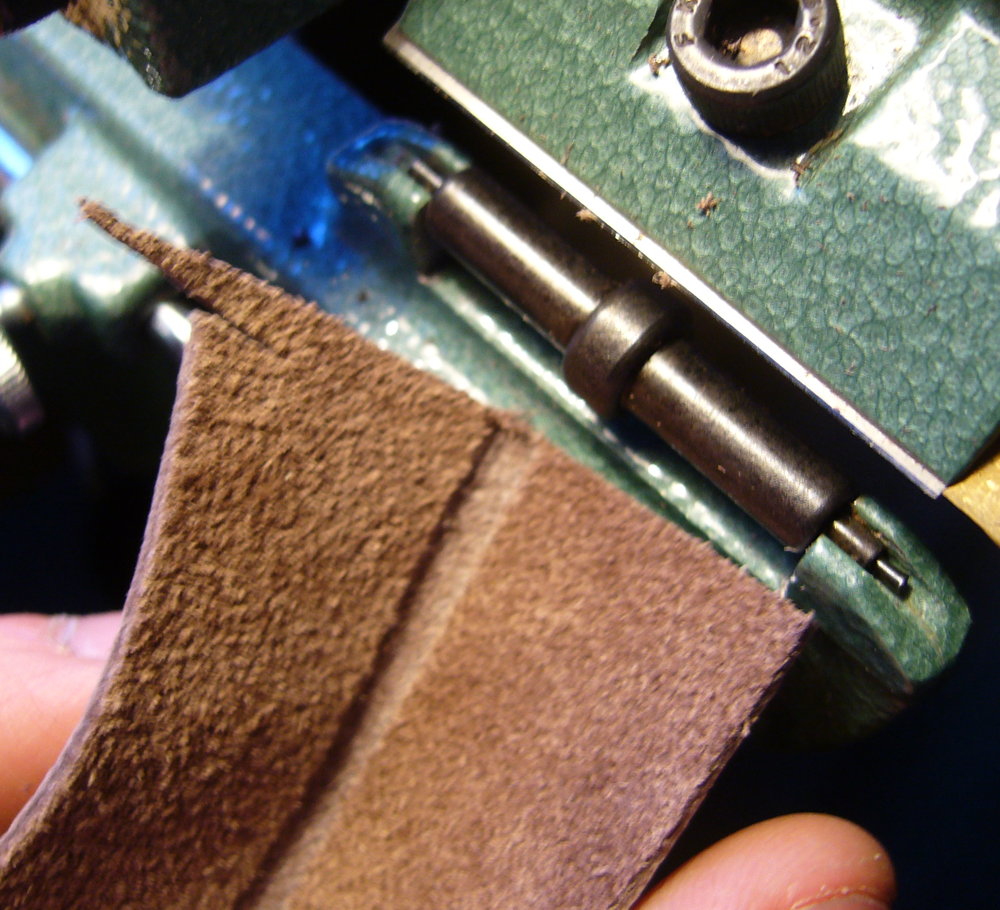
The first operation mode is skiving. You turn the top knob to tilt the blade relative to the roller so that when you pull a piece of leather through it, it thins the edge of the piece to almost nothing at a shallow taper angle:

scharffix4

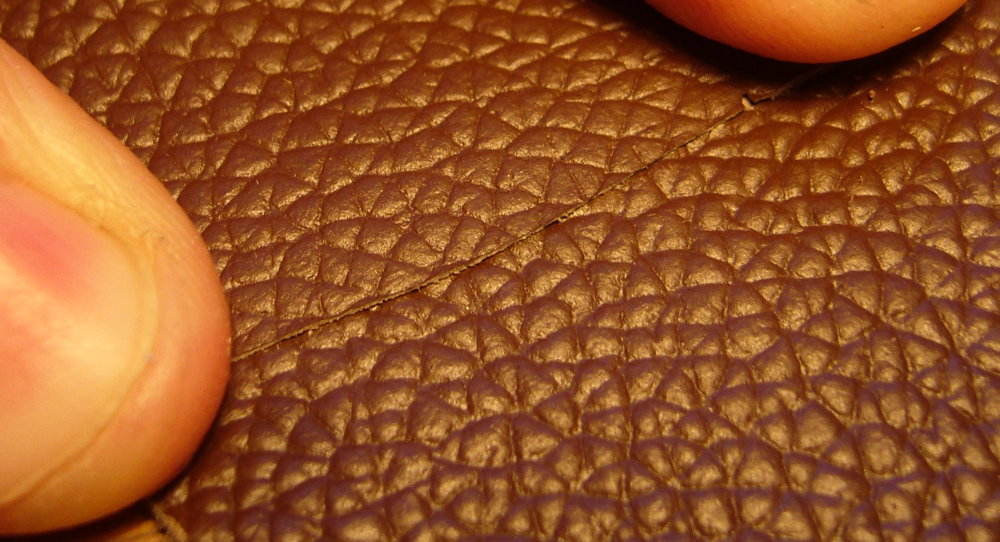
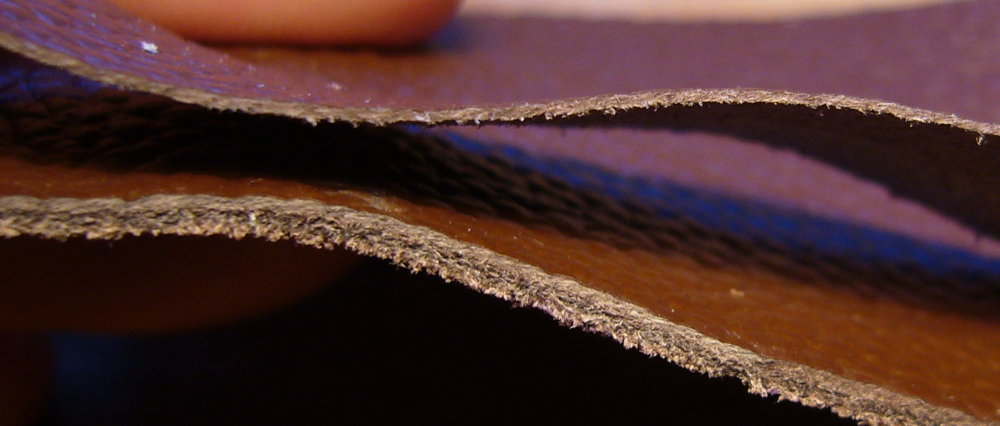
The reason for skiving edges is so you can glue one piece on top of another without a step, both for cosmetic reasons and so there isn’t an exposed edge to catch on things and come loose. This is what an overlapping joint might look like without any skiving:scharffix5

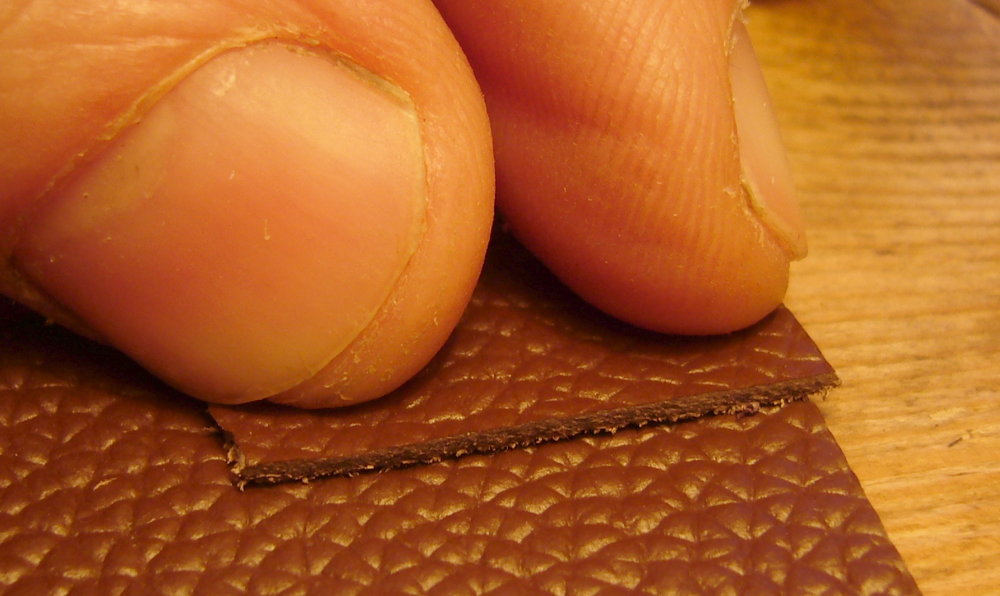
And this is the same two pieces of leather but with the edges of both top and bottom pieces skived so the tapers match up. Looking at the vintage concertina bellows I have, joints made this way tend to be almost invisible. Unlike a butt joint, a skived overlap joint is air-tight and nearly as strong as the original leather:scharffix6

The machine’s second mode is splitting: if you set the blade parallel to the roller it will pare the leather down to a controlled thickness. Although it can only pare strips 30mm wide, it’s possible to do wider pieces using multiple passes. There are two main reasons to split leather: to make it more flexible, and to compensate for variations in thickness in different parts of a hide. This photo shows a piece I split down to the sort of thickness that I think is normally used in bellows construction:

scharffix7

The third mode of operation is probably not very useful for concertina making. You can replace the standard parallel roller with one that has a raised portion and set the blade parallel, so it cuts a furrow out of the middle of a piece of leather, forming a more flexible area. I think bookbinders use this technique at the hinges of a book.scharffix8

Belgian Blue Whetstone

I like to sharpen my cutting tools, particularly the ones I use for wood carving. Actually that’s not entirely accurate; I prefer to carve with tools that are extremely sharp, which meant I had to learn how to sharpen them. I also often sharpen cooking knives, axes, chisels, hand plane irons, scissors, and for the concertina work I’ll need to be able to put a really good edge on leather skiving knives and possibly gravers.

Until now what I have tended to do is to sharpen tools on a fine India oilstone, which leaves a sharp but slightly rough edge, and then hone/polish them using a rotary electric polishing machine. That does sort of work, but because the wheel is flexible it tends to round off the edge at a microscopic level, dulling it slightly in the process. I recently went looking for a better solution and, after a lot of research, decided I liked the sound of the Belgian Blue whetstone. A letter was written to Santa Claus my parents, and as a result I found one in my Christmas stocking.

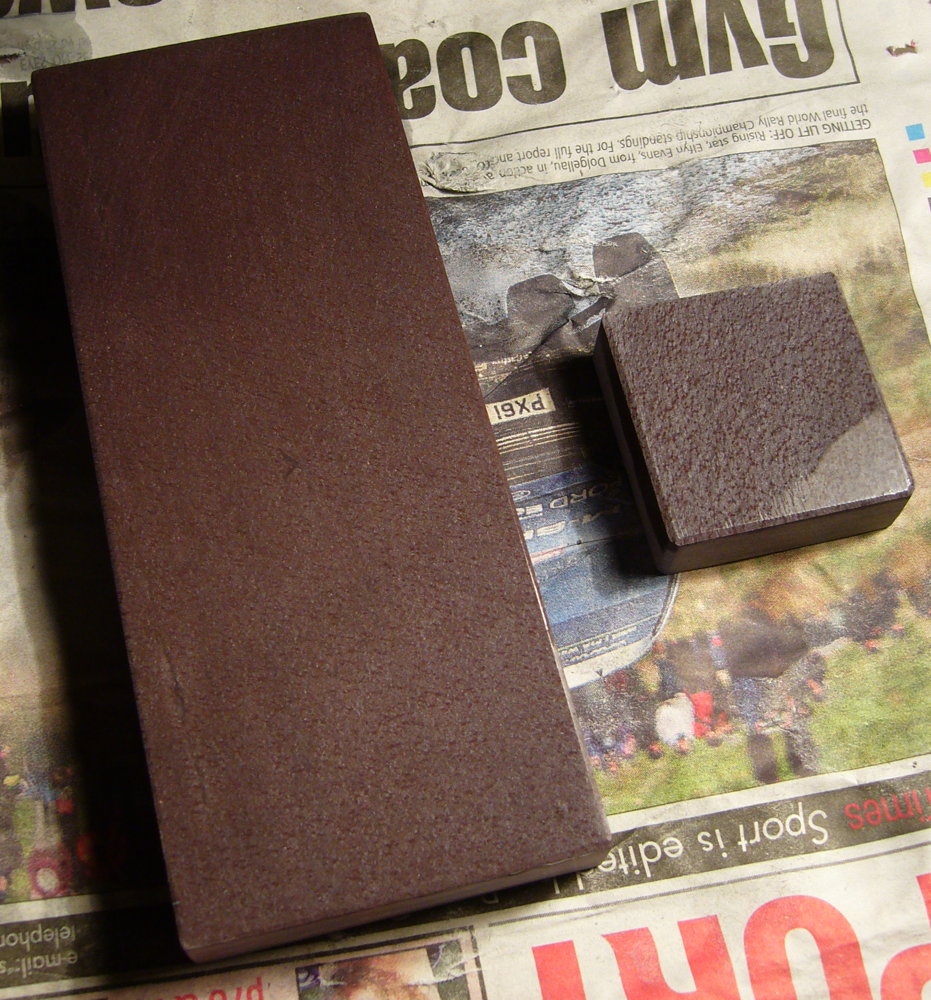
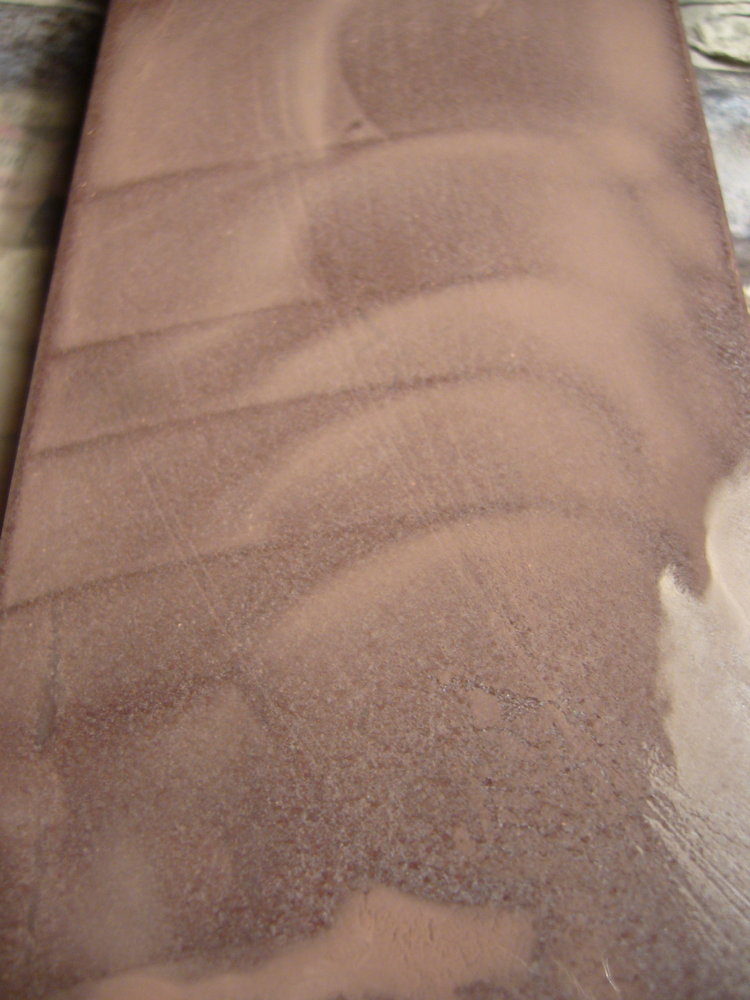
The Belgian Blue is a natural abrasive stone that is similar to, and found right next to, the famous Ardennes Coticule. It is less aggressive than the coticule, but it apparently produces practically the same finish and because it is much more abundant and found in larger pieces it is merely quite expensive rather than astonishingly expensive. It is a pretty purplish slate with red mottling:

bluestone1


You can’t really see it in the photo, but it glitters subtly. This is because embedded throughout the slate are millions of microscopic garnets, which are very hard crystals. You can simply wet the surface of the stone and rub your knife on it in the usual way and it will slowly polish the metal, though it is much more effective if you first rub the smaller stone (known as a slurry stone) over the surface, which generates a pinkish abrasive slurry:

bluestone2

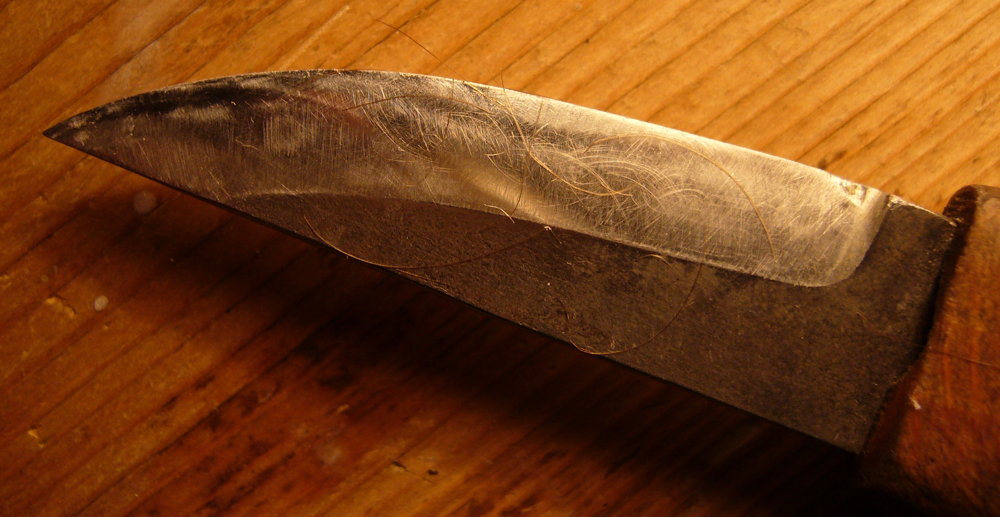
The Belgian Blue isn’t aggressive enough to sharpen a blunt edge in a reasonable timescale. You need something coarser to do that. What it’s good for is going from a rough but sharp edge to the next level: a smooth, shaving-sharp edge:bluestone3It should also be good for touching up edges that have gone a bit dull (too much to fix by simply stropping on leather) but aren’t damaged or blunt enough to need a lot of metal removing with a coarser stone.