I made an eight-pointed star punch today for decorating an item of silver jewellery that I have been commissioned to make. Although it is not directly related to concertina-making, I thought it might make an interesting article for the blog anyway.
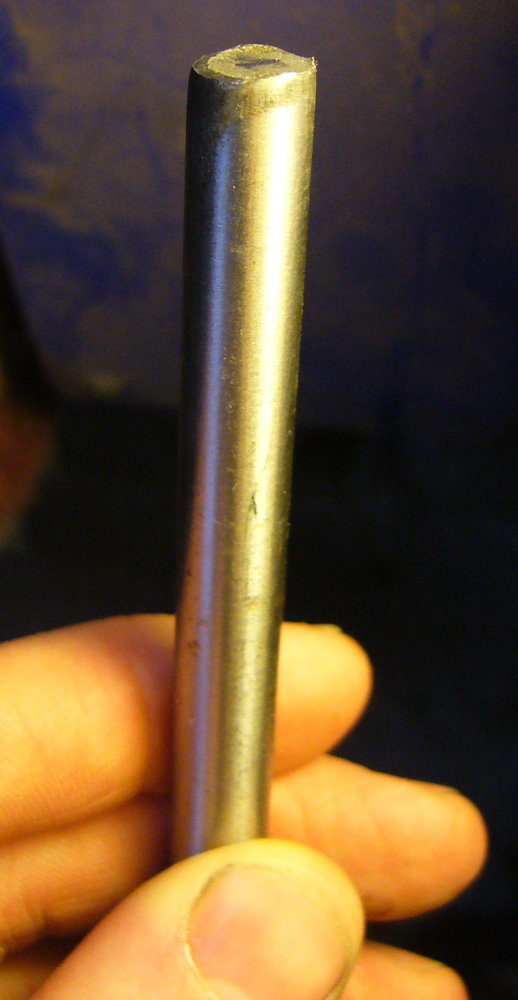
I made the punch from silver steel, which is a high-carbon tool steel with some chromium in it that comes as precisely-ground round bar stock in a range of standard diameters. It’s pre-annealed so it’s pretty easy to work with hand tools and machines before hardening. The bar I happened to have in stock was 3/8″ diameter.
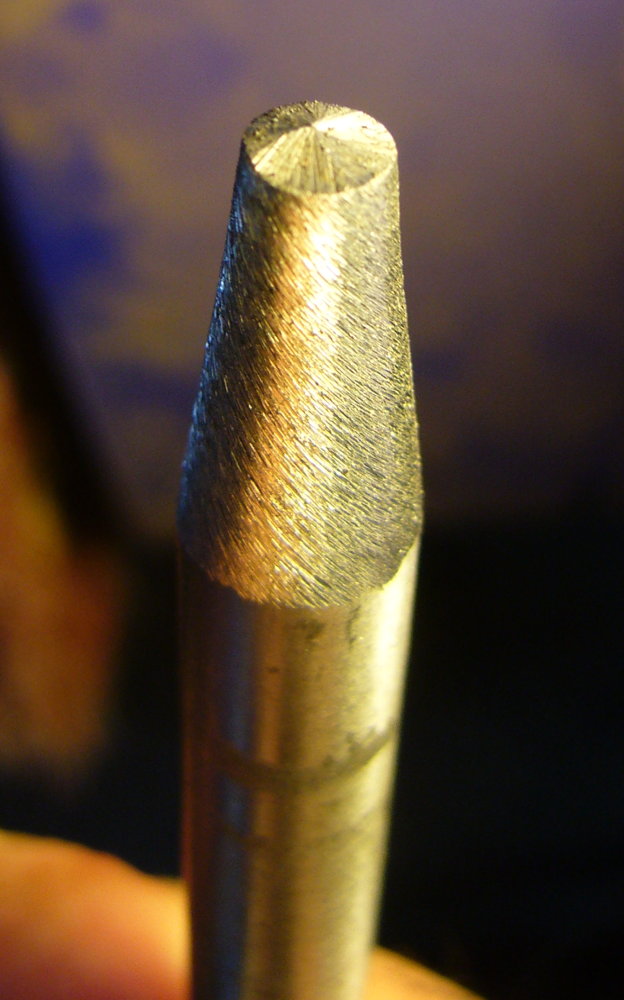
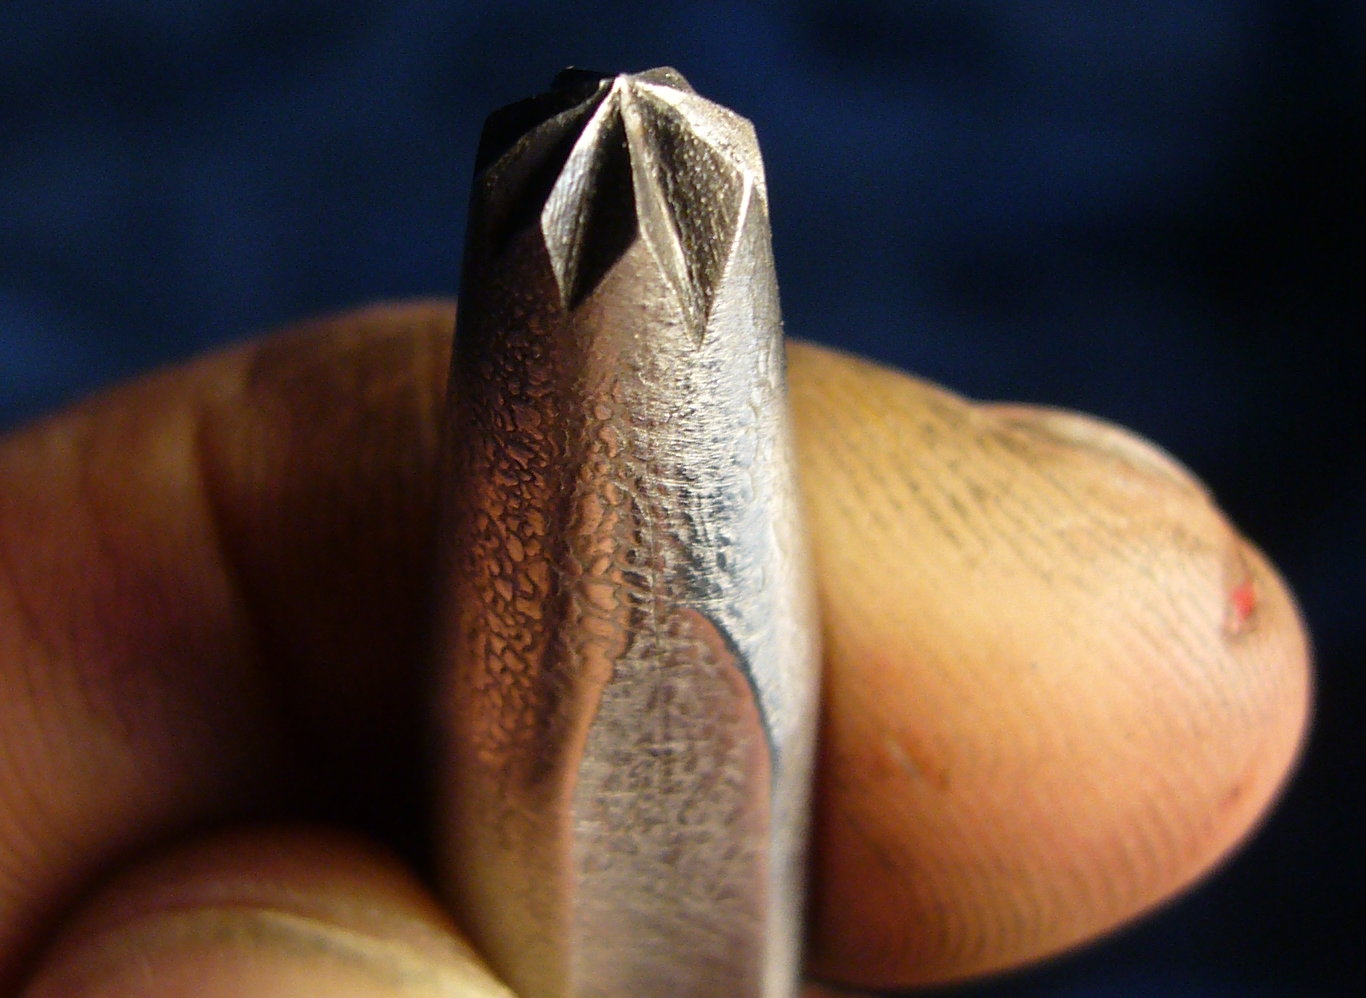
I started by grinding a double-angled cone on the end:
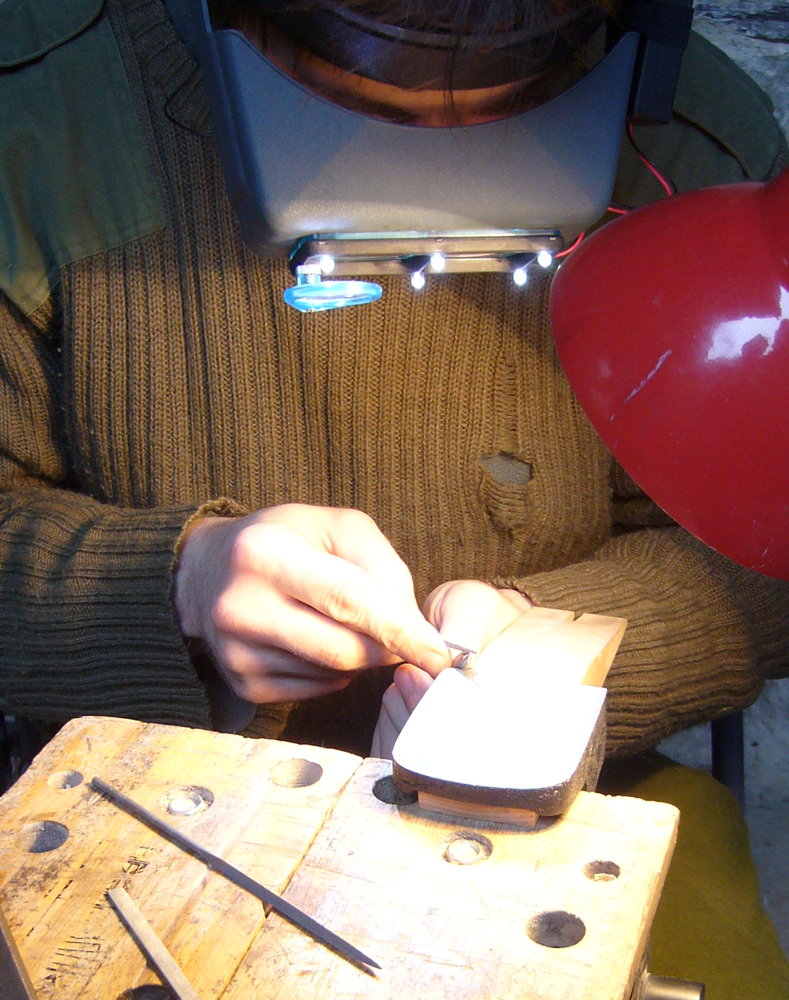
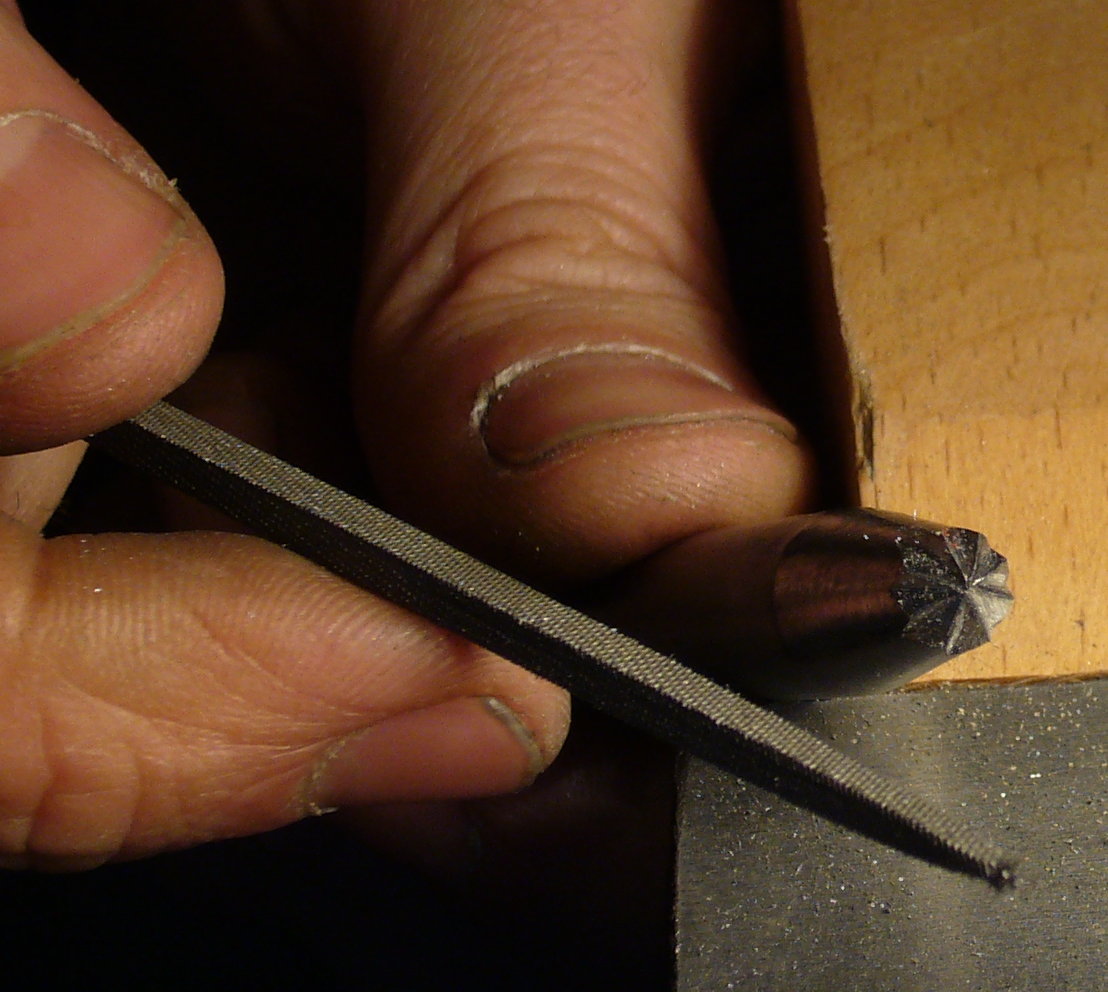
Then I filed the facets of the punch using square and triangular jewellers’ files under magnification and plenty of light, resting the punch in a corner of my bench peg.
I must admit this took me two attempts. The first time I completely messed up the relief angles (it produced a circle of eight triangles with no centre), so I had to file it back to a blank cone and start again!
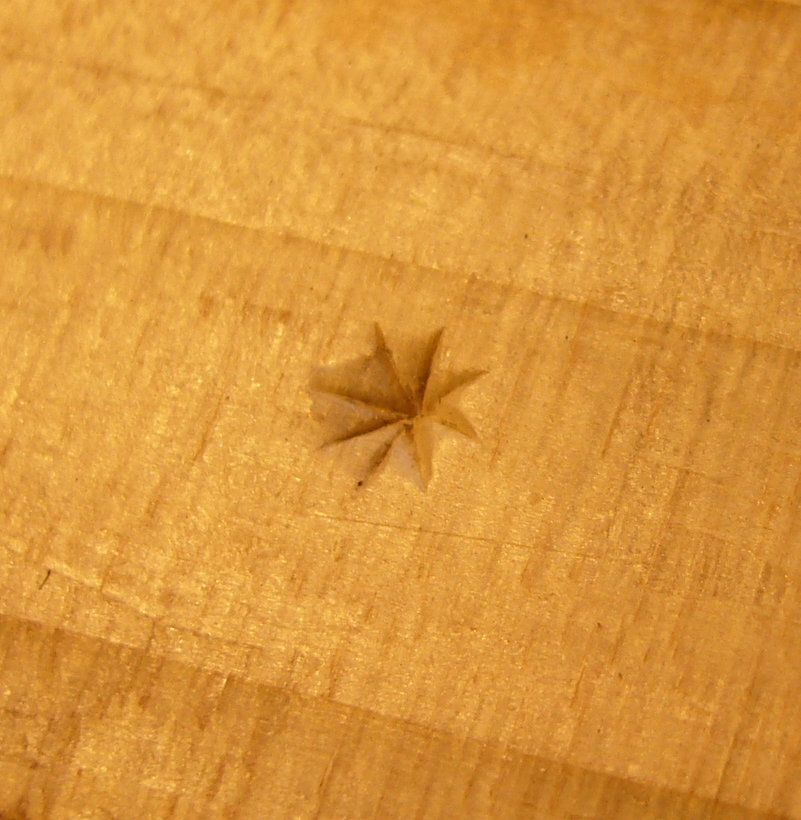
I lightly punched a piece of softwood to check how it looked prior to hardening:
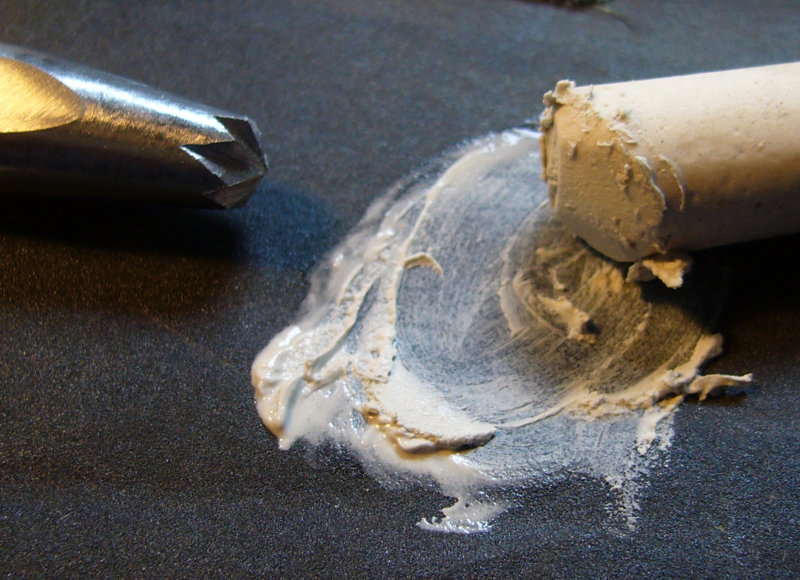
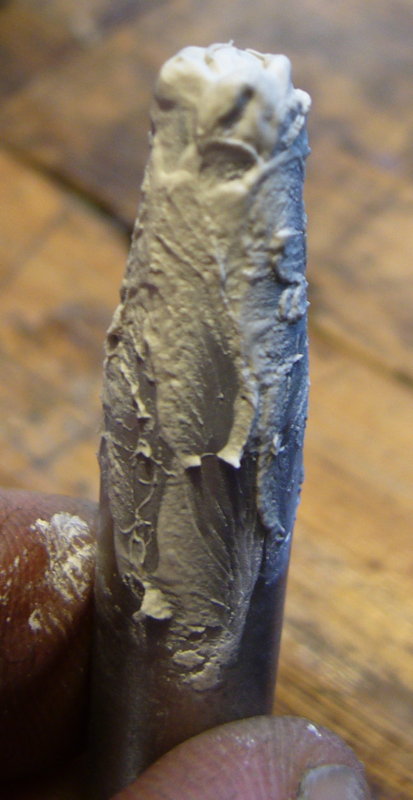
I didn’t want to have to try to grind firescale off the working end of the punch after hardening, so I coated it in a thick paste made from a stick of chalk mixed with a drop of water. The idea is that it prevents oxygen getting to the surface of the steel so it doesn’t corrode despite the extreme heat. My research on what substance to use for this purpose turned up a wide range of possibilities from specially-formulated industrial coatings through cockroach poison (boric acid) to something that sounded like a recipe for white bread. I had some chalk on hand and I saw it recommended in more than one place, so I thought it was worth a try.
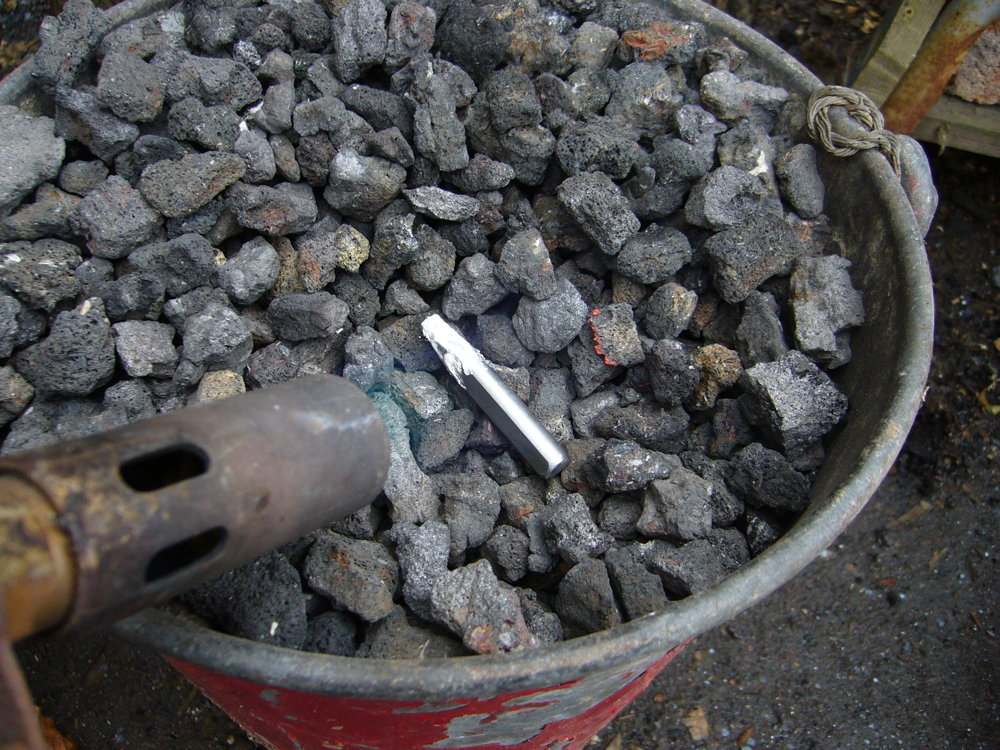
It wasn’t worth firing up the forge for such a small job, so I simply placed the punch in a (metal) bucket of dry coke and hit it with a propane torch. The coke quickly heats up and reflects heat back at the work.
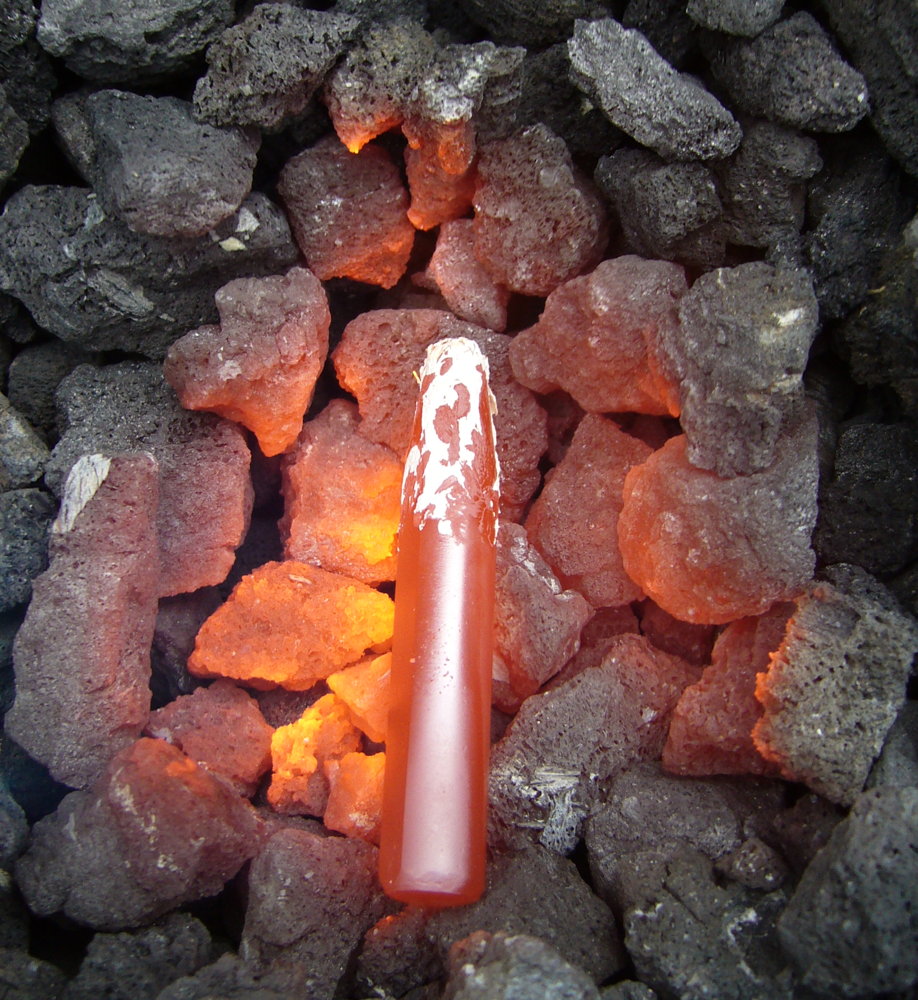
Here’s where I made my second mistake. In the heat of the moment (literally) I forgot that you are supposed to quench the tool by lowering it gently into the water tip-first so as to minimise stress and risk of cracking. Instead I thought “must cool it as quickly as possible,” grabbed it with the tongs, and randomly dunked it into the bucket side-on. This resulted in a crack along the length of the shank, luckily not reaching all the way to either end.
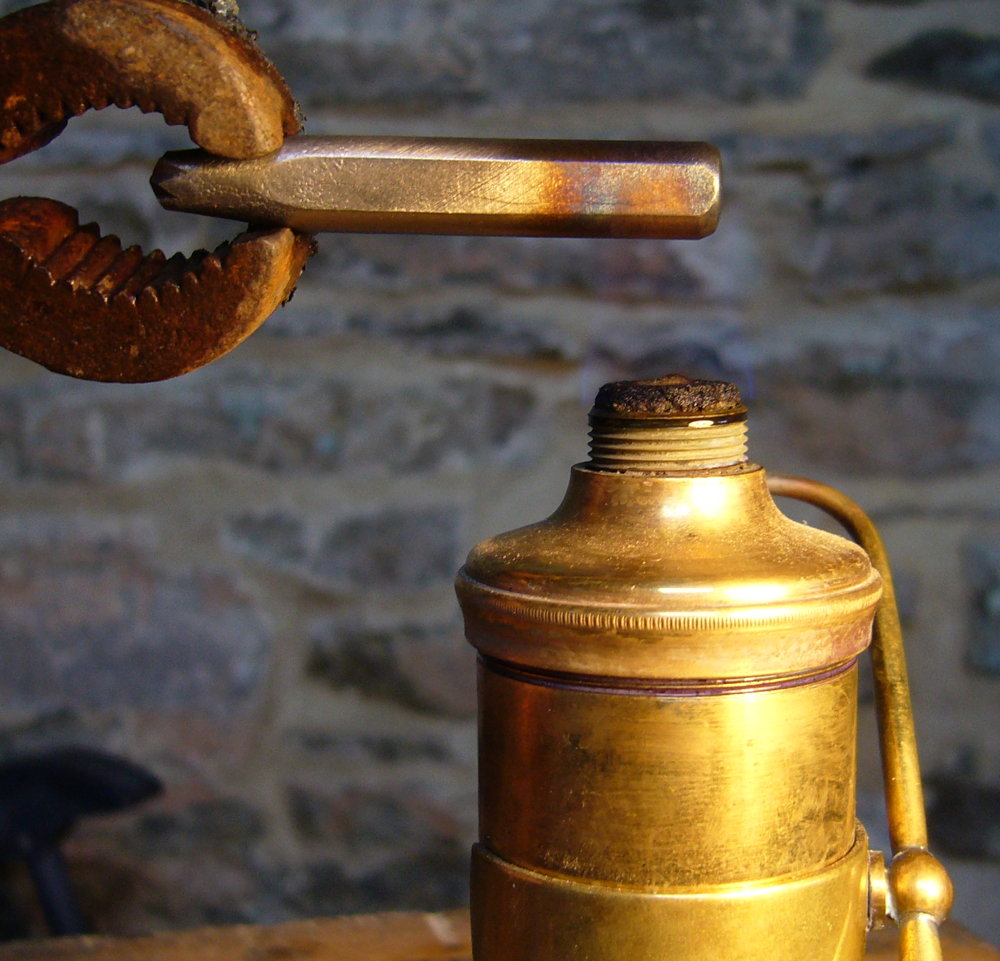
I tempered it by heating the shank in a spirit flame until the straw colour reached the sharp end. This differential tempering makes the end you hit with a hammer much softer and tougher than the end that cuts into the work, which is a desirable quality in a punch.
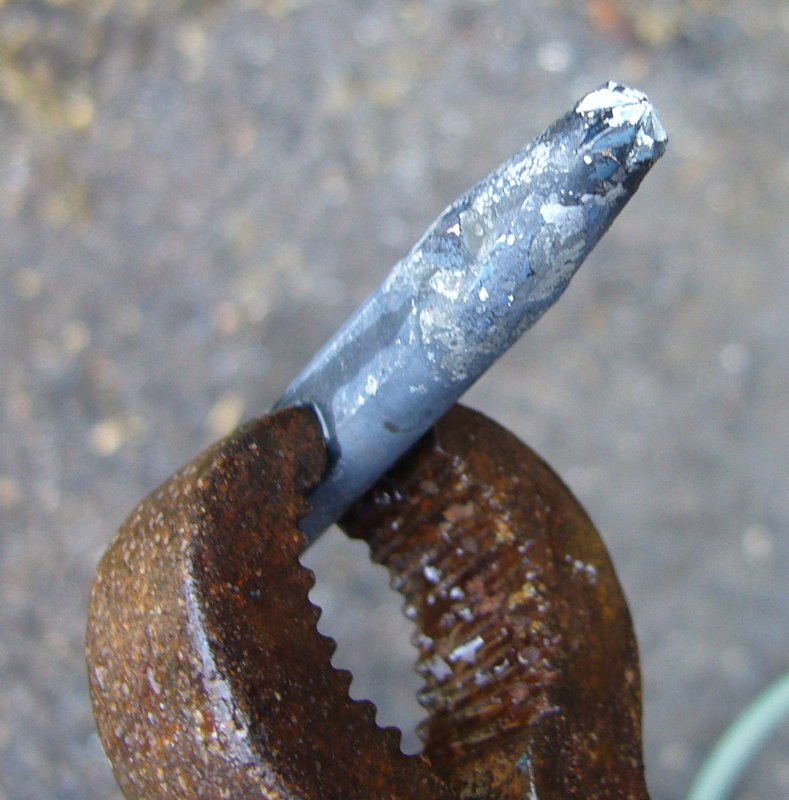
The finished punch. The anti-scale chalk paste did a reasonable job I think; all I did after hardening was to clean it off with a wire brush:
Here you can see the crack most of the way along the shank. The tool seems to be working OK regardless though:
Finally, the proof of the punch is in the marks it makes. I haven’t tried it on silver yet, this is a piece of scrap aluminium. I rather like the slight unevenness of the points, and it’s nice how you can vary the size of the star by the strength of the hammer blow:
…nice stars Alex.
Pingback: Hand-Cut Maker’s Mark Punch – Holden Concertinas