Crafty Concertinas
I’m in the early stages of designing a logo for Holden Concertinas that will also be used as the maker’s label on my instruments, and I mentioned to a friend that I was considering including the phrase “Hand crafted in England.” I intended that phrase to put across concepts like small production quantities, hand assembly, care and attention to detail, tradition, built by an individual who really cares about the end product. In other words the opposite of “Mass produced on an assembly line in China.” My friend pointed out that hand crafted may be a controversial claim to make because I am intending to use CNC machine tools to produce some of the parts for my concertinas. I wondered whether I would be safe if I dropped the word hand, e.g. “Crafted with Care in England” or similar, though I’m uncertain if that is any better (and it doesn’t sound as good to my ear).
Since then I’ve been thinking about what the word craft and the term hand crafted mean to me and reading other opinions on the subject. I came across an interesting essay this morning about the ongoing debate over the meaning of the marketing term craft whisky (apparently there is such a thing – I had never heard of it) that made me question whether I can use the term craft at all when I am only just starting out in the business of musical instrument making. After all I certainly wouldn’t dare to call myself a master craftsman at such an early stage in the development of my new career, though neither would I say that I am completely inexperienced or lacking in craft skills (including the use of traditional hand tools).
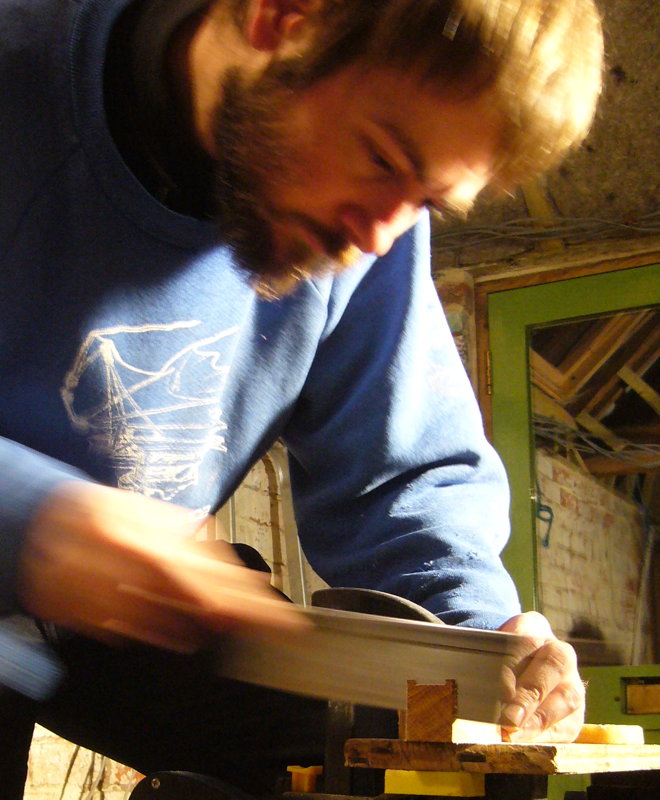
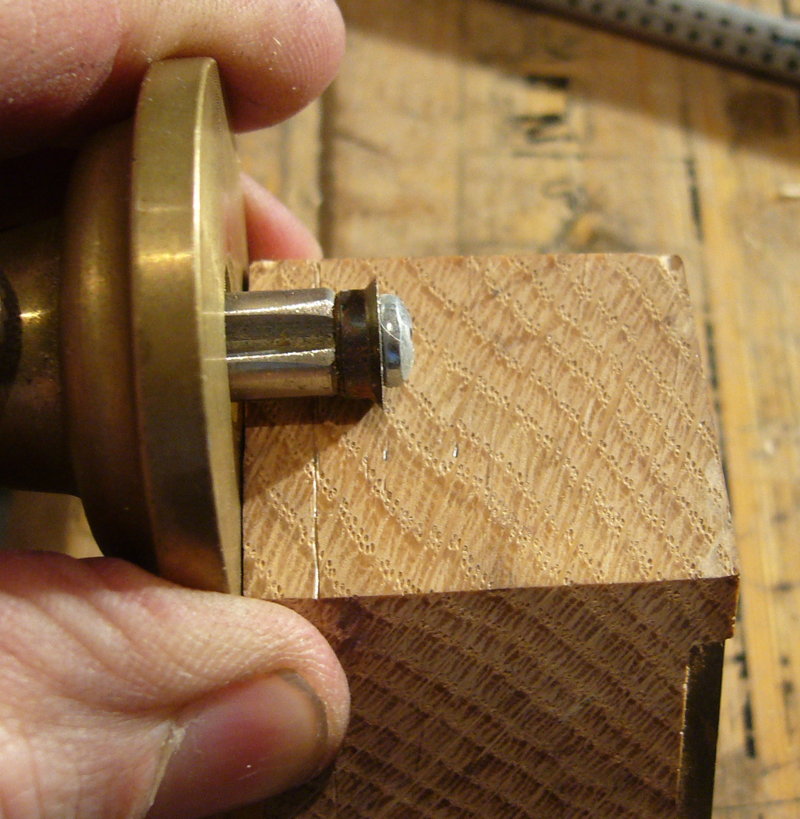
In the case of my concertina-making operation I will be assembling all the parts and tuning and finishing the instruments by hand. A fair amount of skill will be required and little or no use of power tools, so I think this part of the process certainly ought to count as hand craft.
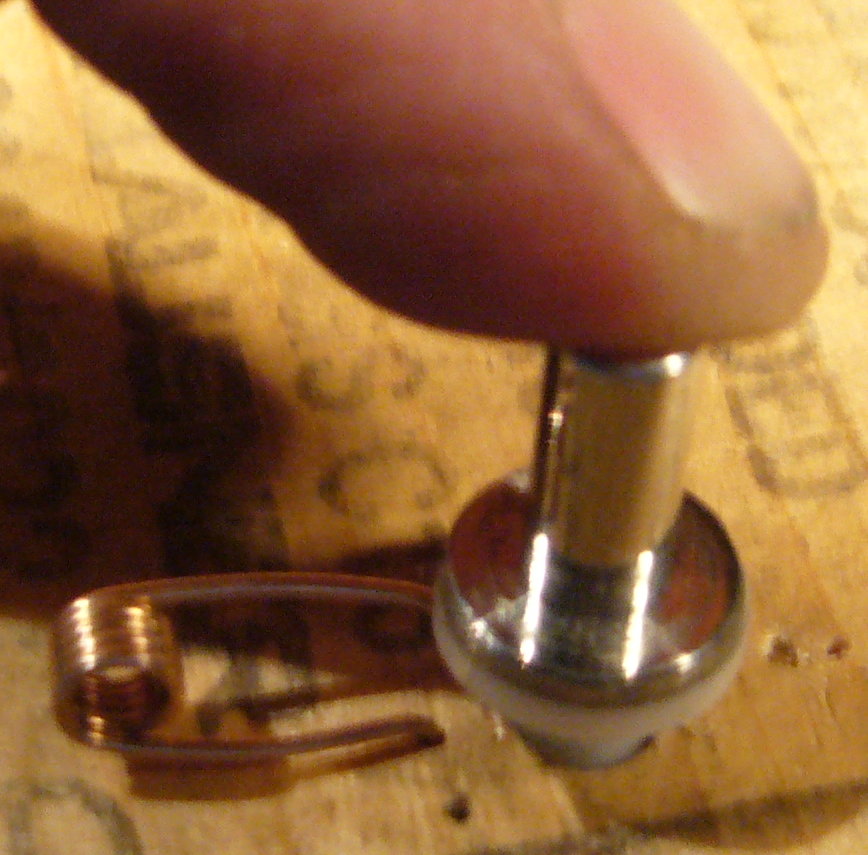
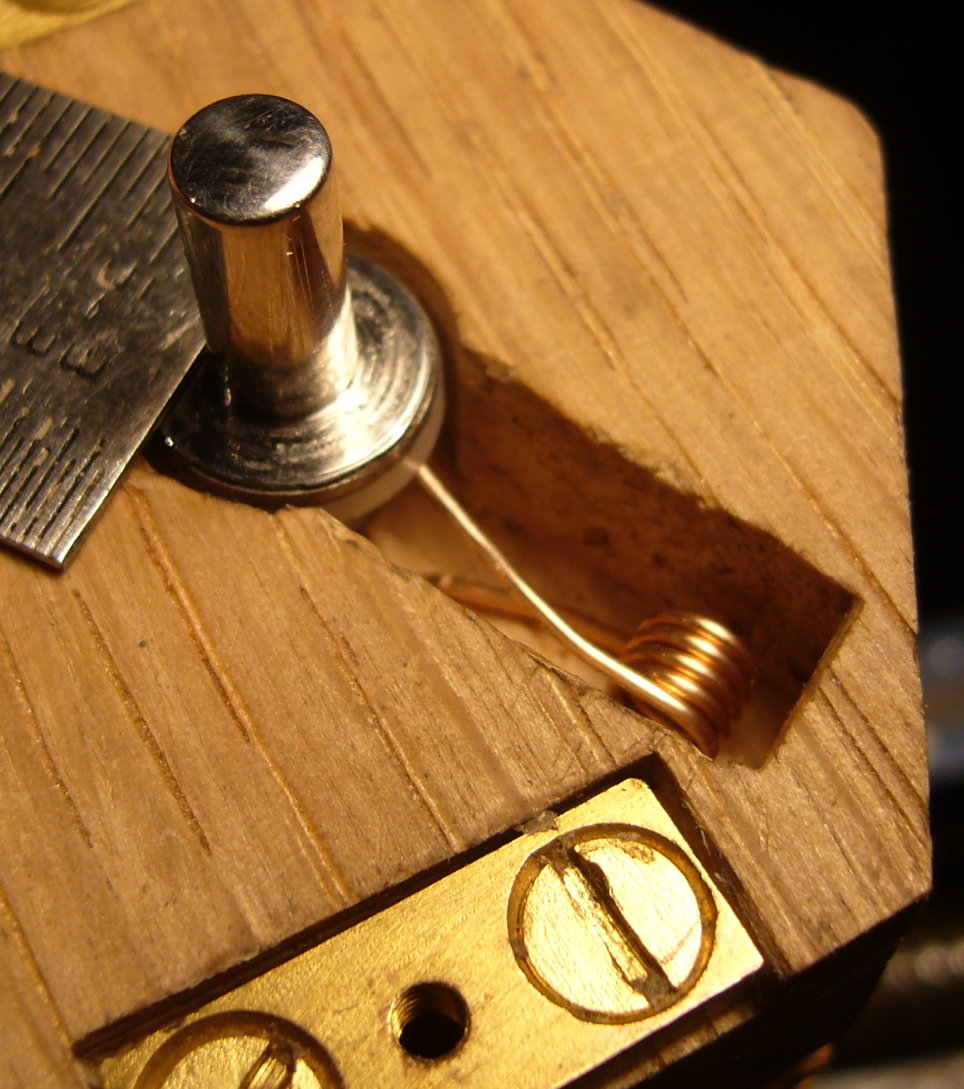
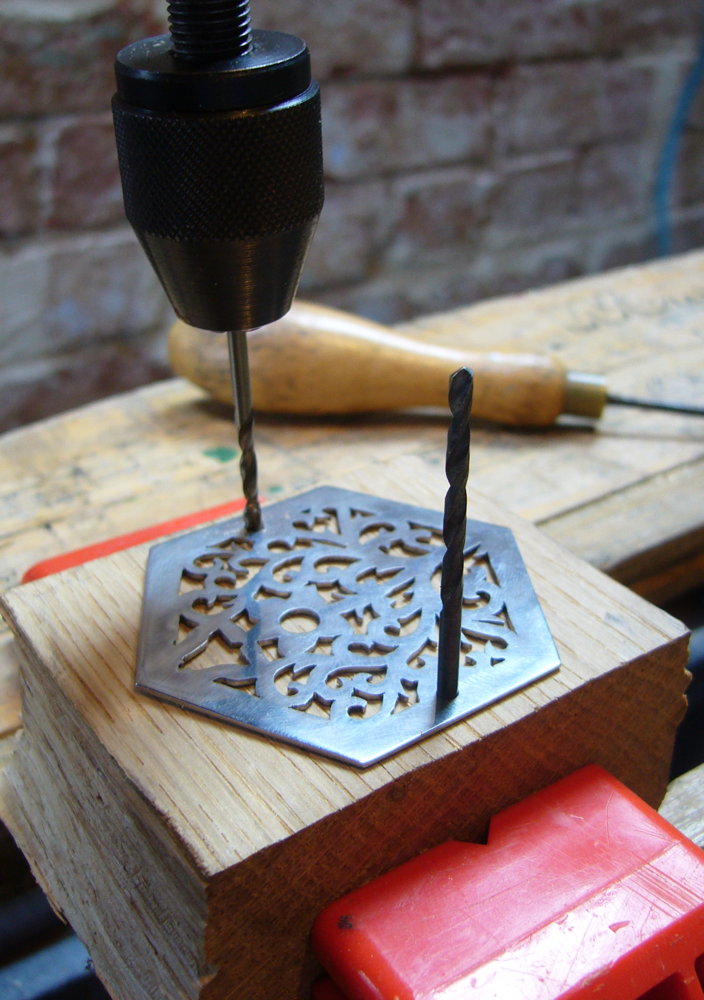
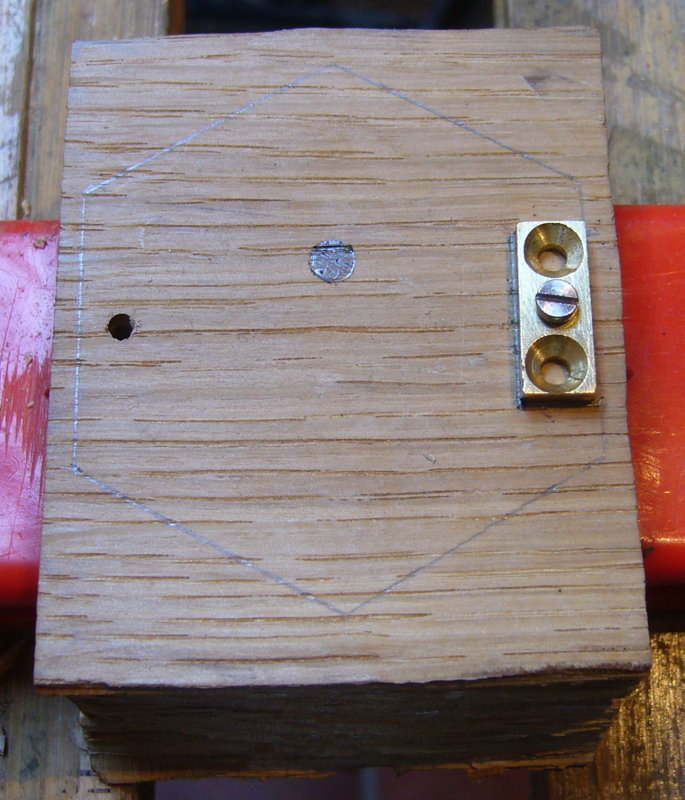
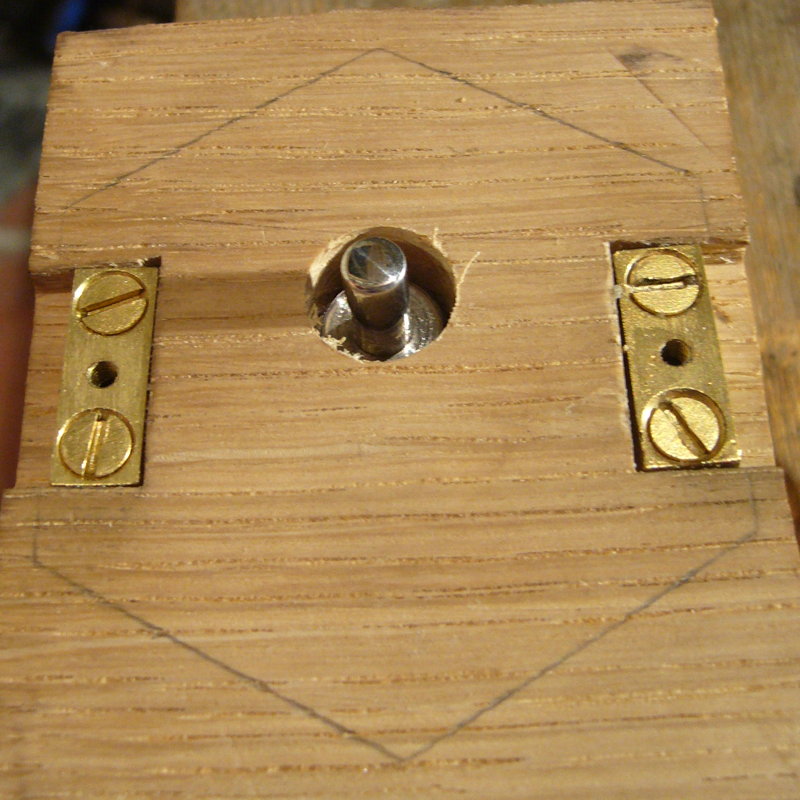
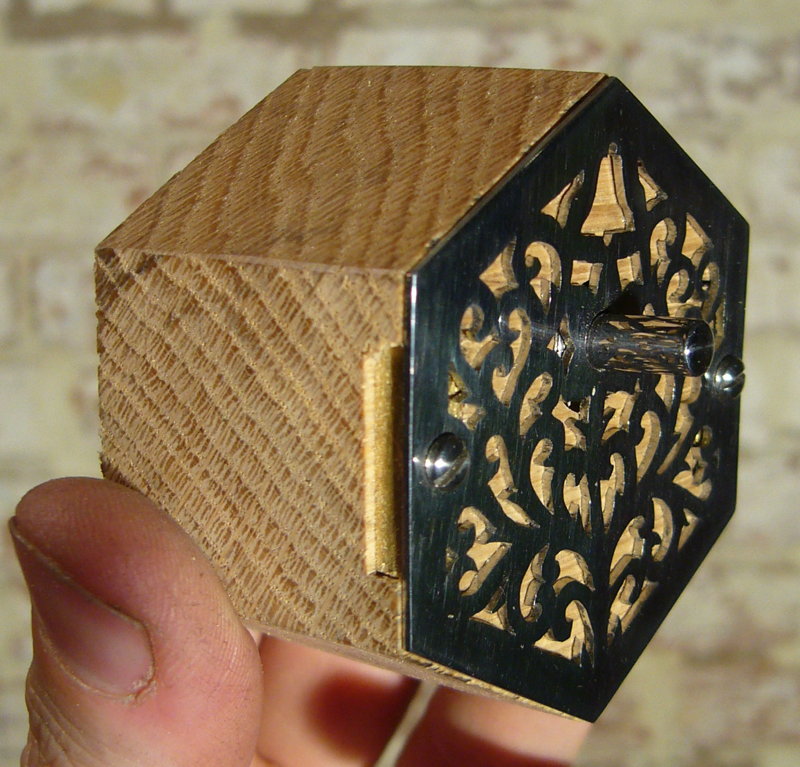
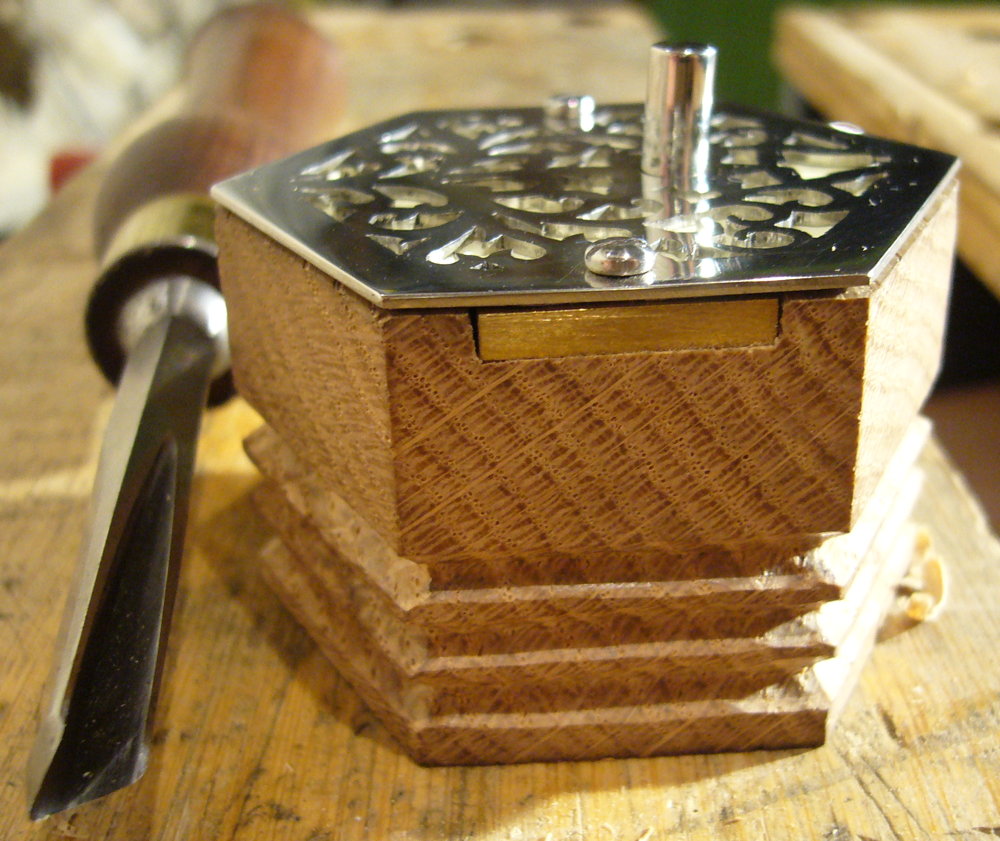
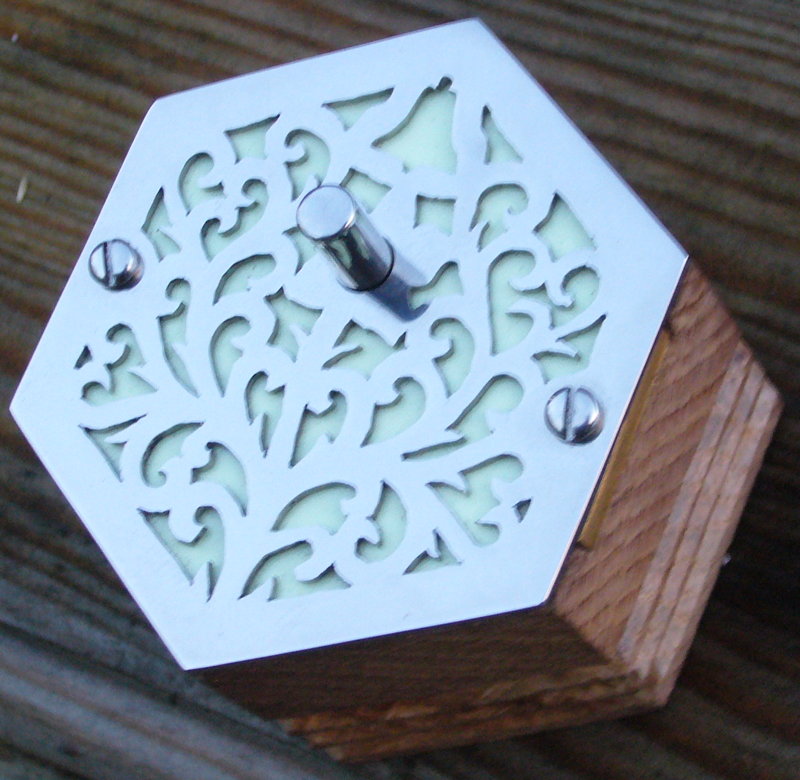
What about the parts that I will be assembling? Most of the screws and the action rivets I will probably buy ready-made because they are so generic that there would be little point to making them myself. The rest of the parts I intend to make in my own workshop, with the possible exception of laser-cut metal end plates (a machine powerful enough to do that kind of work is far outside my budget). The raw materials I’ll be making the parts from will be things like seasoned hardwood, brass sheet, spring steel strip, various kinds of tanned leather, card stock, wool felt, hide glue, shellac. That is to say, pretty much the same types of raw material that traditional concertina makers like Wheatstone and Lachenal used back in Victorian times (though I don’t intend to use bone, ivory or endangered woods, and may also use make some use of more modern materials and adhesives when appropriate). The tools I will be using to make the parts can be divided into four categories:
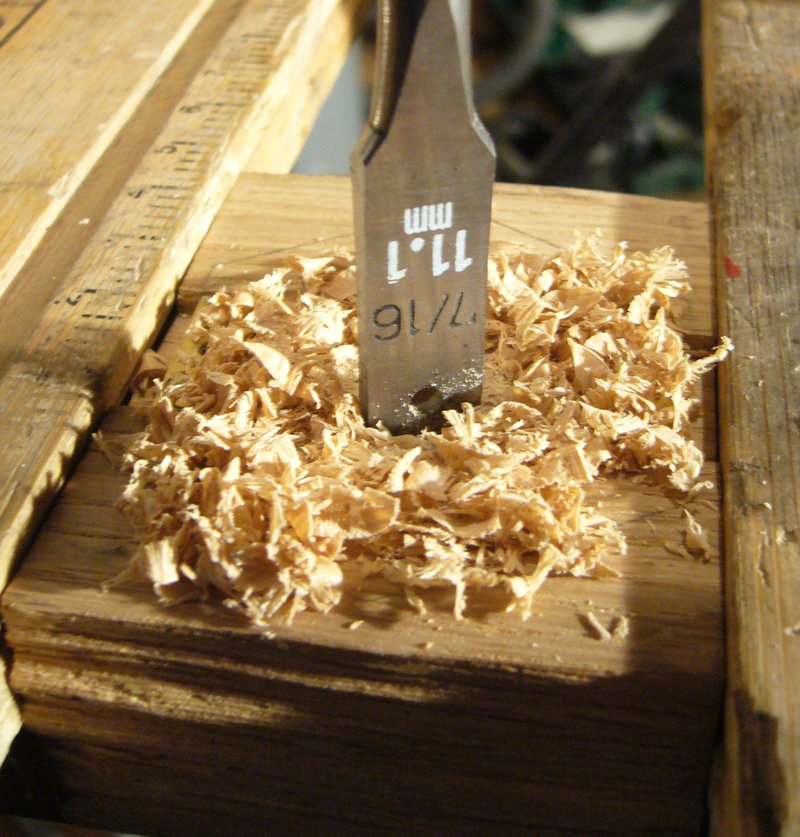
- Hand-powered tools that require a significant amount of manual skill to operate. Things like files, hand saws, hand planes, chisels, skiving knives. Many would include treadle-powered machines like my scroll saw in this category because they are also propelled solely by the muscles of the operator (incidentally, Geoffrey Crabb told me that his reed pan routing machine that was made by his great grandfather in the 1860s was originally treadle powered). Purists would argue that this is the only category of tool you can use if you want to describe your product as hand crafted. In some cases (e.g. chainsaw carving) I might even agree with them! 😉
- Externally-powered (typically by an electric motor) machine tools that require a significant amount of manual skill to operate. This includes things like manually controlled lathes and milling machines, drill presses, bench grinders, as well as woodworking machines like bandsaws and table saws, planer/thicknessers and drum sanders, even sewing machines. Non-purists will usually allow items made with this type of tool to still be called hand crafted – after all a skilled pair of hands was still required to twiddle the knobs or push the material through the machine in just the right way. It is an area of considerable debate, particularly in cases where the end result is indistinguishable from an item made entirely with hand tools.
- Hand-powered tools that require little skill to operate. This is mainly things like punch and die sets used in hand presses. You stick a piece of raw material into the tool, pull the handle, clunk, briefly inspect the part that pops out, and place it in a box if it looks satisfactory. Repeat the operation over and over until you have replenished your stockpile of that part. Anybody could be shown how to do it in five minutes. Personally I would describe parts made this way as hand made but possibly not hand crafted due to the lack of skill required. Obviously the design and manufacture of the die sets is another matter – that does require skill, and I intend to perform that part of the process myself too. Does that elevate the parts I’ll be making this way to the status of hand crafted? I don’t know.
- CNC machine tools. I intend to make extensive use of small CNC machine tools including a lathe, a wood cutting router, a milling machine, probably a laser cutter (though in that case I’ll have to send my designs out to a commercial machine shop), and possibly a surface grinder for profiling reed tongues (which I may need to build myself because commercial ones are rare, expensive and larger than I need). Wire EDM is also worth considering, specifically for cutting the reed frame slots. The main reason I’m planning to use CNC where it’s practical to do so is to reduce the amount of time I spend doing highly-repetitive machining operations that a robot can do faster and more consistently without getting tired or bored. I’m pretty sure this doesn’t count as hand crafted because there isn’t a human hand guiding or powering the tool as it cuts. Can it be called craft though? This brief article on the subject argues that it can. Considerable skill is certainly required to teach a machine to make a new part, and in many cases also to make jigs to hold the parts securely and accurately while they are being machined, but once that has been done you can pretty much load a piece of raw material into the machine, press ‘start’, and go off to do something else while it works its way through the list of instructions. Admittedly the kind of machine I’ll be able to afford will require a lot more manual tending (e.g. changing the tool bit part way through a job, or turning the workpiece over so that it can machine the other side) than the big machining centres used by commercial machine shops that can go all the way from bar stock to bucket of finished parts without human intervention. Most of my parts will also require some manual finishing-off, e.g. deburring edges, polishing (where externally visible), and tapping threads. The reeds in particular, arguably the most important parts in a concertina, will require a considerable amount of skilled hand work to finish them off after the components have been roughed to shape using the CNC milling machine (traditionally, this roughing out stage was usually done using punch and die sets in a fly press).
Enough rambling. I’d like to know what you think. Will my concertinas be crafted or merely made? Is it valid to describe them as hand crafted if some of the parts in them were machined by power tools and even robots?
Crafty Concertinas Read More »